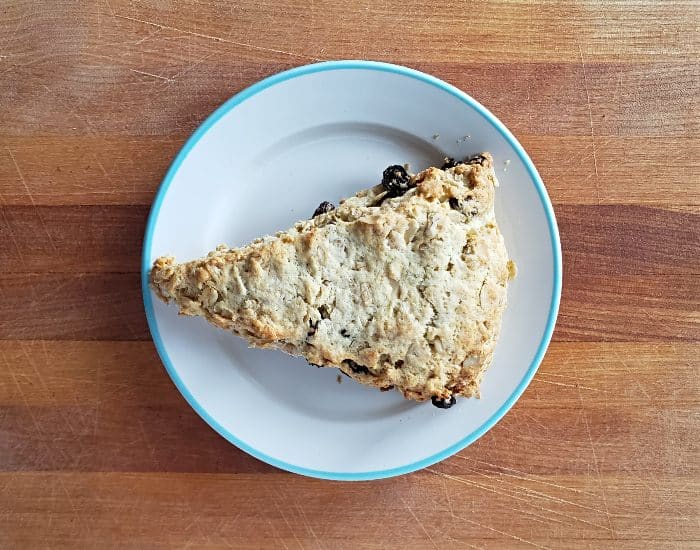
I make scones all the time, but it was only this last weekend that I tried these homemade buttermilk raisin scones. Why did I wait so long? Some links on this site earn me a commission if you purchase through them.
I made Irish soda bread last week, and – as always – I ended up with extra buttermilk. When my kids asked for scones for breakfast, I decided to riff off that recipe and make buttermilk raisin scones.
They tasted amazing, and like other scones, they took so little effort to make. These take less time and energy to make than pancakes even.
No surprise that I make scones for breakfast as often as I do. I love scones, and these fit the bill.
Do you love scones as much as I do? Check the bottom of this article for more recipe variations to try.
How to Make Buttermilk Raisin Scones
Preheat your oven to 425 degrees. Melt the butter, but be sure you don’t get it too hot. You want it just warm enough to melt.
I place my butter on the stove to melt while I mix together my dry ingredients. The timing works perfectly, as the butter melts just as I finish the dry ingredients, so I simply turn off the stove.
In a large bowl, add flour, sugar, oatmeal, baking powder, baking soda, and salt. Stir to combine, then add the raisins.
Technically, I suggest you add a half cup, but I may or may not sometimes just add a handful or a little extra. If you add more, I promise I won’t tell. Stir them to distribute within the dry ingredients.
Add the buttermilk to your measuring cup, then the egg. Whisk until the egg incorporates fully, then pour in the butter and whisk again.
If you don’t have buttermilk, don’t panic. You can use a tablespoon of lemon juice or vinegar added to a measuring cup, then fill it the rest of the way with whole milk or higher fat – cream or half and half. Let it sit for five or ten minutes until it thickens a bit, and you have the perfect substitute.
Pour the wet ingredients over the dry ingredients and stir them with a spatula just until the mixture comes together. Turn it out on a jelly roll pan lined with a silpat.
Use your clean hands to form it into a circle about a half inch tall. Cut into eight triangles with the bench scraper or a knife.
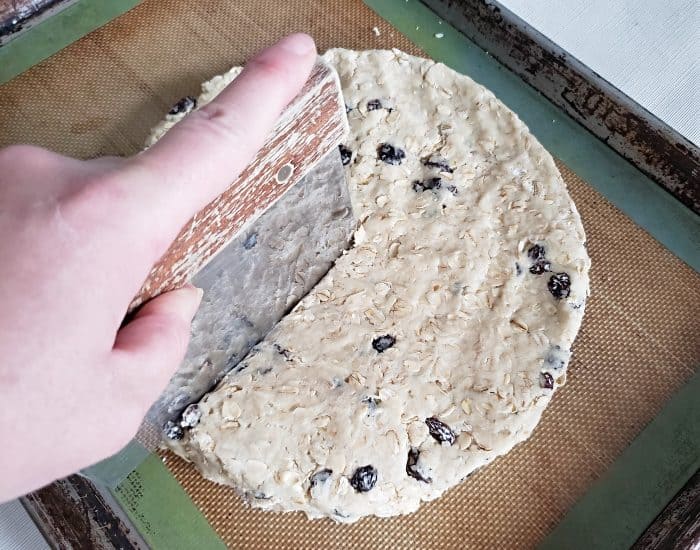
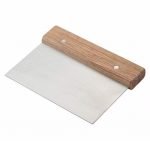
A bench scraper is one of my favorite ever kitchen tools. I own two of them and use them constantly. They work great to move chopped veggies into a pot, to clean flour off a counter after rolling out dough, to cleanly cut cooled brownies, or make quick cuts for all sorts of doughs. If you don’t own one, get one – or three!
Use the bench scraper to lift the scones and carefully arrange them on the silpat, four to a row and two across. If you don’t have a bench scraper, use a flat spatula to lift them.
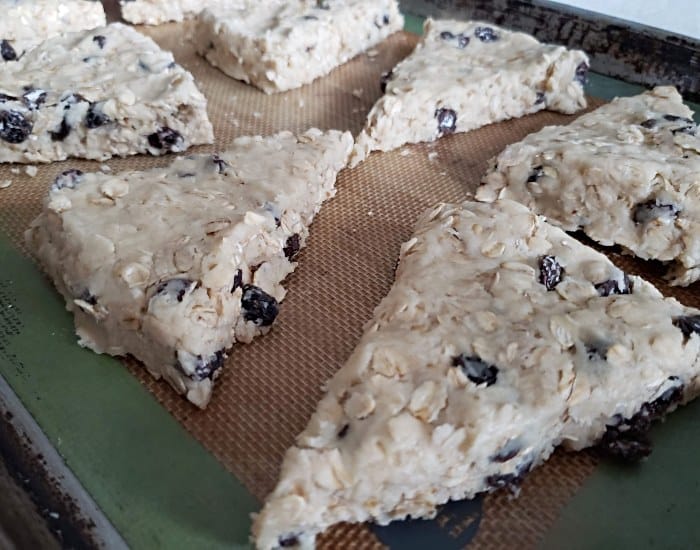
Place the buttermilk raisin scones into the oven for 13-15 minutes, until they start to turn golden brown around the edges. Let the scones cool 3-5 minutes, then serve while still warm.
These keep well in a tightly sealed container on your counter for up to two days. If you warm them just a touch before serving, they’re even better!
Have you ever made scones? Would you try buttermilk raisin scones?
Need some more scone recipe ideas?
- Chocolate cherry scones
- Blueberry scones
- Chai scones
- Pumpkin scones
- Bacon strawberry scones
- Mocha scones
- Strawberries and cream scones
- Cranberry scones

Buttermilk Raisin Scones
Ingredients
- 10 tablespoons unsalted butter
- 2 cups flour
- 2 cups oatmeal
- 1/4 cup sugar
- 2 teaspoons baking powder
- 3/4 teaspoon baking soda
- 1/2 teaspoon salt
- 1/2 cup raisins
- 1/3 cup buttemilk
- 1 egg
Instructions
- Preheat oven to 425 degrees.
- Melt butter and set aside.10 tablespoons unsalted butter
- In a large bowl, add flour, sugar, oatmeal, baking powder, baking soda, and salt. Stir to combine, then add raisins and stir to distribute.2 cups flour, 2 cups oatmeal, 1/4 cup sugar, 2 teaspoons baking powder, 3/4 teaspoon baking soda, 1/2 teaspoon salt, 1/2 cup raisins
- Add milk and egg to small bowl and whisk until egg incorporates fully, then pour in butter and whisk again.1/3 cup buttemilk, 1 egg
- Pour wet ingredients over dry and stir with a spatula just until mixture comes together. Turn out on a jelly pan lined with a silpat. Form into a circle about a half inch tall and cut into eight triangles.
- Arrange triangles, four rows, two across with room between to grow a bit. Place into 425 degree oven for 13-15 minutes, until they start to turn golden brown around the edges.
- Let cool 3-5 minutes, then serve while still warm. These keep well in a tightly sealed container on your counter for up to two days.


Notes
- If you don’t have buttermilk, you can easily make a substitute. Add a tablespoon of either lemon juice or vinegar to a measuring cup, then fill it up to the 1 cup mark with whole milk or an even higher fat milk option like cream or half and half. Let it sit for five or ten minutes until it thickens a bit, and you have the perfect buttermilk substitute.
- For more tips and tricks, be sure to read the full article above.
Nutrition
This site uses an online source to provide nutrition estimates as a courtesy. If you need exact values, please calculate yourself.

I am a participant in the Amazon Services LLC Associates Program, an affiliate advertising program designed to provide a means for sites to earn advertising fees by advertising and linking to Amazon.com.