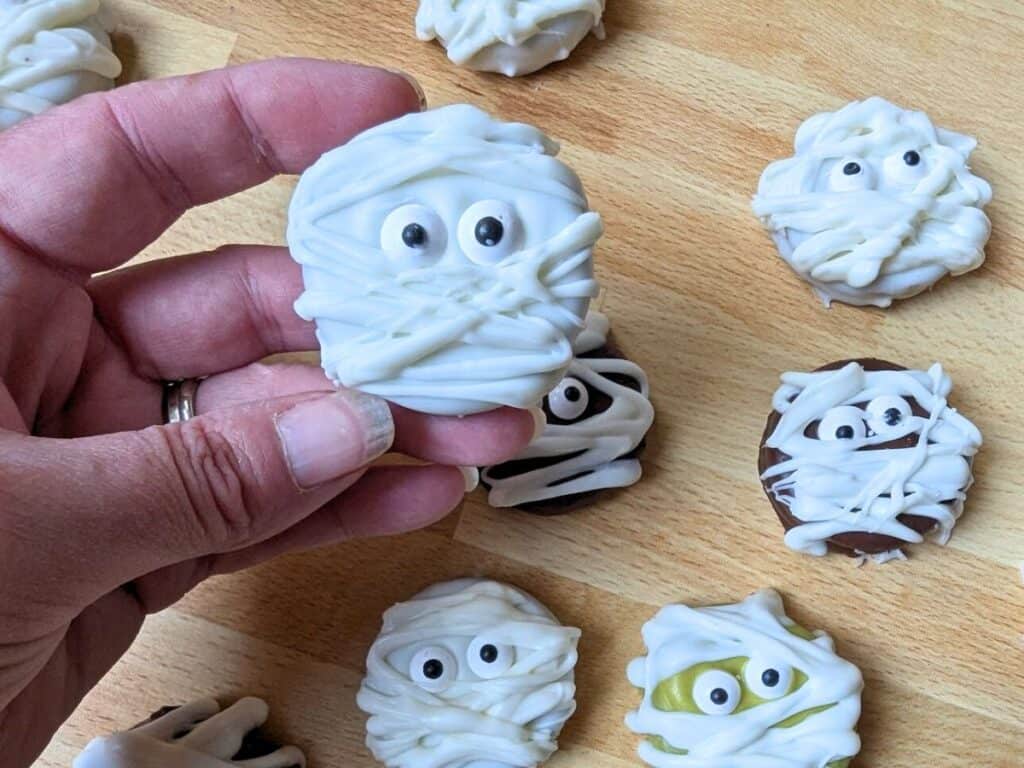
These chocolate dipped Oreos are delicious and so easy to make. You’ll love the look and taste of Halloween Mummy Cookies.
When you find a simple recipe that takes little time to make and is great for class parties and your celebrations at home, you run with it. Or at least I do.
I love finding fun treats to make and enjoy for Halloween, and my family begs me to make these chocolate-dipped Oreo cookies every year. You can make these ahead of time and serve them up whenever you’re ready.
These are also pretty sturdy, which means you can ship them to friends and family who live further away. Yes, this is perfect for a college care package!
Some links in this article are affiliate links that may earn me a commission if you purchase through them.
Are these mummy cookies gluten-free?
While standard Oreo cookies are not gluten-free, they most definitely make and sell gluten-free Oreos. You can find them at pretty much any grocery store.
The almond bark is gluten-free, as are candy eyes. However, you know as well as I do to check every package every time because ingredients always change.
What kind of Oreos should I use?
While I use Oreo Thins when I make my witch hat cookies, these work well with your standard Oreo. You can also use double-stuff if you really want to live it up.
The flavor of these can also be flexible, as they would be fun with anything from mint to tiramisu flavored Oreos. I would skip lemon, but if it tastes good with chocolate, go for it.
What kind of chocolate do I use?
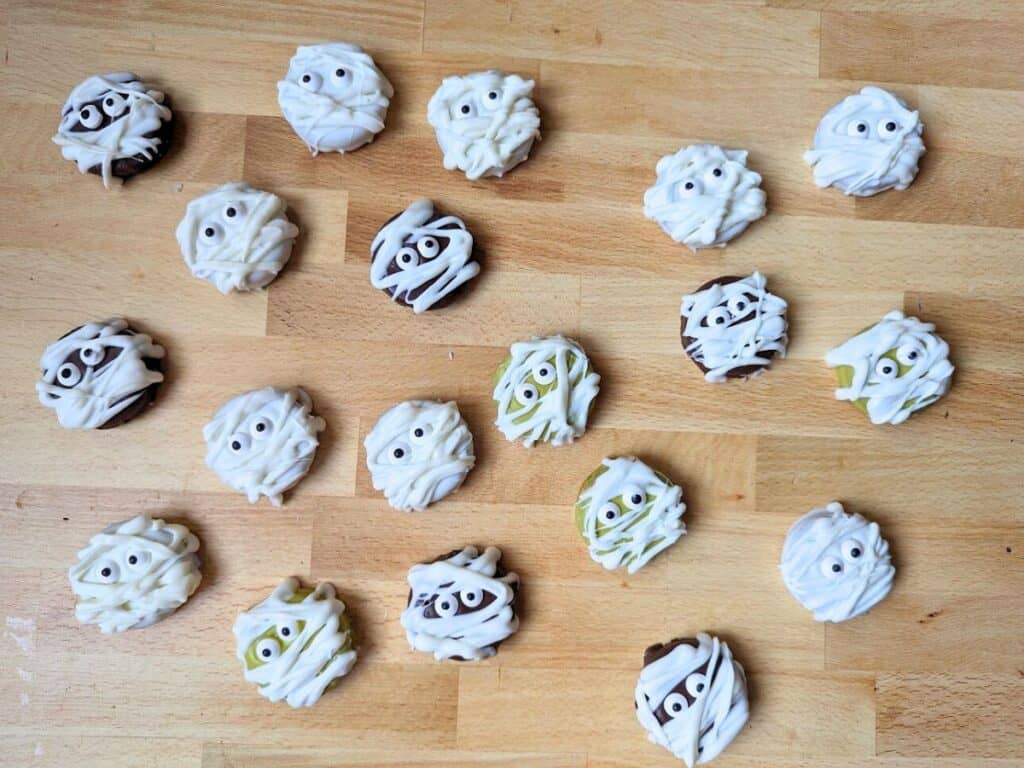
Since mummy wrappings are traditionally white, you want to use almond bark for your chocolate, but you can have fun outside that. I used some of my leftover melted chocolate from other Halloween treats and thought that both the dark chocolate and the green melting disc base looked pretty good for the mummy cookies.
What is the best way to melt chocolate?
Just like when I make my Monster Marshmallows, I melt the almond bark and melting discs in the microwave rather than over the stove. It’s easy to melt, but it’s also easy to scorch, so you have to be careful.
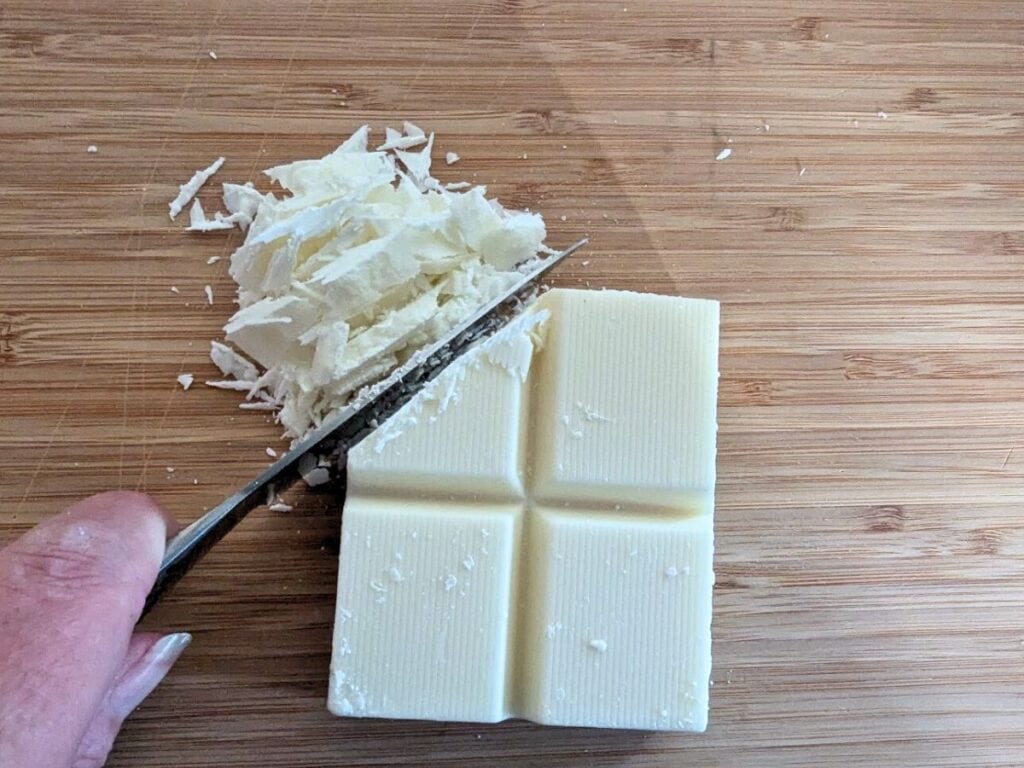
Chop the almond bark on a cutting board with a sharp knife. I find it easiest to cut corners off first and turn it rather than chopping it straight across.
Place the pieces into a microwave-safe bowl, and heat it in 20 second bursts. Stir between each round.
When it’s most of the way melted, keep stirring until the rest melts. You don’t want to have it melt all the way in the microwave, or it can become gritty and dull.
If you’re using melting discs, no need to chop them, but you want to follow the same melting strategy. For chocolate, use high-quality chocolate to ensure it melts well.
If you use chocolate chips or other lower-quality chocolate, you will need to add just a little bit of vegetable oil to help it melt. Otherwise, it just dries out and won’t be smooth, but high-quality chocolate is the better option.
How to Make Halloween Mummy Cookies
Place a silpat or parchment paper on a cookie sheet. Get your Oreos out, as well as your candy eyes.
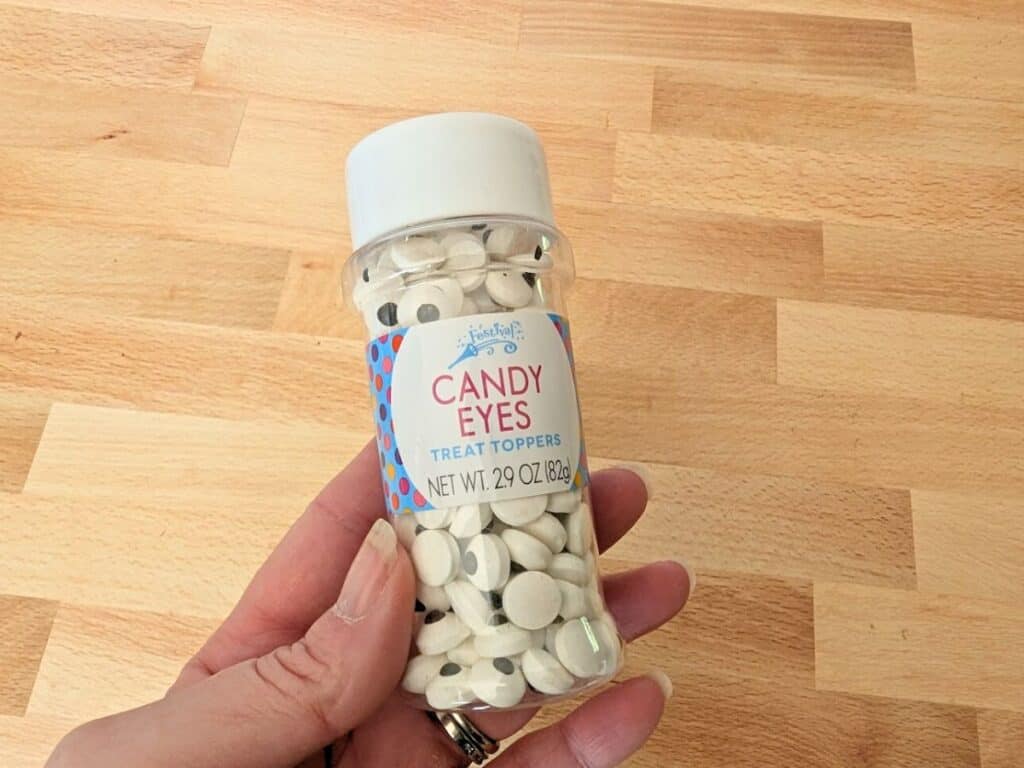
Side note: I get the 1cm candy eyes for this and most of my other Halloween treats like my monster cake pops and my Frankenstein pretzels. They’re the right size for all these goodies.
Melt your chocolate, and add your first Oreo to the bowl. Use your chocolate dipping tools or a fork to turn it, then shake off the excess chocolate and place it on the prepared cookie sheet.
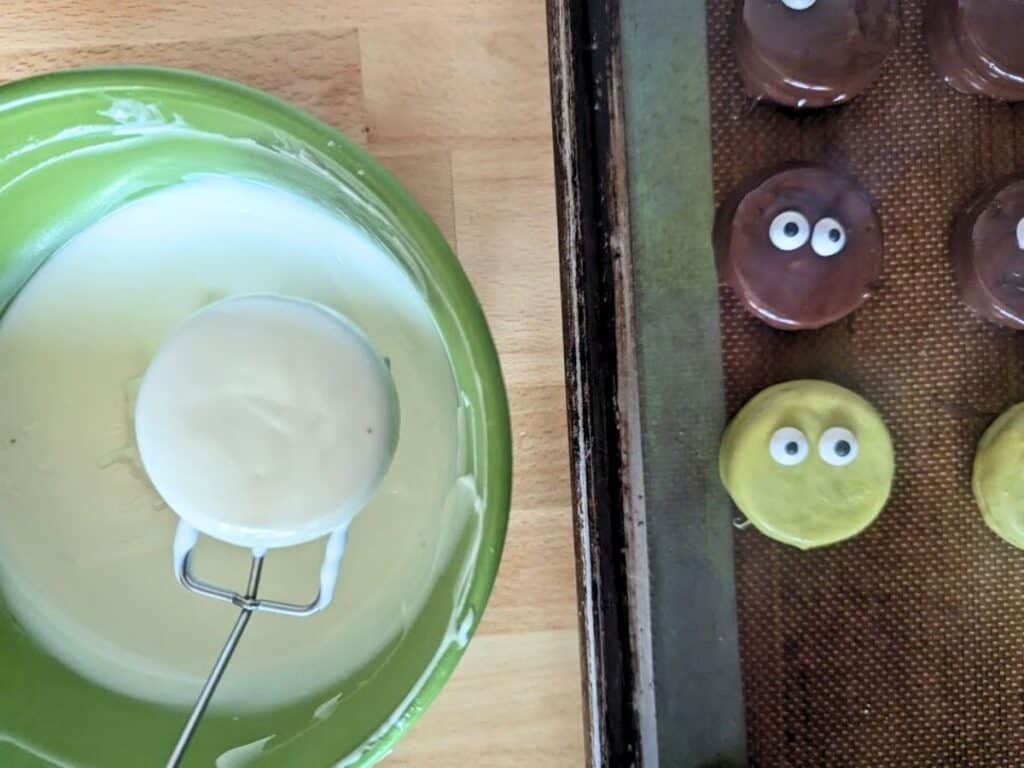
The chocolate dipping tools will work better than a kitchen fork, and I use them for all sorts of treats I dip in chocolate. It’s really worth the investment.
Immediately add the candy eyes, pressing gently into the face. You want to place them about a third of the way from the top of the cookie.
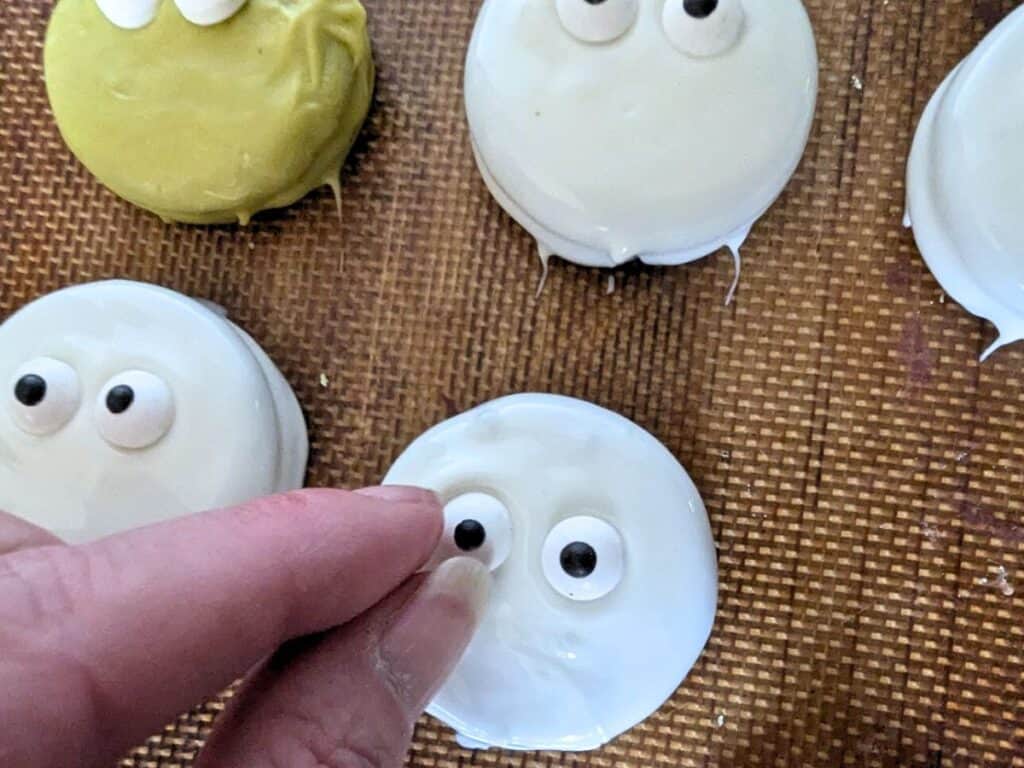
Repeat for each of your Oreos, using all almond bark, the green melting discs, dark chocolate, or whatever color you choose for the base of your face. Place each chocolate-dipped Oreo an inch or so away from the others so they don’t get too crowded, and let them harden for 10 to 15 minutes.
Once the chocolate is completely hardened, melt your almond bark – or remelt it, as the case may be. Place a ziptop bag or piping bag into a glass, and turn the edge over the outside of the glass. Pour the melted almond bark into the bag.
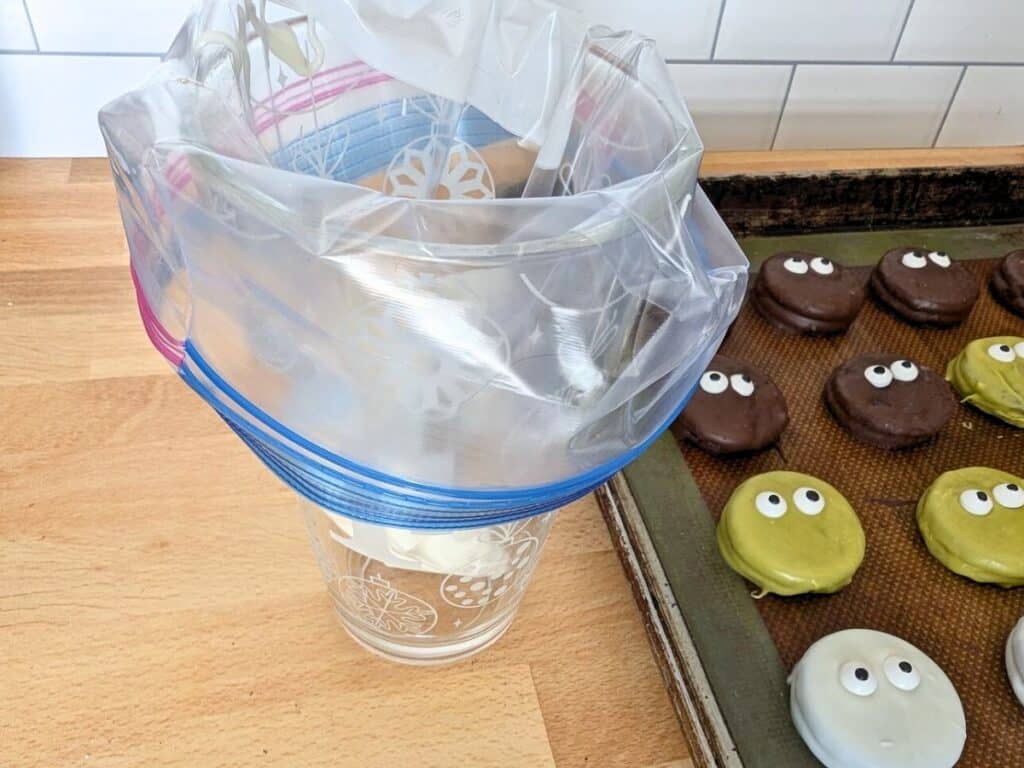
Remove the bag from the glass and turn it right side out. Snip just a snip bit from the corner to make a hole for piping.
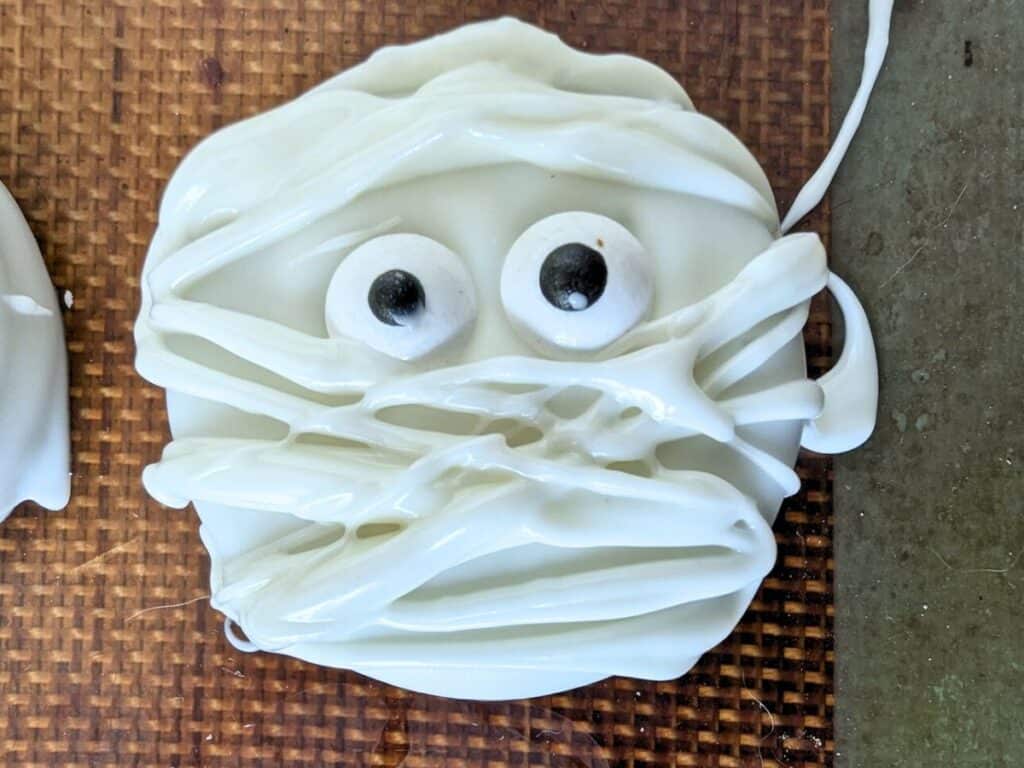
Quickly run the white chocolate in a zig-zag pattern across the chocolate-covered Oreo. If you work fast and are a little further away from the cookie than you think you should be, you end up with a thinner and smoother line than if you get too close or try to be too careful.
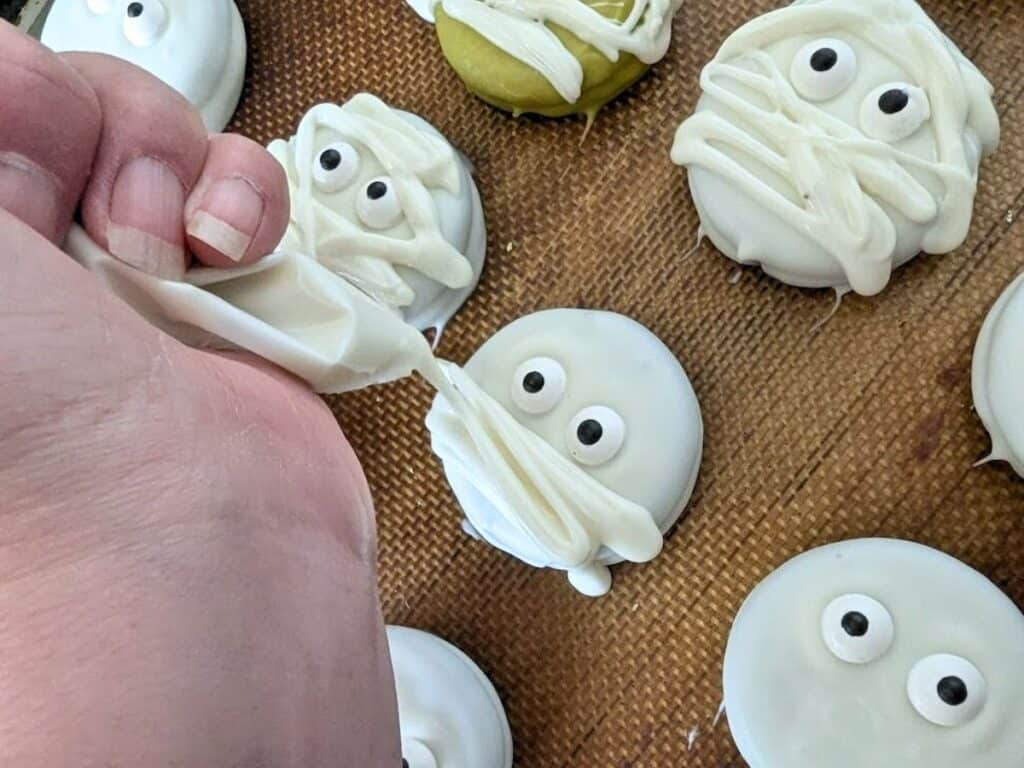
I find that doing a few passes over each cookie and letting them harden a bit while I work on other cookies, then returning for a second – and sometimes a third – round seems to work better than trying to do the perfect decoration the first time. Just be careful to avoid covering the eyes if you can.
The good news is that these are mummies. They’re supposed to be a little disheveled and messy, so have fun with them.
Let the chocolate harden again completely, then remove the cookies from the sheet. Clean up the edges of the Halloween mummy cookies if you need to, and serve immediately.
Store any leftovers in a tightly sealed container on your counter for up to two weeks. As they are completely encased in chocolate, it takes a bit before the cookies will get stale, which is good news, right?
Be sure to bookmark this article to come back and make these fun no-bake mummy cookies again!
Halloween Mummy Oreo Cookies
Ingredients
- 1 cup almond bark
- 20 Oreo cookies
- 40 candy eyes
Instructions
- Add parchment paper or a silpat to a cookie sheet. Get Oreo cookies and candy eyes ready.
- Gently melt almond bark.1 cup almond bark
- Dip Oreos into the melted almond bark one by one, shaking off excess chocolate. As you place each on the prepped cookie sheet, add candy eyes.20 Oreo cookies, 40 candy eyes
- Let chocolate harden completely.
- Melt almond bark again, and place it into a zip top bag or piping bag. Snip off just a tiny bit of the tip.
- Quickly pipe zig-zag lines across the chocolate-dipped Oreos, and let harden again.
- Serve once hardened, or store in a tightly sealed container on your counter for up to two weeks.
Notes
- When dipping the full Oreo, you can use almond bark, or you can choose to use dark chocolate or green melting discs or another color to add some contrast for fun.
- When you melt the chocolate, be sure to only melt it most of the way to prevent it from scorching. Stir it the rest of the way, and your chocolate will stay smoother and be easier to dip than if you overheat it.
- For more tips and tricks, be sure to read the full article above.
Nutrition
This site uses an online source to provide nutrition estimates as a courtesy. If you need exact values, please calculate yourself.

I am a participant in the Amazon Services LLC Associates Program, an affiliate advertising program designed to provide a means for sites to earn advertising fees by advertising and linking to Amazon.com.
