Homemade dill pickles are easier than you think. I promise. I say this, and I’m afraid of “real” canning.
A few weeks ago, I shared my favorite bread and butter pickles recipe, and I’ve had a ton of requests for dill pickles since then. You know I’m happy to share because we love dill pickles, too! Some links in this post are affiliate links that earn me a small commission if you click through and purchase.
Somehow, I still had part of a jar of those bread and butter pickles left in my fridge when these garlic dill pickles were ready to eat. My daughter immediately say down with a jar of each type and proceeded to taste test in an attempt to decide which kind she likes better.
In the end, she decided she prefers the dill pickles, but that’s a tiny margin of victory.
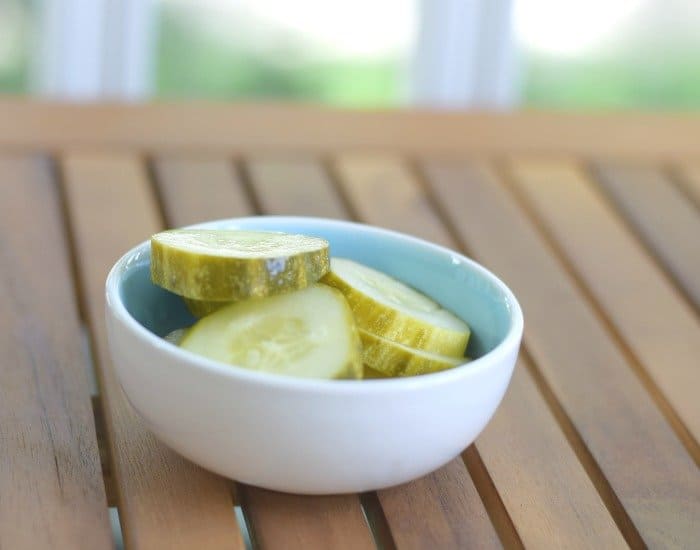
Whether you plan to enjoy these homemade dill pickles by themselves or on sandwiches or you batter and fry them for my favorite appetizer fried pickles, you need to make these refrigerator pickles.
You need no special equipment, and you don’t need to know how to can. They last up to a month in your fridge, and they stay crunchier than if you process them to make them shelf stable.
Do you have a garden overflowing with more vegetables? Check out some of my favorite vegetable recipes at the end of this article.
Are you a visual learner? Check out the video tutorial for help to make these.
A couple notes on making the best homemade dill pickles…
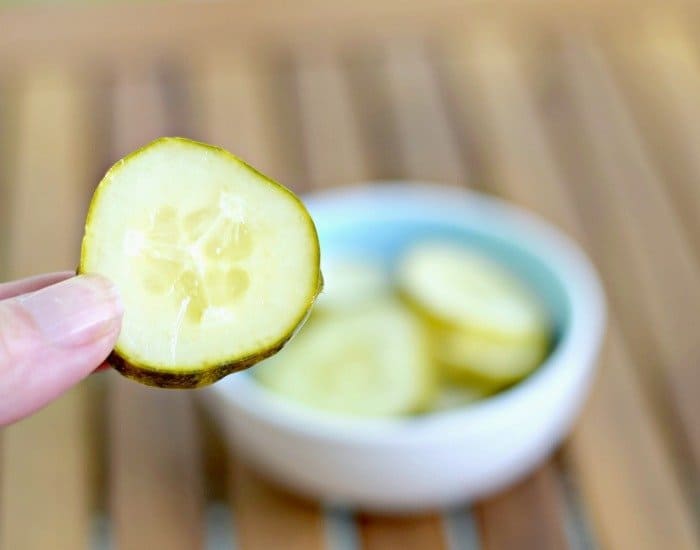
Choose the right pickle. You want smaller pickles that are firm with no soft spots.
Pickles with more wrinkles are older, and you don’t want to use them. A bright green color is great, but if they contain slight yellow streaks, no worries.
You don’t want to buy English or seedless cucumbers. Traditionally, most people use kirby cucumbers, and my store sells them as “pickles” ironically.
Cut off the ends before you place your pickles in the brine. The blossom end contains an enzyme that softens pickles, and I prefer the uniform look with the tips cut off both ends. Your goal is crispy, crunchy pickles, and you need to only cut off the very tip.
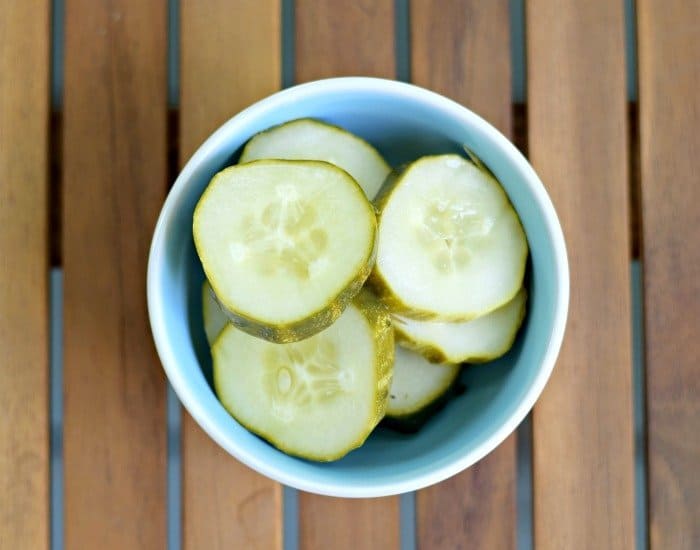
Don’t slice your pickles too thinly. To help retain the crunch, you want them at least a quarter of an inch thick, and I cut some up to a half inch thick. You could alternatively make these pickles in spears, cutting them lengthwise into quarters instead of coins.
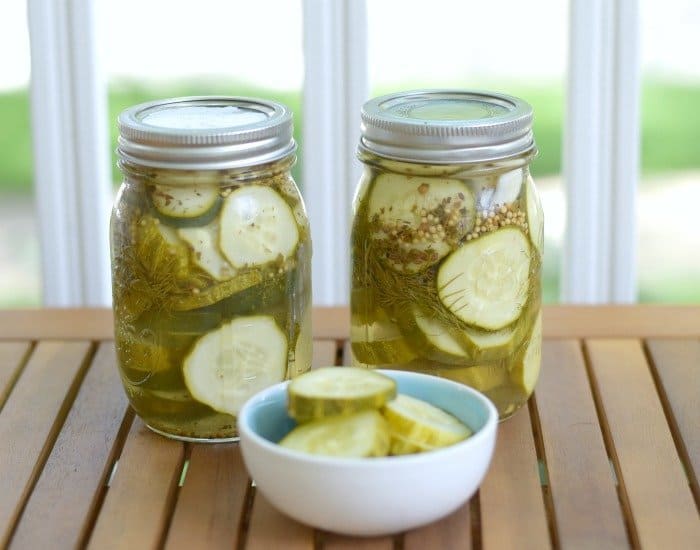
To ensure your pickles ummmm pickle properly, make sure you pack them in the jar. You don’t want any floaters. You add the cucumbers before you add the liquid, and they float.
Instead, pack them well. Then add another slice to help ensure everything stays wedged in there thoroughly. Any cucumbers that float don’t turn out and can ruin the entire batch. If you make spears, be sure to pack them in, as well.
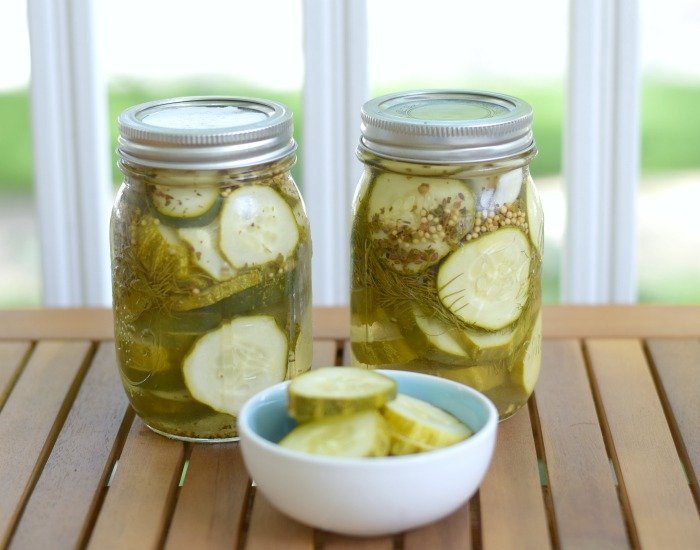
Look for a good pickling spice. The one I use contains pieces of bay leaves, mustard seed, peppercorns, and more. I use fresh dill, as I prefer the flavor, and it looks pretty floating in the jars.
My daughter enjoys eating the pickled dill with her pickles, but I discard it when we finish the pickles in the jar.
If you can’t find fresh dill, you can use dill seed instead, but it changes the taste slightly. Use a tablespoon of dill seed for this recipe if you don’t use fresh dill.
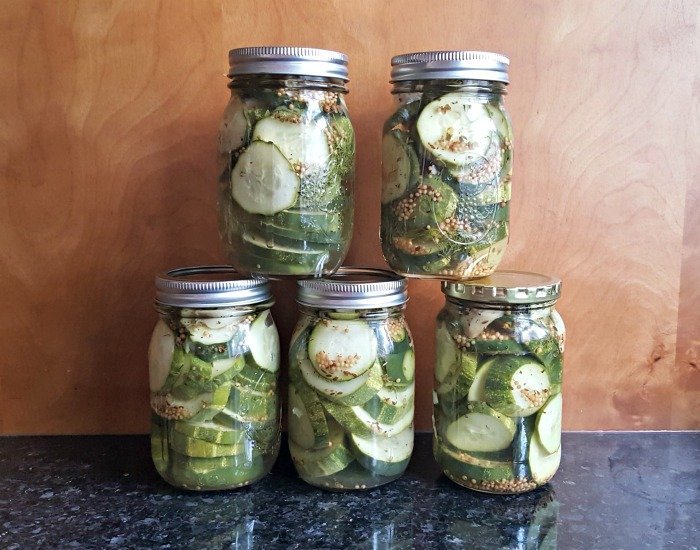
This recipe makes approximately five pint size jars. I choose pint jars intentionally and not just because it doesn’t divide nicely into quarts. The smaller jars allow you to open and use your pickles in smaller batches.
Once you open a jar, they don’t last as long. On top of that, the small jars make it easier to remove pickles, and the jars fit in my fridge better.
How to Make Homemade Dill Pickles
Wash and dry mason jars and lids thoroughly.
In a heavy saucepan, heat vinegars, water, and salt. Stir occasionally, and cook until the salt dissolves completely. You shouldn’t need to bring this to a full boil.
Once the salt dissolves, remove from the heat and prep your cucumbers. This may be more brine than what you need for your pickles, but you are far better off having extra brine than not having enough and needing to mix up a new batch.
Smash your garlic cloves and remove the skins. Distribute the garlic cloves amongst the jars.
I use about a clove and a half roughly for each of the five jars. If you have small(er) garlic cloves, use a full two cloves per jar. If you don’t like garlic, reduce or leave out the garlic entirely.
Divide the pickling spice amongst the jars, as well.
Cut off the ends of the cucumbers. Slice thickly, between a quarter and a half inch, depending on your personal preference.
Start adding the cucumbers to your jars. Fill about halfway, then tear off a frond of dill and add to each jar.
Finish filling the jars, being sure to pack them in tightly under the neck where it narrows. If you have any leftover cucumber slices, make another smaller jar to finish them off.
Pour the brine over the cucumbers. Make sure it covers the cucumbers, but it should not reach the lid.
Tap the jars gently on the counter. You want to ensure you don’t knock any slices loose so they float while removing any air trapped in the jar. Add brine, if needed.
Place lids on the jars, but don’t tighten. Let cool on your counter. Once fully cooled, tighten lids but leave the jars on your counter overnight.
Place the jars in the fridge the next morning (leave them out at least 12 hours). Leave them alone to pickle for at least two days before you eat them. Store in your fridge up to a month.
If you choose to process your homemade dill pickles:
Be sure to sterilize your jars and lids before you begin. You must start with a sterile environment if you plan to make a shelf stable food.
Follow the standard instructions for the homemade dill pickles up to and including adding the brine. From there, tighten the lids and process in a water bath for five minutes.
Let the jars come to room temperature and store. These will last in your pantry up to a year. Like the regular refrigerator dill pickles, once you open them these last for a few weeks in your fridge.
One note, these pickles will be softer and less crunchy than the refrigerator pickles. If a crisp pickle with that truly satisfying crunch is your goal, don’t use the water bath but go the easier route instead.
You can eat or find homes for five pints of homemade dill pickles in a month, right?
Have you ever made homemade dill pickles?
More great summer vegetable recipes:
- Homemade bread and butter pickles
- Oven roasted tomatoes
- Sweet potato fries
- Grilled baby bok choy
- Italian inspired ratatouille
- Shaved Brussels sprouts salad
- Hearts of palm salad
- Spicy roasted cauliflower
- Quick pickled carrots
- One pot creamed spinach
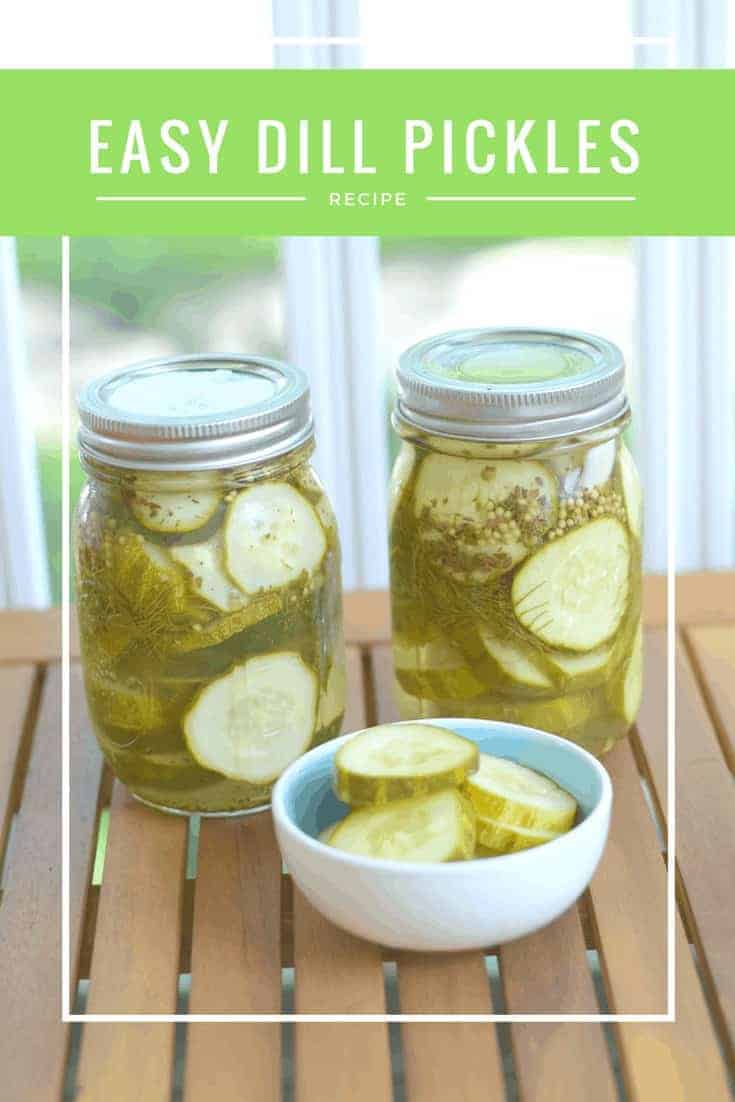
Garlic Dill Pickles
Ingredients
- 2 pounds small pickling cucumbers
- 1 cup distilled vinegar
- 1/2 cup apple cider vinegar
- 2 1/2 cups water
- 2 tablespoons pickling salt
- 8 large cloves garlic
- 2 tablespoons pickling spices
- 5 stems fresh dill
Instructions
- Wash and dry mason jars and lids thoroughly.
- In a heavy saucepan, heat vinegars, water, and salt. Stir occasionally, and cook until the salt dissolves completely. Once the salt dissolves, remove from the heat and prep your cucumbers.1 cup distilled vinegar, 1/2 cup apple cider vinegar, 2 1/2 cups water, 2 tablespoons pickling salt
- Smash garlic cloves and remove the skins. Distribute the garlic cloves amongst the jars.8 large cloves garlic
- Cut off the ends of the cucumbers. Slice thickly, between a quarter and a half inch. Start adding the cucumbers to your jars. Fill about halfway, then tear off a frond of dill and add to each jar. Finish filling the jars, being sure to pack them in tightly under the neck where it narrows. If you have any leftover cucumber slices, make another smaller jar to finish them off.2 pounds small pickling cucumbers, 5 stems fresh dill
- Pour the brine over the cucumbers. Make sure it covers the cucumbers, but it should not reach the lid. Tap the jars gently on the counter to remove any air. Add brine, if needed.
- Place lids on the jars, but don't tighten. Let cool on your counter. Once fully cooled, tighten lids but leave the jars on your counter at least 12 hours, then refrigerate.Let pickle at least 2 days before eating. Store in your fridge up to a month.
Video

Notes
- You can also fully process these pickles. Be sure to sterilize your jars and lids before you begin. Follow the instructions to add the brine. Once filled, tighten the lids and process in a hot water bath for five minutes. They’ll last for up to a year if you don’t open them and several weeks once you do. Canned pickles will be softer and less crunchy than their refrigerator cousins.
- For more tips and tricks, be sure to read the full article above.
Nutrition
This site uses an online source to provide nutrition estimates as a courtesy. If you need exact values, please calculate yourself.
I am a participant in the Amazon Services LLC Associates Program, an affiliate advertising program designed to provide a means for sites to earn advertising fees by advertising and linking to Amazon.com.
These look delicious Michelle! Thank you so much for sharing. I love fermenting and pickling my own stuff at home. Can’t wait to try these! Pickles are one of my favorite condiments for sandwiches and everything the like.
Homemade pickles are the best. My daughter begs me to make these all the time.
Are you adding the pickling spice to the brine or dividing it between each jar?
Good question! When I make this, I add the pickling spice to each jar and then pour in the brine.
These pickles look delicious, can’t wait to try them!
Thanks – they’re some of my favorites to enjoy all year ’round.
As far as the ingredients is that per jar or per batch tia
Ingredients are per batch! You end up with multiple jars when you make this 🙂
Do you use pint jars.
I do. You could also use quart jars and just make fewer of them if you choose!
Thank you I am glad found simple recipe for us.
I hope you enjoy it! It’s so easy and makes SUCH delicious pickles!