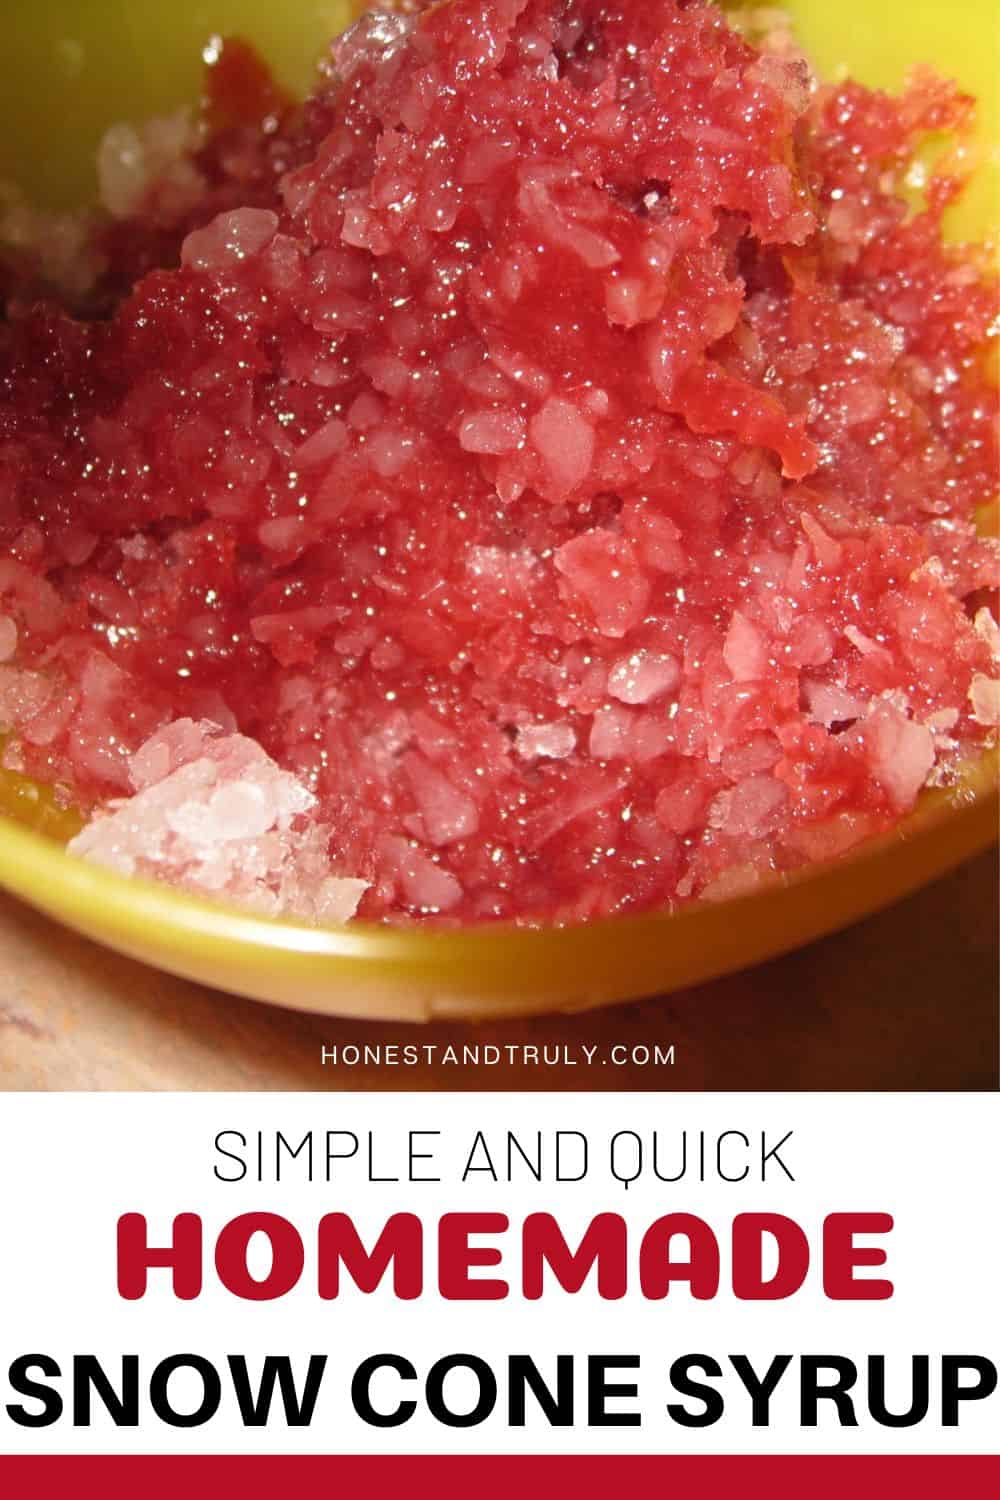
This homemade snow cone syrup is perfect for any shaved ice dessert, so bring on the memories of those old-fashioned summers with this simple syrup recipe
It’s Tuesday again, and we’re working on summer in Chicago. It isn’t here yet – although we at least saw the sun. I’m not desperate enough to call high 50s summer. (Although, give me a couple more weeks and maybe I will!) Tonight we had a special dessert: snow cones.
Yep, good old-fashioned snow cones. In fact, I actually have one of the Snoopy Snow Cone machines that I picked up at our church’s rummage sale a couple of years ago for $0.50.

Yep, that really is the original one with the snowman syrup squirter and shovel to get the snow out and everything. Ahhh, memories!
The big problem comes in the flavoring though. Getting shaved ice? Not too hard (although hand-cranking four bowls? No need to get to the gym! My Vitamix could probably do a decent job now that I think about it. Eh.
Back to the flavoring. There are tons of syrups out there, but surprise, surprise – they’re full of high fructose corn syrup, which means they’re out of bounds for us. In searching online, I found recipes to make my own snow cone syrup, but it always called for Kool-Aid, which sorta seemed like it was defeating the purpose of making my own.
After a couple of hours noodling on this, I finally came up with a (brilliant?) idea. Thinking back to the cupcakes I made for Little Miss’s half birthday, I decided to essentially make a simple syrup using fruit.
And the results? I got rave reviews from my crew, so the leftover syrup is going in the fridge (or perhaps I need to move it to the freezer) to await a suitably hot day to make some more snow cones!
Some links in this article are affiliate links that may earn me a commission if you purchase through them.
How to Make Homemade Snow Cone Syrup
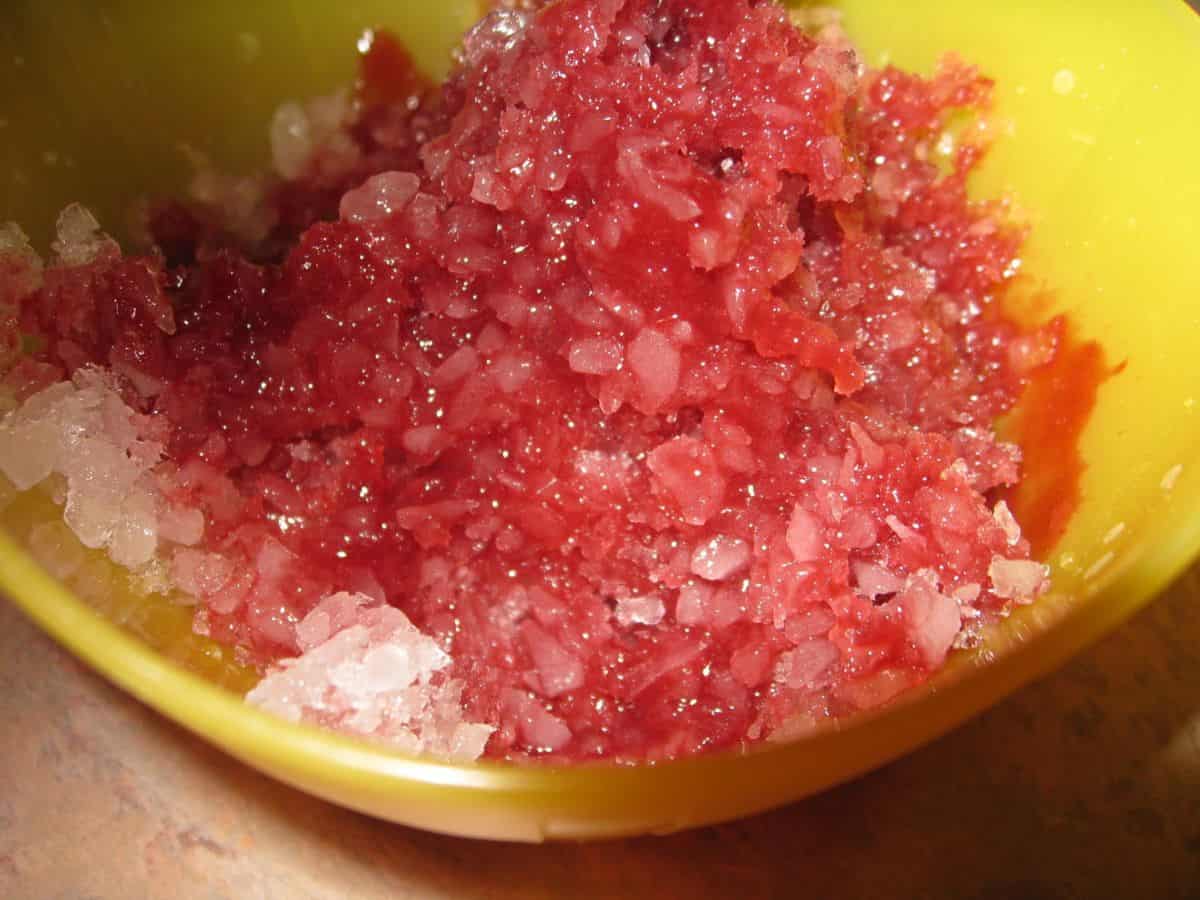
It doesn’t get easier than this. Add the ingredients to a saucepan. Bring to a boil over medium-high heat. Boil for two to three minutes.
Place the mixture in a blender and zap it until it’s as smooth as your blender will make it (gotta love the Vitamix for this one). Strain and chill.
Spoon just a small amount over shaved ice. Thin with a bit of water if you like, but I liked it nice and thick (still very pourable just not as viscous as the traditional neon-colored syrups). This would also be pretty darn good over ice cream, a theory my husband promises to test out later tonight.

Homemade Red Snow Cone Syrup
Ingredients
- 1 1/2 cups strawberries
- 1 1/2 cups frozen cherries
- 1/2 cup sugar
- 1 teaspoon vanilla
- 1/2 lemon zest
Instructions
- Add the ingredients to a saucepan. Bring to a boil over medium high heat. Boil for two to three minutes.1 1/2 cups strawberries, 1 1/2 cups frozen cherries, 1/2 cup sugar, 1 teaspoon vanilla, 1/2 lemon zest
- Place the mixture in a blender and zap it until it’s as smooth as your blender will make it. Strain and chill.
- Spoon just a small amount over shaved ice and thin with a bit of water if you like. This would also be pretty good over ice cream.

Notes
- I used fresh strawberries since they’re in season, but frozen strawberries work well too.
- For a tangier syrup, try using tart cherries instead.
- For more tips and tricks, be sure to read the full article above.
Nutrition
This site uses an online source to provide nutrition estimates as a courtesy. If you need exact values, please calculate yourself.
I am a participant in the Amazon Services LLC Associates Program, an affiliate advertising program designed to provide a means for sites to earn advertising fees by advertising and linking to Amazon.com.
good for you! you made your own syrup! thanks for sharing the recipe~
I never thought of doing this but its a great idea.
Oh my! Making your own syrup??? That's fantastic!
a fantastic addition to meatless monday!! I love a healthy version of ANYTHING!!
Umm if you hear someone crashing around late at night it's just me coming to get that sweet snoopy sno cone maker–LOVE!! WANT!!
Oh man my best friend had one of those and we loved it!!! I have no clue where it is but I'll have to ask her!
What a frugal idea! And just in time for the warmer weather 🙂
~Aubree Cherie
How fun… snow cones!! They look very yummy!
That's a fun idea!
I tried something similar after your comment on my blog, great idea!
We made key lime flavor, but in case you try it, use 2x as much sugar or prepare to pucker 🙂
And I need one of those snowcone makers!
Mr. Pineapple Man – LOVE the name. Truly. And yes, of course I made my own syrup. It was lots of fun and super quick.
Brenda – I didn't either until I realized what my alternatives were. So glad I did!
The Country Cook – But it's so easy! I think we forget that a lot of times….
Laura – Don't you think? Nope, you can't have it. BUT I promise that if I find another one, I'll mail it to you.
Alexis – Weren't those fun? Ahh the memories of childhood!
Aubree Cherie – Totally frugal, and a little goes so far. We'll definitely be using this syrup again and again!
Denise – They were. It's possible some of the bowls were licked clean.
Kelly – Fun and easy!
Steph – Ohhh ummmm yeah… key lime. OR you could use it with mberry!