Did I mention that I just got back from ten days in Italy? And a week of that was spent in a bedroom on a mountain in Tuscany? And that we had wine tastings and tours and oh yeah, a cooking class? No? Eh, there’s a post or three coming about that. But ohhhh that cooking class. It was good good, and the food was actually really easy. Some of them were a little time-consuming, but that’s not always a bad thing in my book.
I wrote last week about the Tuscan Beans we made. My other favorite was the orecchiette we made – and yes, I’ve made it three times since that class. It’s surprisingly easy, and it tastes great. This is one of the semi-time-consuming recipes, simply because you’re making the pasta by hand, but the wee ones helped out with the rolling of the orecchiette which made it go much faster. I was also going to make the carbonara sauce to go with these, but someone (read: my husband) used up all the eggs and didn’t tell me. Oh well, I’ll just have to make this again!

Some links in this article are affiliate links that may earn me a commission if you purchase through them.
How to Make Homemade Orecchiette
Note that this will make enough pasta for a light course for 2 people. If you’re making it as the main course for a family of four, I would strongly recommend tripling this. Not that I forgot this when making it for myself and the wee ones on Sunday and they got a decent size serving, I got barely any, and we all wanted more or anything like that…. Nope, not me.
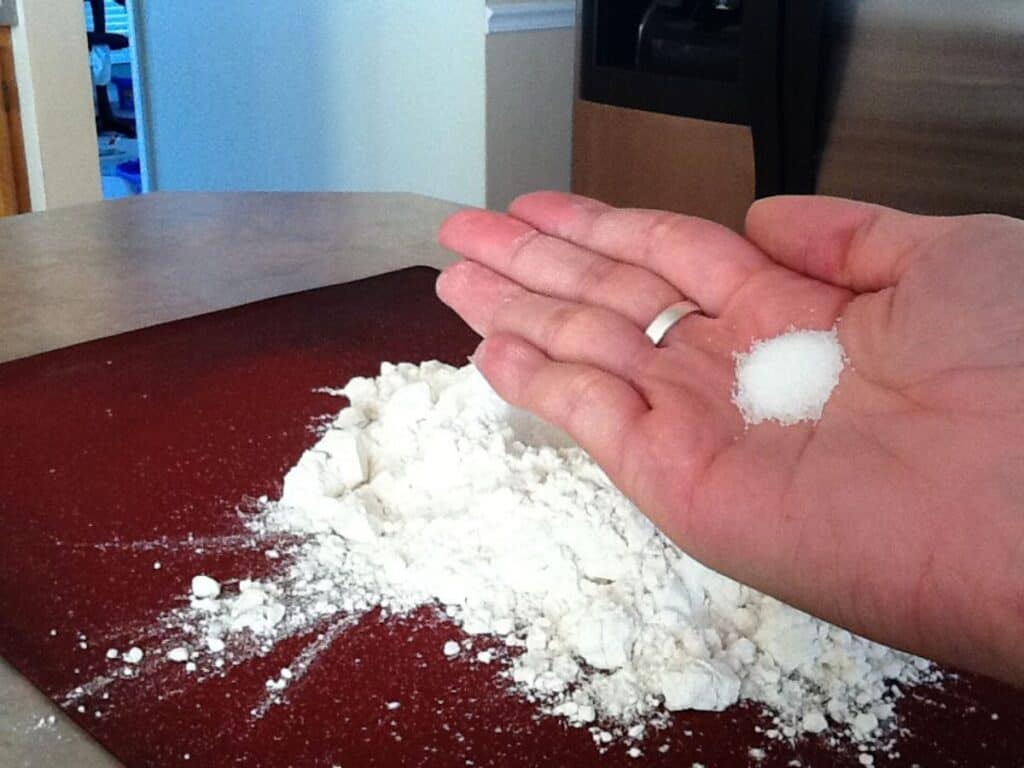
Get a heaping cup of flour. You may not use all of it, but that’s fine. You just want to make sure you have enough to start. Note that I’m doing this on a sil pat. It’s just easier to work with, but you can also do it on your counter if you don’t have one, and it’ll be just fine.

Make a well in the middle of your pile of flour. Make sure your sides are high enough and not too thin – trust me on this one!

Add a bit of salt. This is optional, but it does add flavor to your pasta. I didn’t measure. You want more than a pinch but not a full teaspoon. Just sprinkle it across your flour. Everything will get mixed together, so don’t worry about that now.
Add your oil and water to the well in your flour that you made. Make sure it doesn’t overflow!

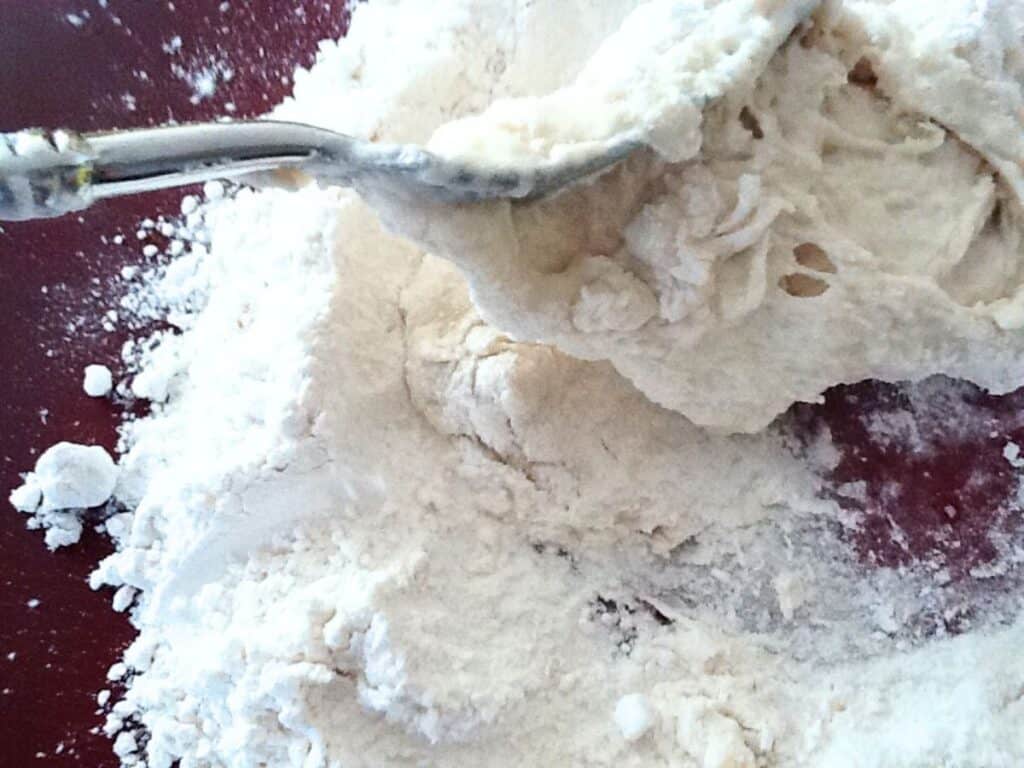
Use a fork to mix it all together. Start with the oil and water and just slowly incorporate the flour walls.

When the dough starts to really come together and isn’t very liquidy anymore, it’s ready for you to knead it by hand. Scrape the dough off your fork with your hand and get to work. Note that if you’re wearing a loose dangly watch, you’ll want to remove it. Again, not that I speak from experience or anything!
To knead the dough, simply squish it together in your hands, and then push it across the sil pat. Turn it slightly, re-squish it, and keep going. You’ll begin to incorporate more flour as you go to get it to a good texture. You may not use all of it though, and that’s fine. You don’t want it too dry! It should be similar to the texture of sugar cookies after they’ve sat in the fridge if that helps.
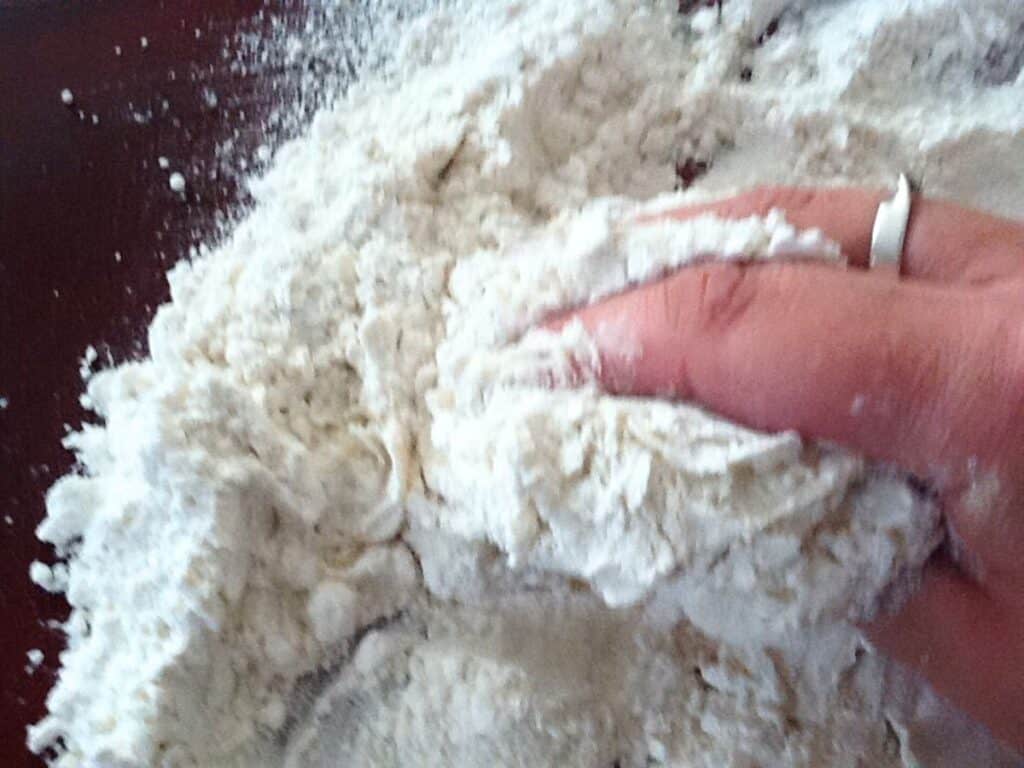
Keep kneading until it starts to feel soft and plastic-like, which should take around five minutes or so. That’s when you’re ready to start the next stage of “kneading” the pasta dough.

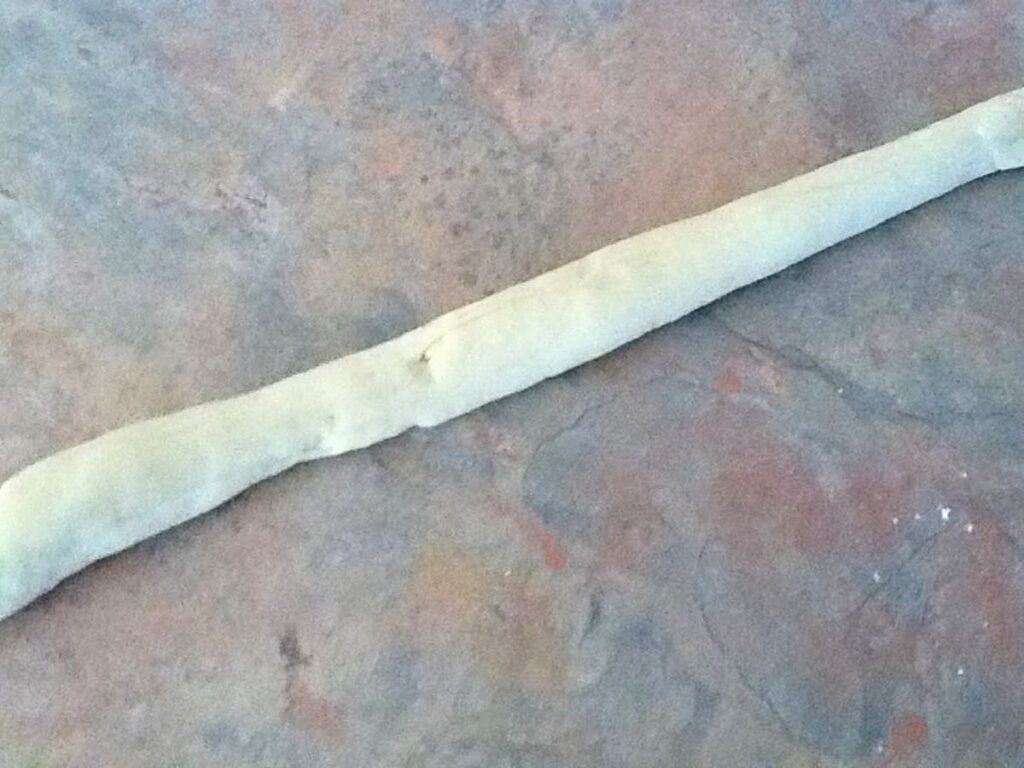
Roll out your dough until it looks like a thick snake.

Start rolling up the snake onto itself. Then roll it into a snake again (think vertically instead of horizontally) and repeat seven or eight times.

Once it’s all nice and smooth again, wrap it in plastic, and let it rest on the counter for twenty or so minutes.

Break off a hunk of your dough – maybe one quarter or so – and roll it into a thin snake this time. You want it the diameter of your pinky or so.
Cut it into small pieces, no more than 1/2 inch wide. If you make your orecchiette too big, they’ll be gummy. Ick.

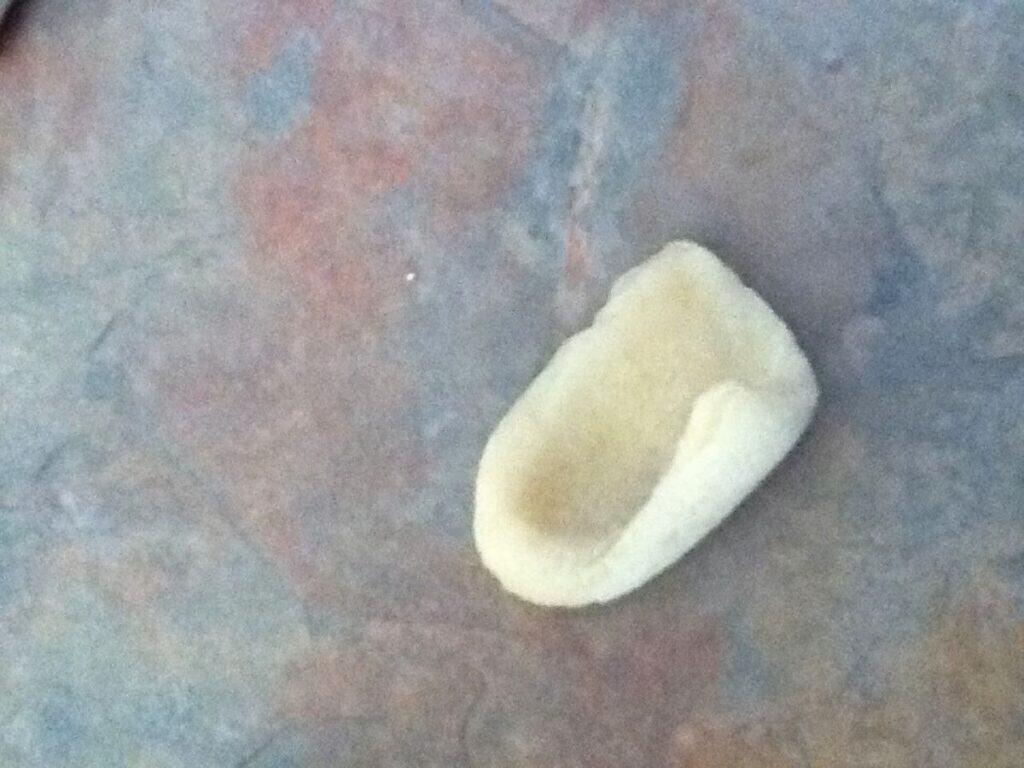
The fast way to do this is to simply take each little piece of dough and push down with your thumb at a slight angle…
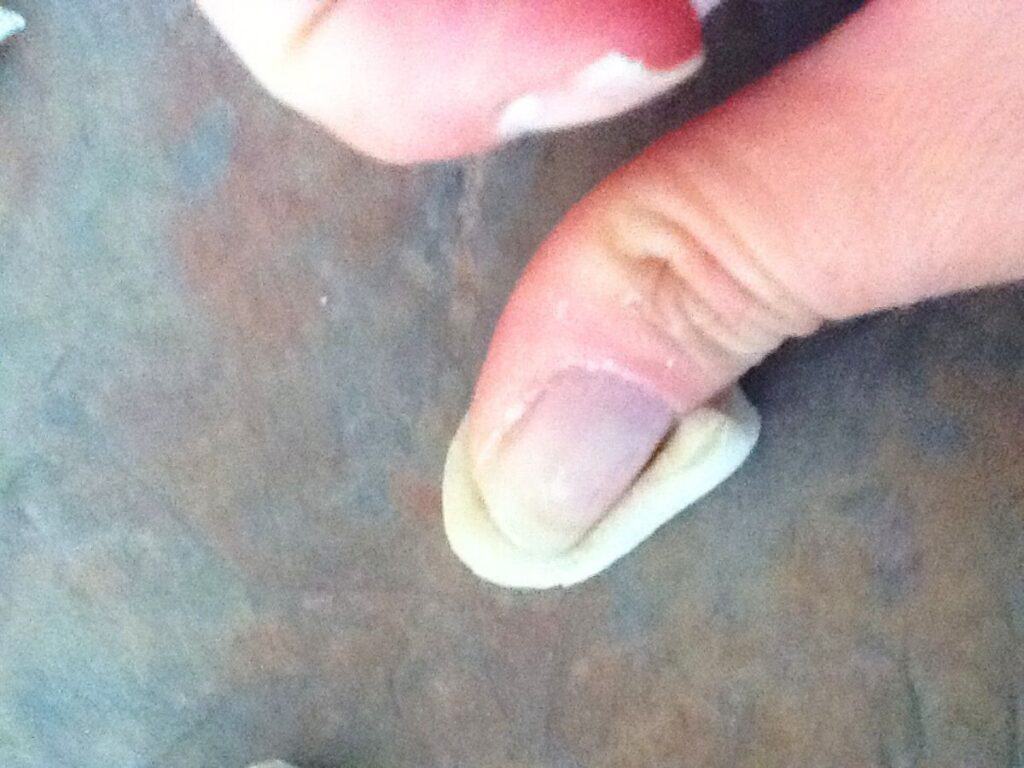
which will make a shape that looks sort of like a little ear – which is where the word orecchiette comes from!
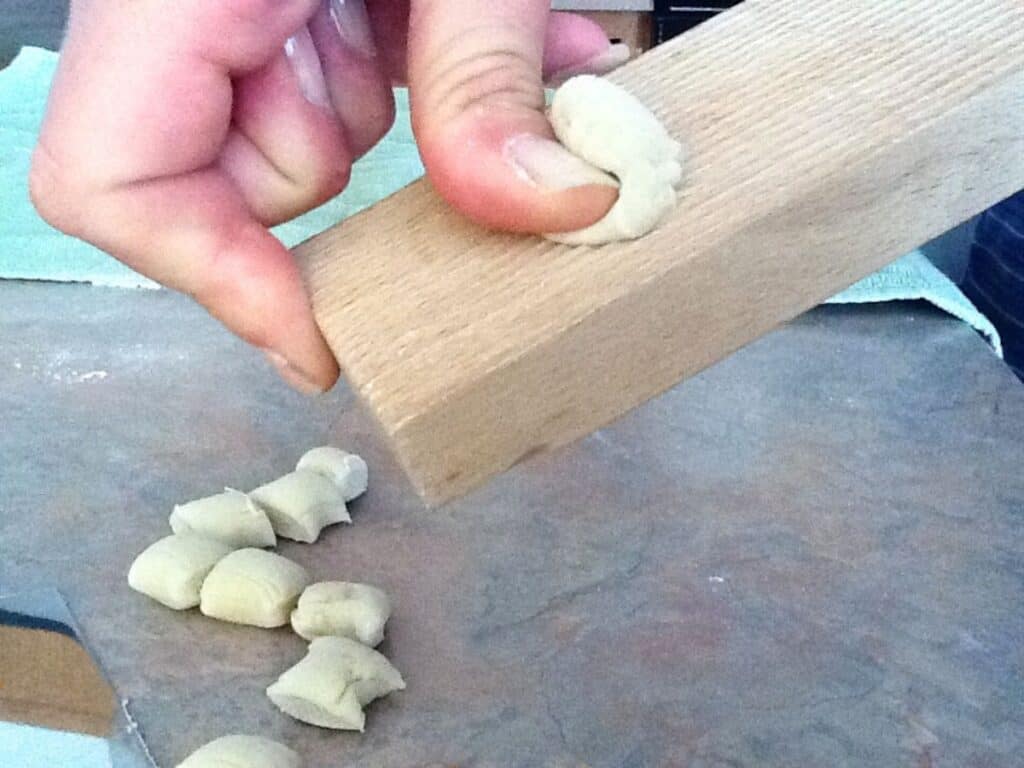
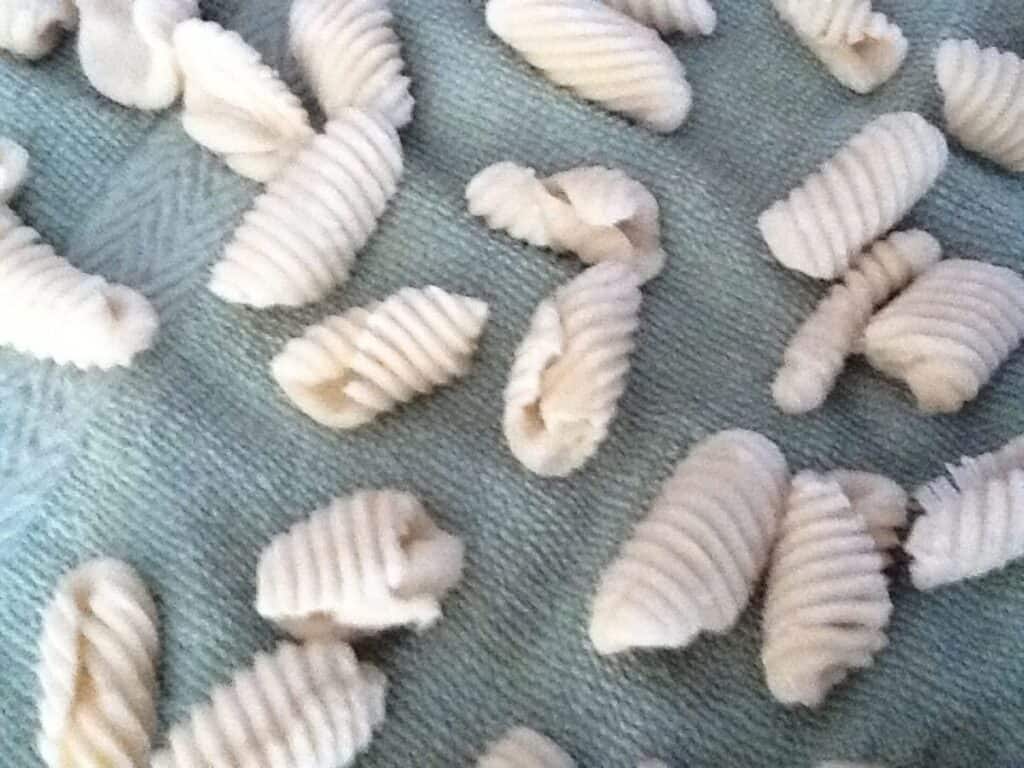
We made ours using a gnocchi board (which we picked up for 2 Euros, you can find them in the States, too, though slightly more expensive but still a fun little kitchen gadget to have on hand!), which makes them look a little more fancy. For that one, the concept is the same. Simply put the little ball of dough on the board, push it down with your thumb as you roll it across the board, and it makes an awesome shape. Think it’s hard? After I did the first three, Mister Man did the rest for me. Little Miss would have done them, but she still had her cast on.
As you make each piece of orecchiette, put it on a dry towel so that it doesn’t get sticky or icky on the bottom touching a nonporous surface. This also makes a great tool to carry your pasta to your boiling salted water. See, I’m always thinking!
Add the orechiette to your boiling water, and let it cook. It will rise to the surface as it cooks, but check it to be sure it’s fully done. I have had to let mine go two or three minutes past rising to the surface before it was truly done. It’s a real chore to have to taste-test it to ensure it’s done.

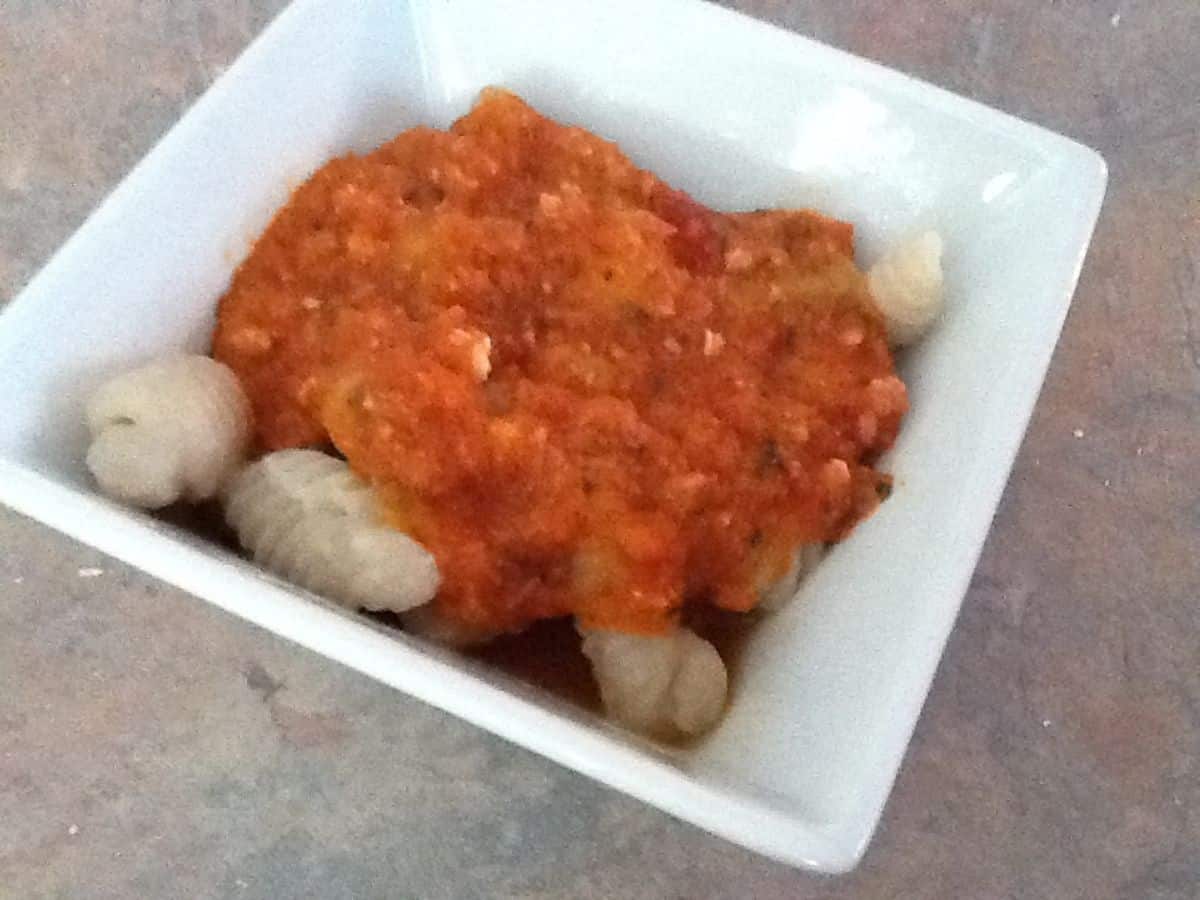
Once it’s cooked, traditionally, you put it into a pre-warmed bowl. That means you take a bit of the pasta water into a dish and let it sit to warm the dish while you’re combining your pasta and sauce – because the sauce isn’t poured over your pasta in Italy. Nope, you make your sauce in another pan, then put your pasta into the pan to cook it and coat it together. Then you put it into your prewarmed bowl (having dumped out the water, of course).
Yum. It’s the only word for it. The wee ones want me to make it again. And again. And again.
Homemade Orecchiette
Ingredients
- 1 cup flour heaping amount
- 1/2 teaspoon salt
- 4 teaspoons olive oil
- 1/3 cup water
Instructions
- Get a heaping cup of flour. You may not use all of it, but that’s fine.1 cup flour
- Make a well in the middle of your pile of flour. Make sure your sides are high enough and not too thin.
- Add a bit of salt and sprinkle it across your flour. Add your oil and water to the well in the flour you made. Make sure it doesn’t overflow.1/2 teaspoon salt
- Use a fork to mix it all together. Start with the oil and water and just slowly incorporate the flour walls.4 teaspoons olive oil, 1/3 cup water
- When the dough starts to really come together and isn’t very liquid anymore, it’s ready for you to knead it by hand. Scrape the dough off your fork with your hand and get to work.
- To knead the dough, simply squish it together in your hands, and then push it across the sil pat. Turn it slightly, re-squish it and keep going. You’ll begin to incorporate more flour as you go to get it to a good texture.
- You may not use all of it though, and that’s fine. You don’t want it too dry. It should be similar to the texture of sugar cookies after they’ve sat in the fridge if that helps.
- Keep kneading until it starts to feel soft and plastic like, which should take around five minutes or so. That’s when you’re ready to start the next stage of “kneading” the pasta dough.
- Roll out your dough until it looks like a thick snake. Start rolling up the snake onto itself. Then roll it into a snake again (think vertically instead of horizontally) and repeat seven or eight times.
- Once it’s all nice and smooth again, wrap it in plastic, and let it rest on the counter for twenty or so minutes. Break off a hunk of your dough – maybe one quarter or so – and roll it into a thin snake this time. You want it the diameter of your pinky or so.
- Cut it into small pieces, no more than 1/2 inch wide. If you make your orechiette too big, they’ll be gummy. The fast way to do this is to simply take each little piece of dough and push down with your thumb at a slight angle which will make a shape that looks sort of like a little ear – which is where the word orechiette comes from.
- We made ours using a gnocchi board. Simply put the little ball of dough on the board, push down with your thumb as you roll it across the board, and it makes an awesome shape.
- As you make each piece of orechiette, put it on a dry towel so that it doesn’t get sticky or icky on the bottom touching a non porous surface. This also makes a great tool to carry your pasta to your boiling salted water.
- Add the orechiette to your boiling water, and let it cook. It will rise to the surface as it cooks, but check it to be sure it’s fully done.
- Once it’s cooked, put it into a prewarmed bowl. Make your sauce in another pan, then put your pasta into the pan to cook it and coat it together. Then you put it into your prewarmed bowl (having dumped out the water, of course).

Notes
- Adding salt is optional but it does add flavor to your pasta. You want more than a pinch but not a full teaspoon.
- For more tips and tricks, be sure to read the full article above.
Nutrition
This site uses an online source to provide nutrition estimates as a courtesy. If you need exact values, please calculate yourself.

I am a participant in the Amazon Services LLC Associates Program, an affiliate advertising program designed to provide a means for sites to earn advertising fees by advertising and linking to Amazon.com.

So I have always wondered, what difference does making the well make, as oppsed to just mixing it all together in a bowl? I very often make egg noodles for soup and I just mix them in a big plastic bowl. Am I missing something important by doing it that way? and no, this isn't even a sarcastic question, I genuinely want to know! 🙂
OMG THIS LOOKS AWESOME! I think I will make this when i can eat noodles!!! 😀
I keep telling myself that I'll try making pasta from scratch, but keep not doing it, but now I am definitely motivated to make it. It looks and sounds mouth-watering!
Oh my, that is awesome. Way to go, making your own pasta.
Holy Cannoli Recipes
You make it look so easy! I'm impressed that you made your own pasta. Good job Michelle!
Kori – When you have the well, you can slowly incorporate the flour, which means you don't have too much flour in your pasta. If you do it in a bowl, it's too hard to get the right proportion of ingredients since it changes so much based on humidity, etc.
Heather – Definitely do it when you can eat noodles. And the 1 cup version is perfect for 1-2 people, so yay on serving sizes!
Pat – It's one of those “huh, it really is this easy” kind of things, ya know? Go for it!
Kristin – Oh we love making our own pasta. I'll have to post my ravioli (an egg based pasta) when the weather cools down. Yum!
Kelly – It IS that easy. Why do you think pasta is an Italian staple? It's an easy meal with few ingredients and costs next to nothing to make! 🙂