This shop has been compensated by Collective Bias, Inc. and its advertiser. All opinions are mine alone. #CraftPBJCreations #Meijer #CollectiveBias This post is sponsored by the J.M. Smucker Company.
With my kids, the first thing they do when they wake up is ask what’s for breakfast.
The second thing they do when they get home from school is ask what’s for dinner. The first thing? They make themselves a snack.
I shouldn’t be surprised. They’re growing kids, and they get hungry far more often than I do.
The big problem I have is that they get sick of foods. While they loved corned beef last week, they don’t want me to buy it for lunch anymore. My daughter was “on” smoked salmon today, but tomorrow she’ll be “off” it.
As long as I keep items rotating, they keep eating them. That’s what I focus on – and that includes peanut butter and jelly.
For breakfast, I’ll often do a peanut butter and jelly oatmeal, which keeps oatmeal interesting for them. Or they’ll grab a granola bar to eat on the way to school, especially if they’re running late.
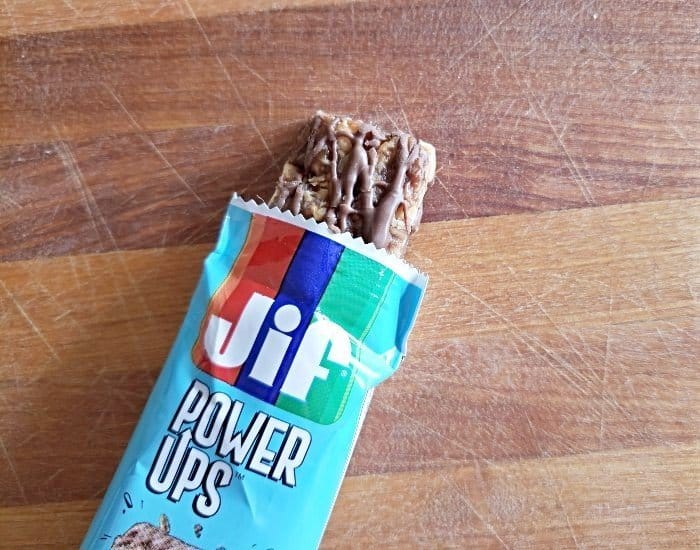
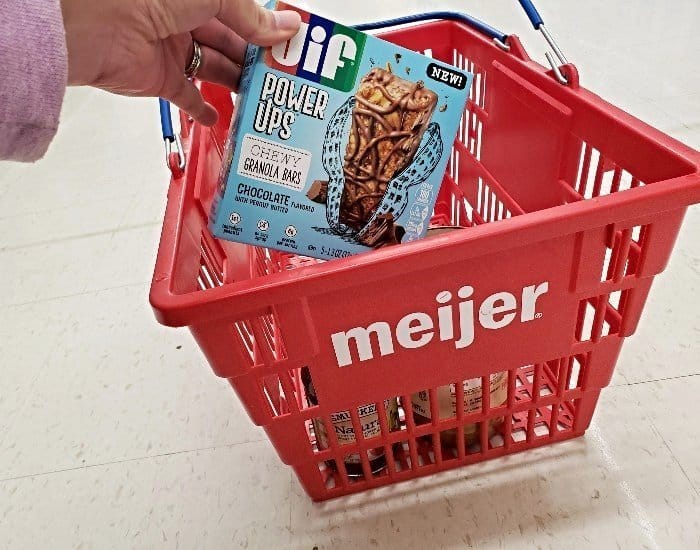
Some weeks, I just take them with me to Meijer, and we walk the aisles to figure out what they’re willing to eat. That’s where we found Jif Power Ups® Snacks, which my son now takes to school to use as an after school snack when he has practice.
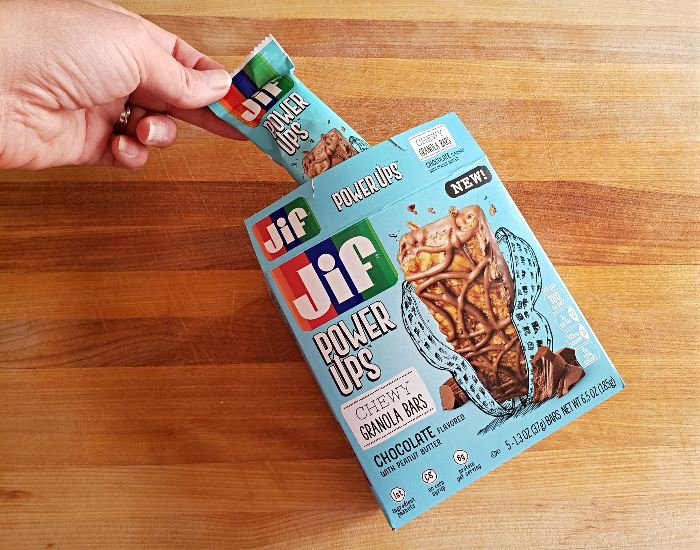
I love that the chewy granola bars have no corn syrup. He loves that the Chewy Granola Bars come in banana, chocolate, strawberry, and salted caramel, all mixed with peanut butter. Ok, so maybe some of those flavors means that my husband and daughter want Jif Power Ups® snacks, too.
Can you tell we landed in the peanut butter and jelly aisle on our last trip to Meijer? I didn’t want the kids to get sick of traditional pb&j, so I got inspired.

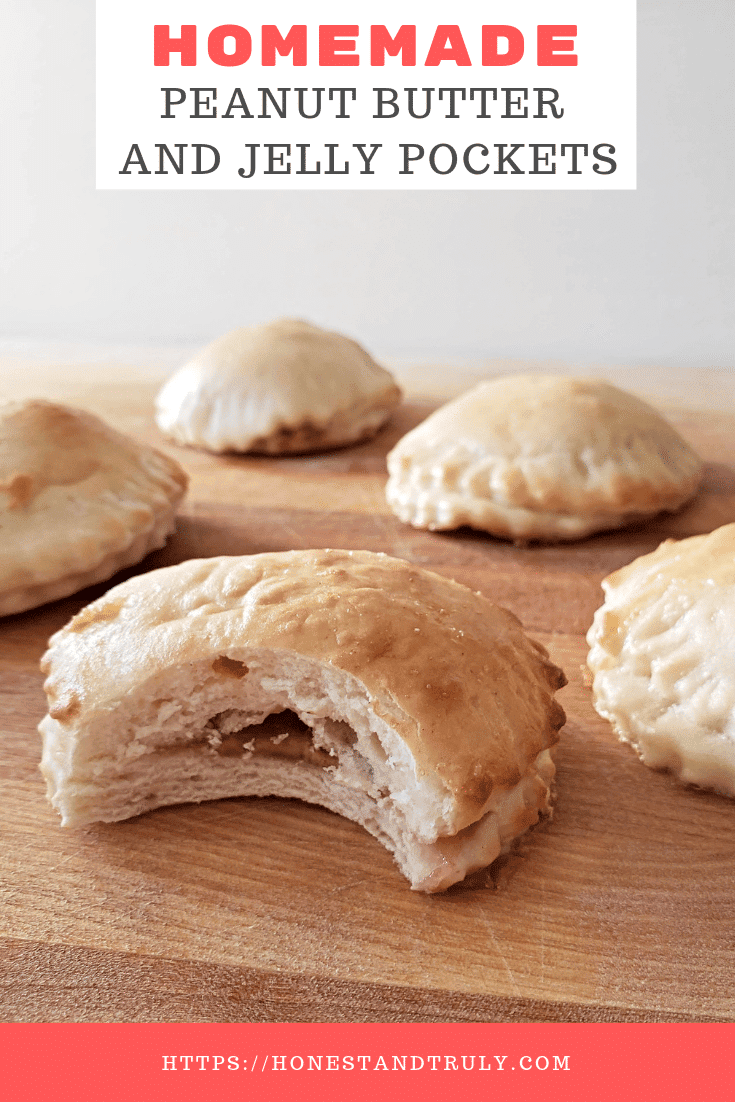
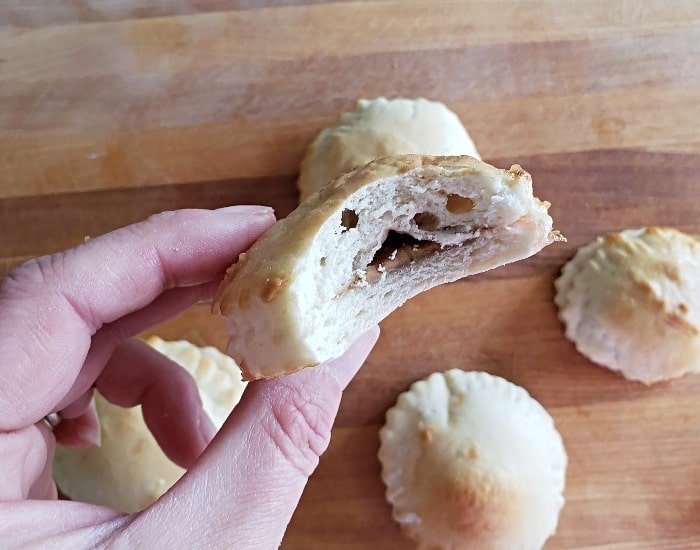
Yes, they’ll take some peanut butter and jelly sandwiches for lunch, and I already mentioned that we do peanut butter and jelly oatmeal for breakfast. These peanut butter and jelly pockets make pb&j so much more fun for them.
I love that I know exactly what goes into these, which makes their school lunch something I feel better about. The dough is easy to make, but if you prefer, you can use a refrigerated pizza dough from the store instead to make it easier.
I whip up a double batch of these peanut butter and jelly pockets and freeze a bunch. It’s not that much more work, and it means the kids can grab three or four frozen pockets – did I mention they’re growing? – and stick them in their lunch boxes with an apple or orange and be good to go in a jiffy.
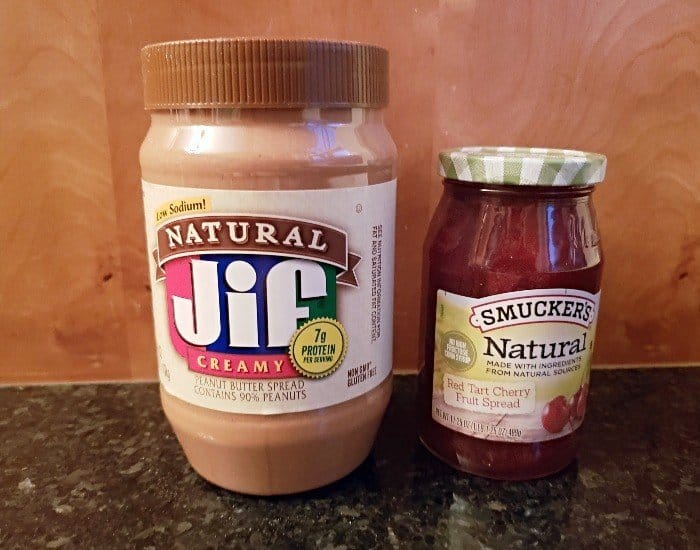
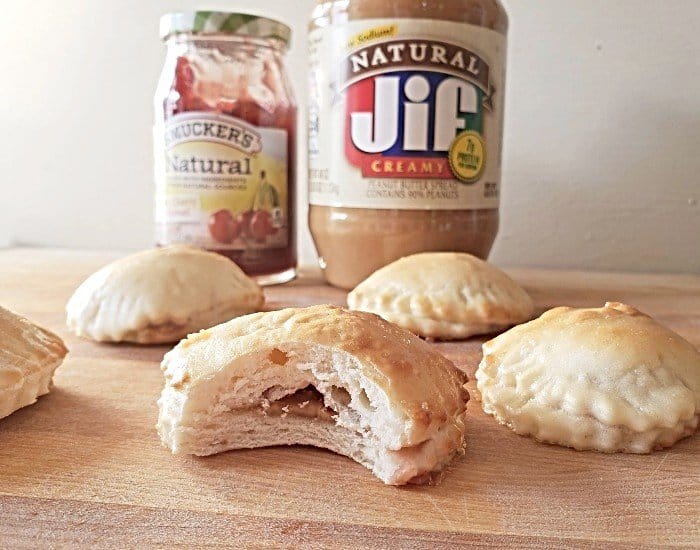
I’ve always been a huge fan of natural products with fewer ingredients, and Jif® Natural Peanut Butter Spread and Smucker’s® Natural Fruit Spread fit the bill. Both Jif® and Smucker’s® are brands that have been trusted for generations.
When you pair the creamy, fresh-roasted peanut taste of Jif® Peanut Butter with high quality, hand picked berries and a lightly sweet dough, you have a whole new twist on a tradition kids have loved for generations. And my kids love the uniqueness of the peanut butter and jelly pockets and keep asking for more!
Bonus? Until February 2, 2019, save over $2 on Jif® Peanut Butter Spread, Smucker’s® Fruit Spreads, and Jif Power Ups® Snacks with mPerks digital coupons!
Looking for more fun ways to change up your classic PB&J? Check out all these ideas!
Peanut Butter and Jelly Pockets Tips
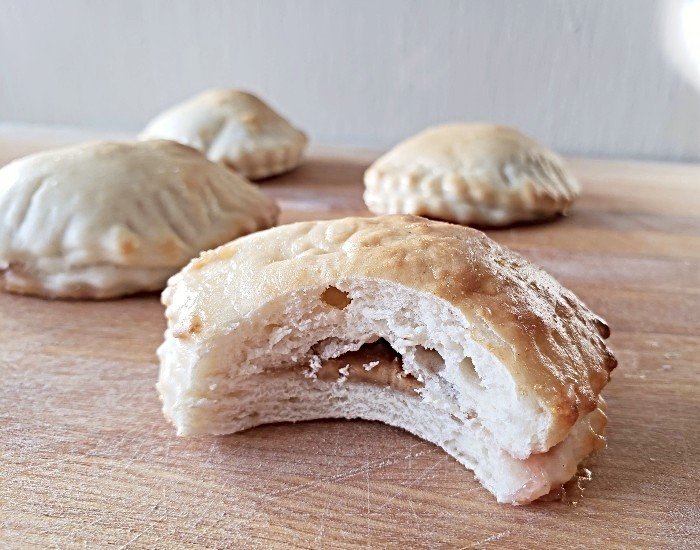
I make my peanut butter and jelly pockets fairly small for a reason. When they’re this small, my kids can eat them in just a couple bites, which reduces the spill factor. You can absolutely make them larger and increase the bake time by a few minutes if you prefer.
I also use my large biscuit cutter to cut out the dough, but you could use a pizza wheel to create rectangles. Just make sure you make it big enough to fold it in half so you don’t have to ensure you have matching pairs if you freehand it.
Obviously since I use a biscuit cutter, I end up with scraps. Bread dough works better than cookie dough, thankfully.
I simply gather up my scraps as soon as I finish cutting and squish them into a ball that goes back under my damp towel. While cookie dough gets tough when you reuse scraps, I can roll out a new sheet from the scraps as many times as I need without issues when it’s bread dough.
These peanut butter and jelly pockets are super flexible. Use them to refresh your kids’ lunchbox from the same old same old, serve them for breakfast, or enjoy them as a perfect on the go snack after school.
They’re hand held, and the size makes them the perfect no muss no fuss bite before sports practice or when you only have a minute to grab something to eat. Store any leftovers you plan to eat within two days in a tightly sealed container on your counter to make it even easier.
Anything you won’t eat within two days, wrap individually in plastic wrap and stick in the freezer in another container. These last up to a month there, and you can let them thaw naturally or pop them in the microwave to reheat them quickly.
How to Make Peanut Butter and Jelly Pockets
Making the dough
Gently warm the milk for about 30 seconds in your microwave. Add warm but not hot water to a bowl with yeast and honey. Add the milk and salt, along with two cups of flour.
Stir to combine. You want this to come together into a dough that is lightly sticky but not wet. Slowly add the remaining half cup, using only what you need to in order to get to a dough that pulls away from the sides of your bowl but remains tacky.
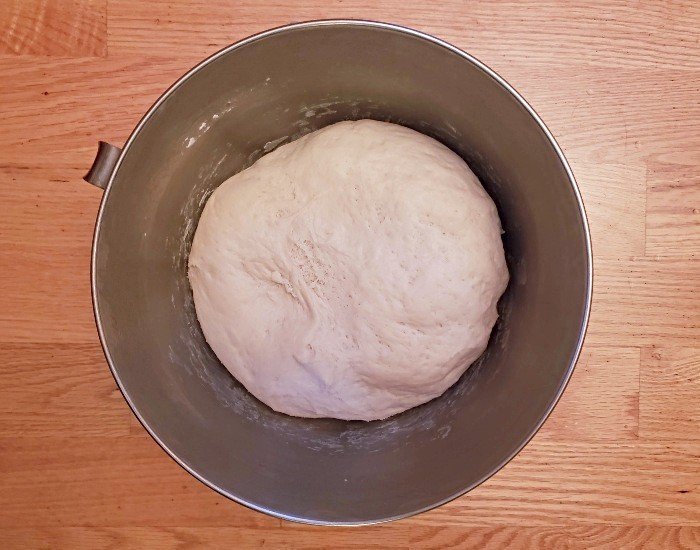
Knead the dough for five to seven minutes either on a floured surface or in your stand mixer. When you finish, it should feel soft and still be sticky – hello, honey! – but not stick to you.
Cover the dough in your bowl with a damp dishtowel, and let it rise for an hour. After the dough doubles in size, preheat your oven to 450 degrees.
Assembling the peanut butter and jelly pockets
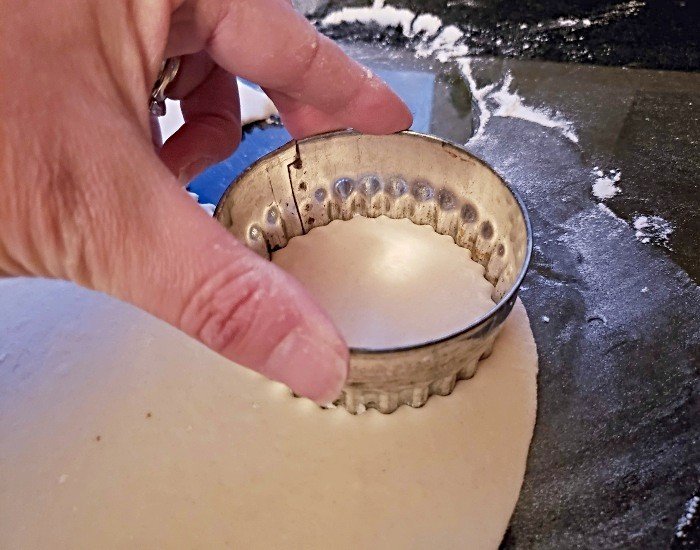
Lightly flour your surface, and roll your out your dough. You want it about an eighth of an inch thick.

Use your biscuit cutter to cut rounds, making sure you have an even number. Place half onto a baking sheet lined with a siltpat or parchment paper.
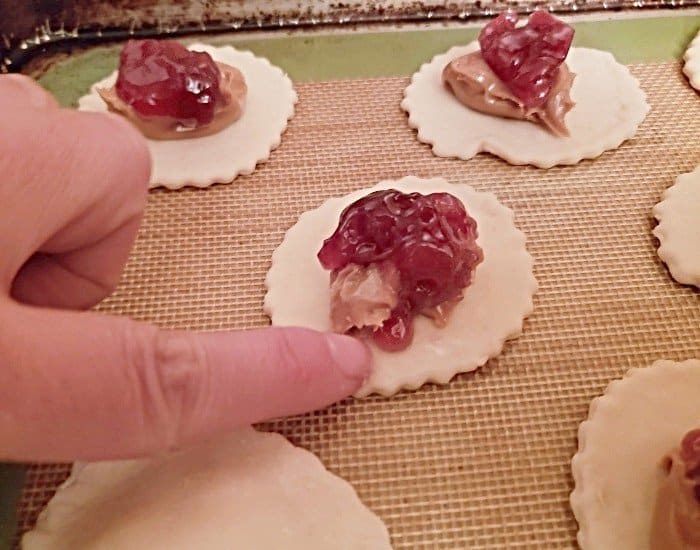
Add a little less than a teaspoon of peanut butter to the center of each bottom half using a second spoon to scrape the Jif® Natural Peanut Butter Spread from the first spoon.

Top with a bit of Smucker’s® Natural Fruit spreads. I chose tart cherry, but use your favorite variety.

Make sure you don’t add too much. If the filling gets too close to the edge, it won’t seal and will leak when it bakes.

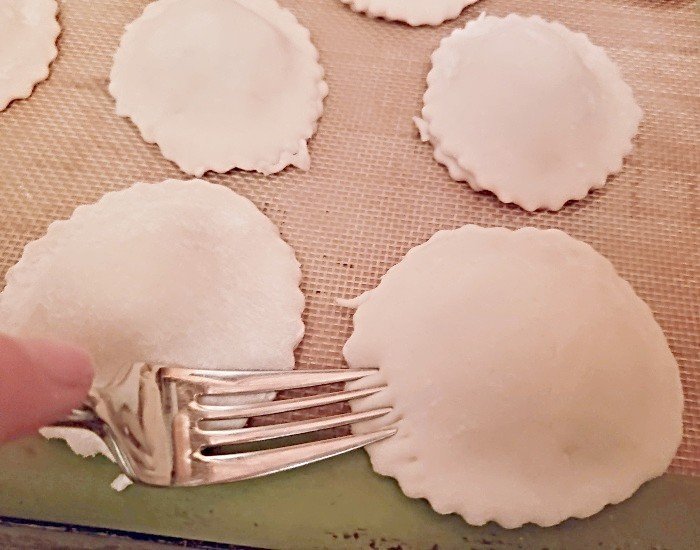
One pocket at a time, dip your finger in water and run it around the circle of your base. Quickly top it with its matching top circle, and gently press the edges together.
Repeat for each pocket. Once finished, use a fork to crimp the edges of each of your peanut butter and jelly pockets together. I recommend going around twice to ensure you seal them thoroughly.
You can place the peanut butter and jelly pockets fairly close together. When they bake, they’ll rise up more than out. That said, I recommend two trays of 10 versus putting all 20 on a single baking sheet.
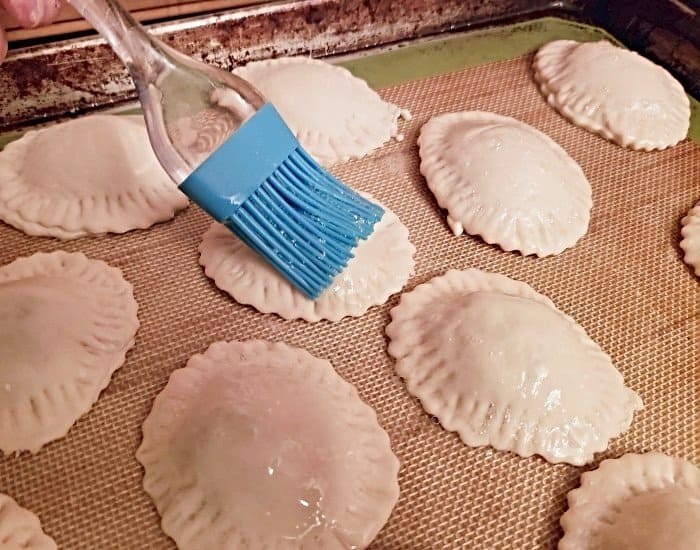
In a small bowl, whisk together your egg white with a tablespoon of water. Use a pastry brush to brush the tops of each pocket to create a nice shiny finish.
Bake for 9 minutes, until the tops are golden brown. Let them cool for three minutes on the sheet before you remove them to a wire cooling rack to finish cooling the rest of the way.
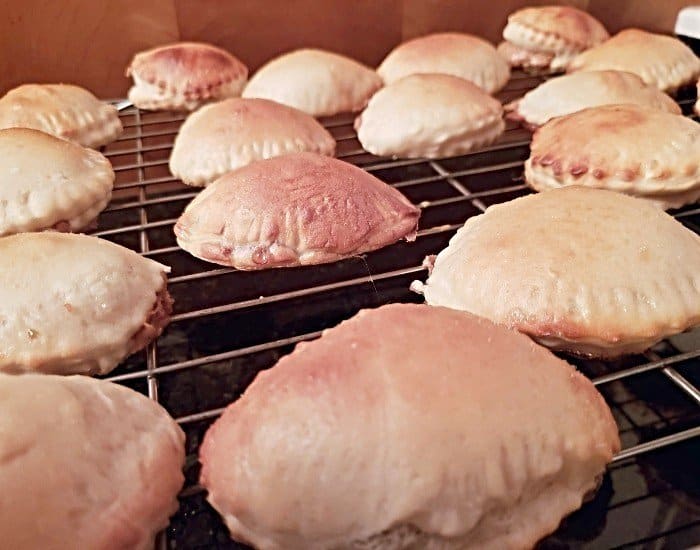
These are fantastic fresh from the oven, but let them cool for at least five minutes before eating. The filling gets awfully hot when it bakes, and I don’t want you to burn yourself.
Have you ever had peanut butter and jelly pockets?
Peanut Butter And Jelly Pockets
Ingredients
For the dough:
- 1/2 cup warm water
- 1/2 cup warm milk
- 2 teaspoons yeast
- 2 tablespoons honey
- 1 teaspoon salt
- 2 1/2 cups flour
For the pocket assembly
- 1/2 cup Jif® Natural Peanut Butter Spread
- 1/3 cup Smucker’s® Natural Fruit Spread
- 1 egg white
- 1 tablespoon water
Instructions
- Add warm water and milk to a bowl with yeast and honey. Add salt and two cups of flour.1/2 cup warm water, 1/2 cup warm milk, 2 teaspoons yeast, 2 tablespoons honey, 1 teaspoon salt, 2 1/2 cups flour
- Stir to combine. Add remaining half cup flour as needed to achieve tacky dough. Knead 5-7 minutes.
- Cover dough in bowl with damp dishtowel, and let rise for an hour.
- Preheat oven to 450 degrees.
- Lightly flour surface, and roll dough to 1/8 inch thick.
- Use large biscuit cutter to cut rounds, and place half onto baking sheet lined with a silpat or parchment paper, ten per sheet.
- Add a little less than a teaspoon of peanut butter to each bottom half and top with less Smucker's® Natural Fruit spread.1/2 cup Jif® Natural Peanut Butter Spread, 1/3 cup Smucker’s® Natural Fruit Spread
- Working with one pocket at a time, dip finger in water and run around the circle of your base. Top with another circle and press edges together. Repeat for each pocket, then use a fork to crimp the edges.
- Whisk egg white with a tablespoon of water in a small bowl, and brush the tops of each pocket.1 egg white, 1 tablespoon water
- Bake for 9 minutes, until the tops are golden brown. Cool for 3 minutes on the sheet, then on a wire cooling rack.
- Store leftovers in a tightly sealed container up to two days. Wrap any extra in plastic wrap and store in the freezer up to a month.
Notes
- The dough is easy to make, but if you prefer, you can use refrigerated pizza dough from the store instead to make it easier.
- For more tips and tricks, be sure to read the full article above.
Nutrition
This site uses an online source to provide nutrition estimates as a courtesy. If you need exact values, please calculate yourself.