

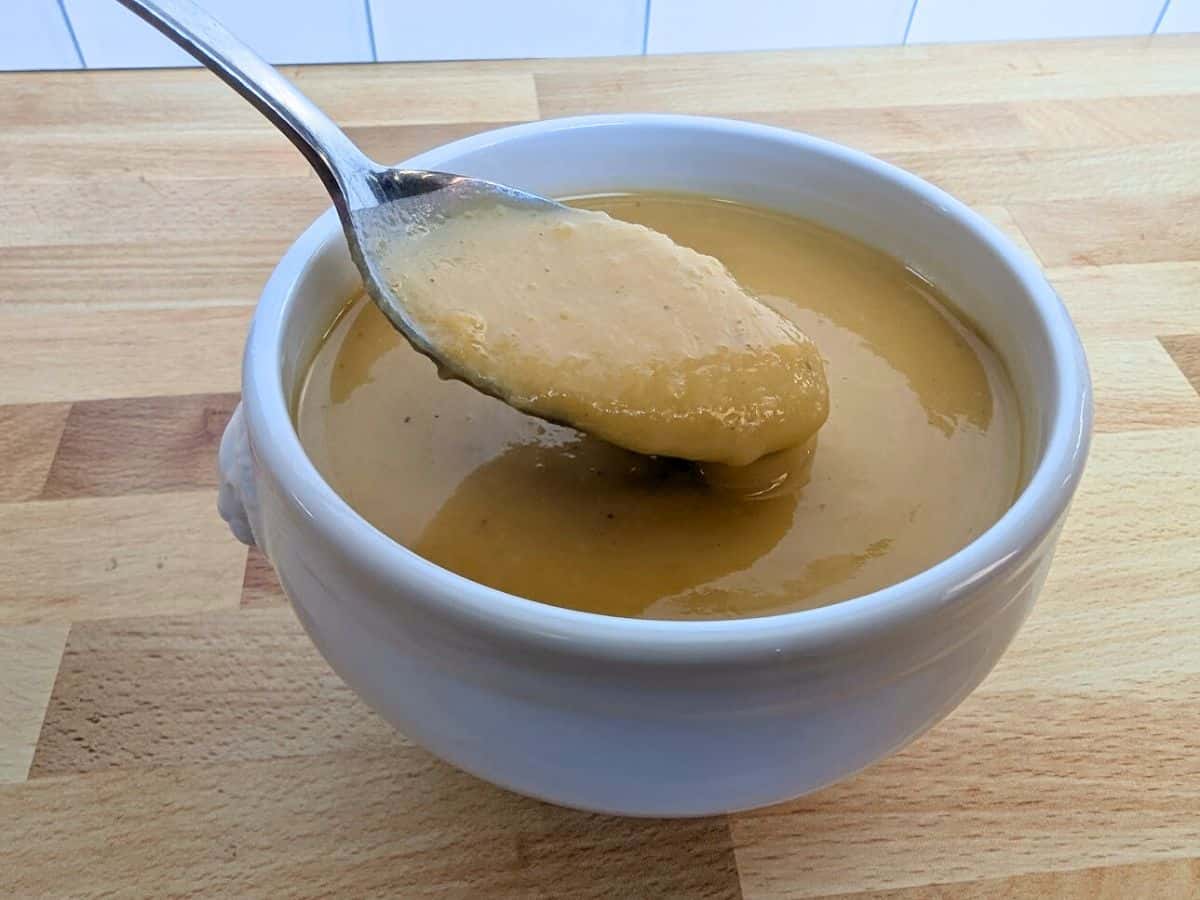
This roasted butternut squash soup is the perfect cold-weather meal. It has simple ingredients, and yet it’s so satisfying.
Yep, it’s fall. And fall in Chicago means that there’s frost on the ground when we wake up and the furnace kicks on all night long trying its best to keep the house comfortable as the temperatures plunge.
This week, I did a roasted butternut squash soup that made a lot of soup – yay! – that the wee ones even liked – yay, yay! – and was super healthy – yay yay yay! – and took a minimal amount of effort.
By minimal I mean I started it just before I left to pick Little Miss up from her Daisy meeting then finished it a couple of hours later while helping her with homework.
Yum. And yes, I did have some of the soup for breakfast (again) this morning.
Some links in this article are affiliate links that may earn me a commission if you purchase through them.
Can I Make This Vegan?
Yes, this soup is easy to make vegan with simple swaps. Instead of using chicken stock, opt for vegetable stock, and the same holds true for swapping coconut milk for the milk.
A good quality vegetable broth will still provide plenty of depth without altering the overall flavor profile. Do not use vegetable bouillon cubes though, as they add salt without giving good flavor.
Coconut milk is the best choice for a non-dairy milk replacement, as it is the closest in creaminess and richness of flavor. You want to use the canned kind, not the carton one – though the carton will work in a pinch.
If you plan to garnish the soup with sour cream or cheese, you can replace them with dairy-free alternatives like coconut yogurt or nutritional yeast for extra umami flavor. Roasting the squash and garlic already brings out a natural sweetness, so you won’t be missing anything by keeping it plant-based.
Why Use Fresh Grated Nutmeg?
Fresh-grated nutmeg provides a more vibrant and complex flavor than the pre-ground variety. When nutmeg is freshly grated, its essential oils are still intact, giving the dish a deeper taste.
Pre-ground nutmeg, on the other hand, loses its potency over time, and very few people use up their nutmeg before it expires. Whole nutmeg can last years while maintaining its flavor when you grate it.
To get the best flavor, use a microplane grater and grate a small amount directly into the soup. It doesn’t take much fresh nutmeg to make a noticeable difference.
Can I Use Pre-Cut Butternut Squash Instead of a Whole Squash?
Yes, pre-cut butternut squash is a great time-saver. However, roasting pre-cut squash will take less time than roasting a halved squash, so keep an eye on it to prevent overcooking.
You’ll still get the same deep, caramelized flavor without the hassle of peeling and cutting a whole squash. Just make sure that the squash is fresh, as many prepped veggies from the grocery store dry out and lose their flavor.
What’s the Best Way to Remove the Flesh from Roasted Butternut Squash?
Once your butternut squash is roasted, the skin becomes much easier to remove. The simplest way is to let it cool slightly so it’s safe to handle, then use a spoon to scoop out the flesh. If the squash is well-roasted, it should separate easily from the skin with little effort.
Alternatively, you can hold the edges and peel the skin back with your fingers or a fork once it is cool enough to safely touch. Don’t try to use a peeler after roasting, as the softened texture makes it difficult to remove the skin cleanly.
Why Roast the Garlic?
Roasting garlic mellows its sharpness and creates a deep, caramelized sweetness that enhances the overall flavor of the soup. Raw or sautéed garlic has a stronger, more pungent bite, especially in this soup where you don’t saute the vegetables before adding the stock. Roasting gives it a more balanced, nutty taste that complements the squash beautifully.
To roast garlic, simply cut off the top of a whole bulb, drizzle it with olive oil, and wrap it in foil. Roast it alongside the squash until it becomes soft and golden.
When it’s done, let it cool enough to handle comfortably and you can squeeze the cloves out easily and blend them into the soup for a smooth, rich garlic flavor without the harshness of raw garlic. This is a great trick for delicious fresh bread, too – I love to spread it over a hunk of homemade bread.
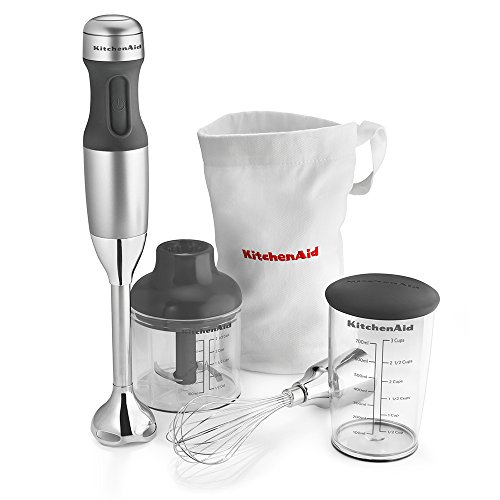
Why Is an Immersion Blender Better Than a Traditional Blender for Soup?
An immersion blender is often the best tool for pureeing soups because it allows you to blend everything directly in the pot. It’s also a lot safer, and you save on dishes – win-win.
If you use a traditional blender, you must blend this in batches and fill the blender no more than a third of the way full. With hot liquids, pressure builds up as you blend, and it can pop the top off and spray hot liquid everywhere.
If you do need to use a blender, be sure to keep it on more than a third full (yes, I’m saying that again) and use a kitchen towel while you hold the top on to keep it from popping off.
Can I Make This Soup Ahead of Time?
Yes, this soup is great to make ahead of time and actually tastes even better the next day as the flavors meld together. Store it in an airtight container in the refrigerator for up to 4-5 days.
When you reheat it, warm it gently on the stove over medium-low heat, stirring occasionally. If it has thickened too much, add a splash of broth or water to loosen the consistency.
Can I Freeze Butternut Squash Soup?
Yes, this soup freezes well. Allow it to cool completely, then store it in freezer-safe containers or portion it into freezer bags for easy reheating.
It will keep for up to 3 months. When ready to eat, thaw in the refrigerator overnight and reheat on the stove. If the texture changes slightly after freezing, blend it again before you reheat it to make it smooth and creamy again.
How Can I Make This Soup Thicker or Thinner?
If your soup is too thick, add extra broth or a splash of cream to loosen it up. If it’s too thin, let it simmer uncovered for a few minutes to reduce, or blend in some additional roasted squash or cooked potatoes to thicken it naturally.
How to Make Roasted Butternut Squash Soup
Split your butternut squash in half with a sharp knife. Use a large knife, and give it a good whack to get it started.

I then find it easiest (and safest) to leave the knife embedded and simply pound the squash on the cutting board, much like you might do when splitting wood. Once the squash is open, scoop out the seeds with a spoon.

Yes, you can save them for later to roast like pumpkin seeds. (Yes, it’s a theme with me right now.)
Lightly oil a 13×9 glass baking dish, and place the halves of the butternut squash cut side down. Peel your onion, cut it in half, and place it cut-side down, as well.

Lastly, cut off the top of your bulb of garlic. Set it on a piece of tin foil, and lightly drizzle it with olive oil. Place this atop your squash.

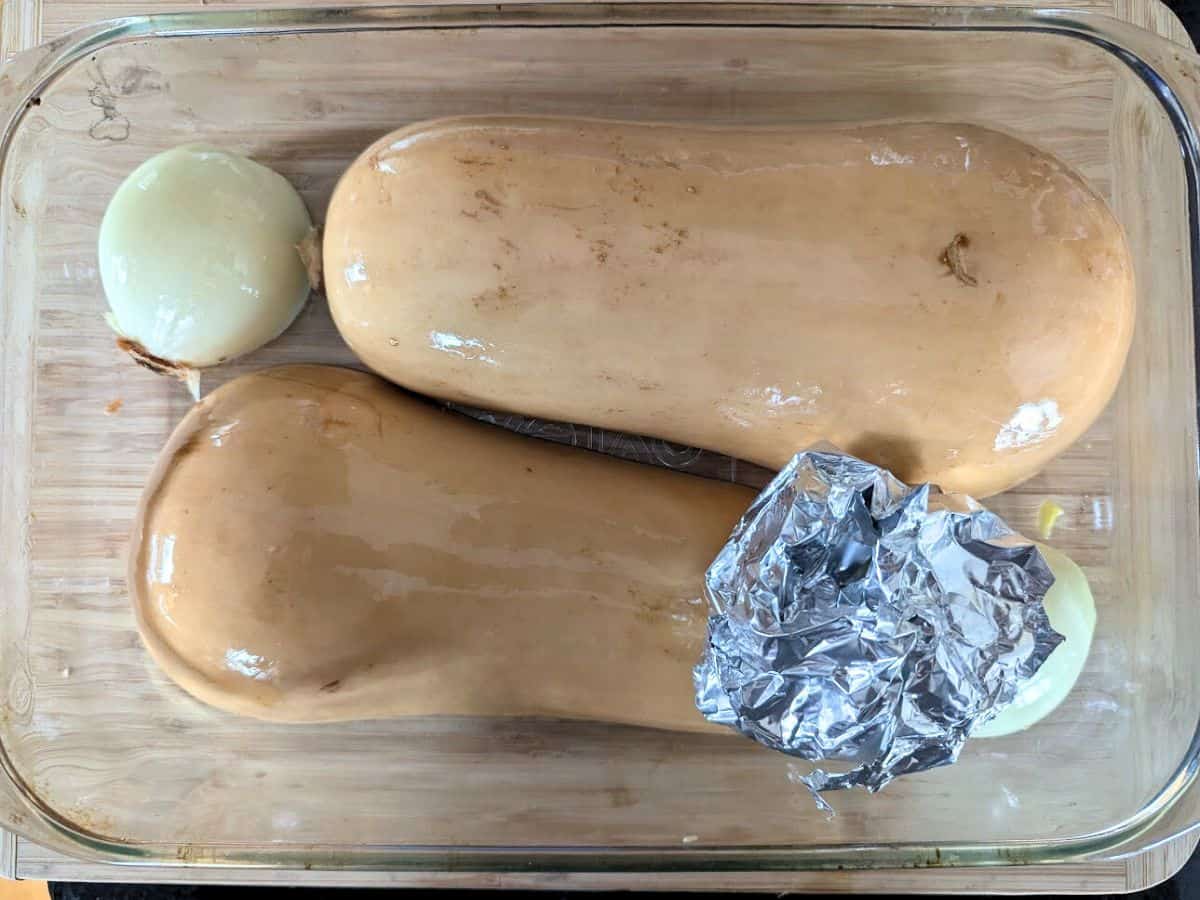
Roast all of these at 375 degrees for forty-five minutes. You’ll see the skin start to soften and shrivel just a bit. When it’s soft to the touch, it’s done.
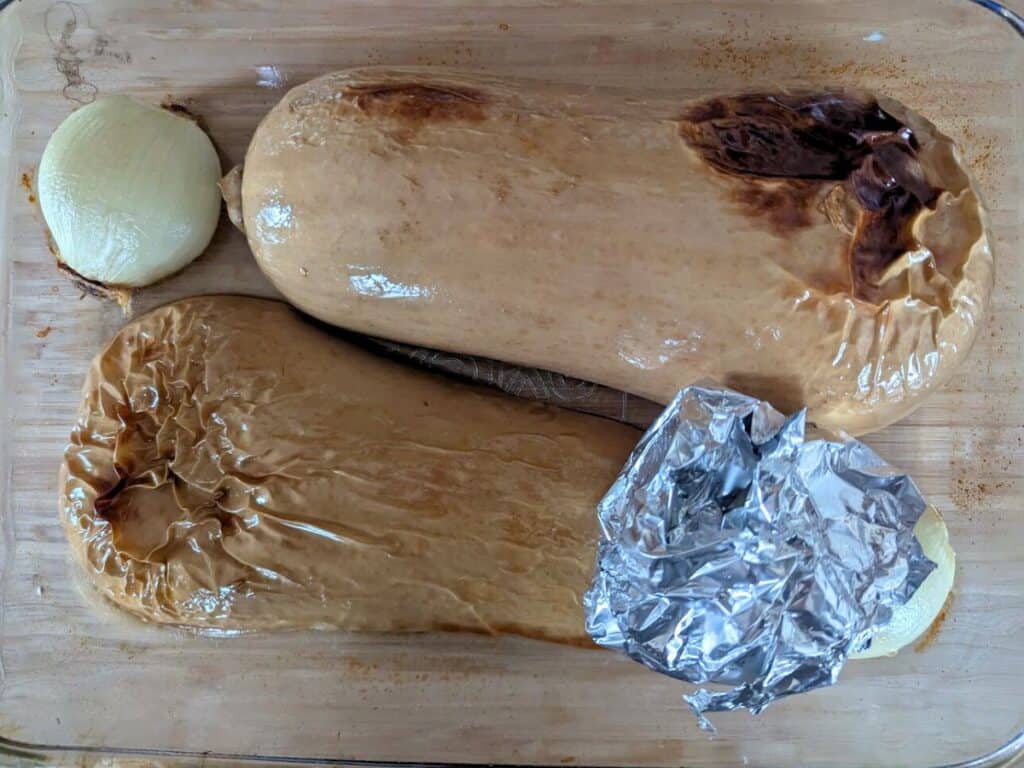
Note that I didn’t go through the effort of peeling my squash ahead of time or cutting it into pretty little cubes. Nope, I’m of the opinion that minimal effort can still create great dishes.
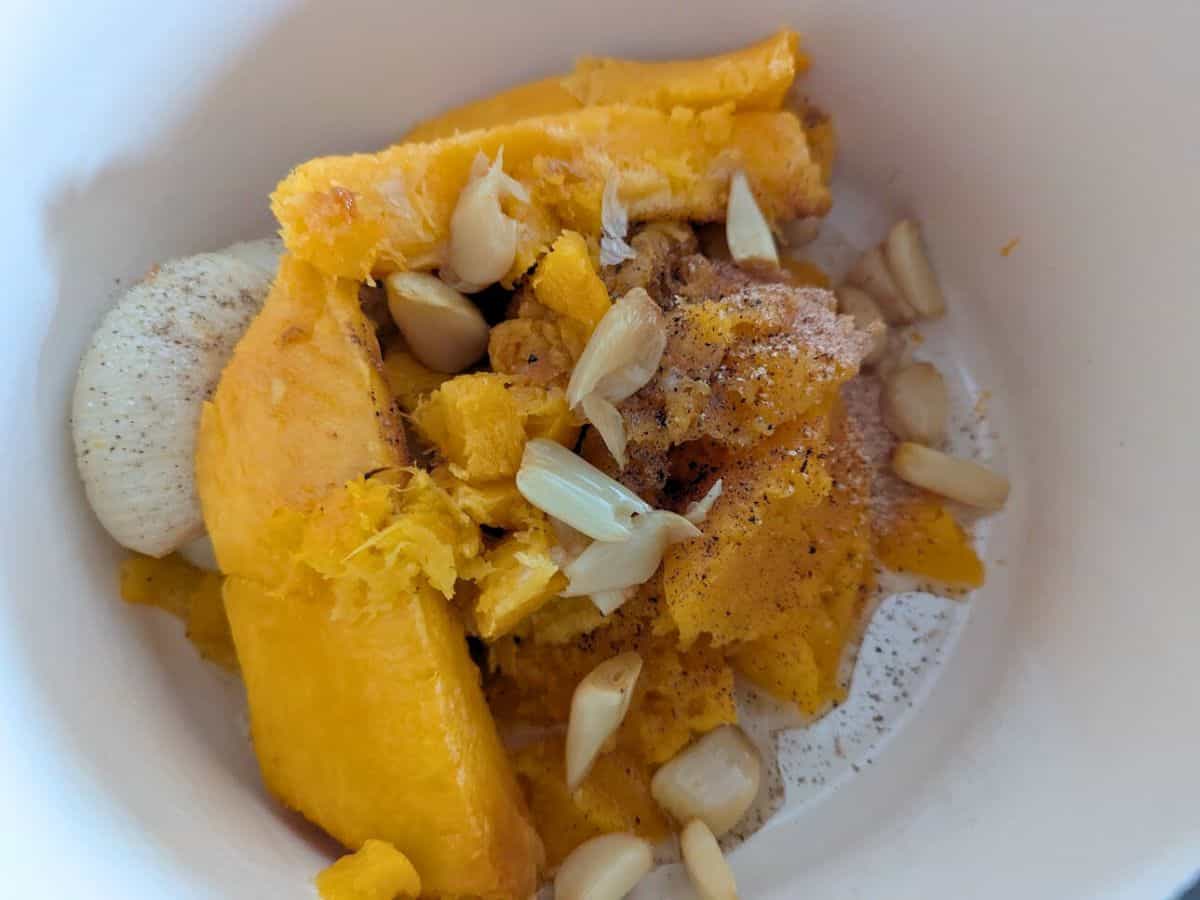
Once it’s roasted, you simply scoop the flesh into your soup pot, leaving the skin behind. The skin will practically peel off by itself.
Squeeze the garlic from the bulb into the pot, as well.
Try not to be like me. I have a horrible time resisting saving some of the freshly roasted garlic to put on the bread I know I’m going to bake with this, too.
Roasted garlic is awesome. And so easy. Little Miss has requested that I make some just for her.
Add the onion, making sure to trim the root end of the onion before you add it. There’s no need to cut it any further, as you’ll puree everything later.
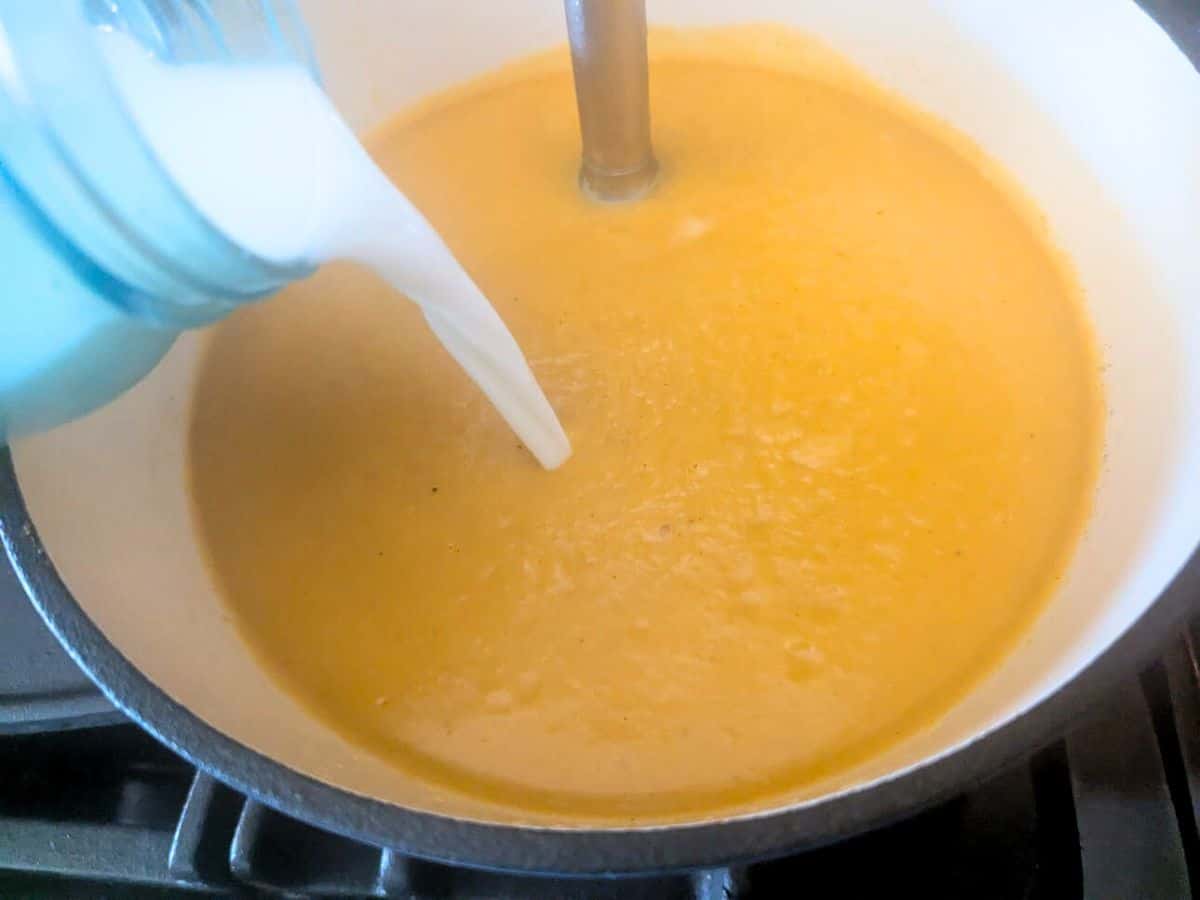
Add the 3 cups of chicken stock, and bring it to a simmer for 20 minutes.
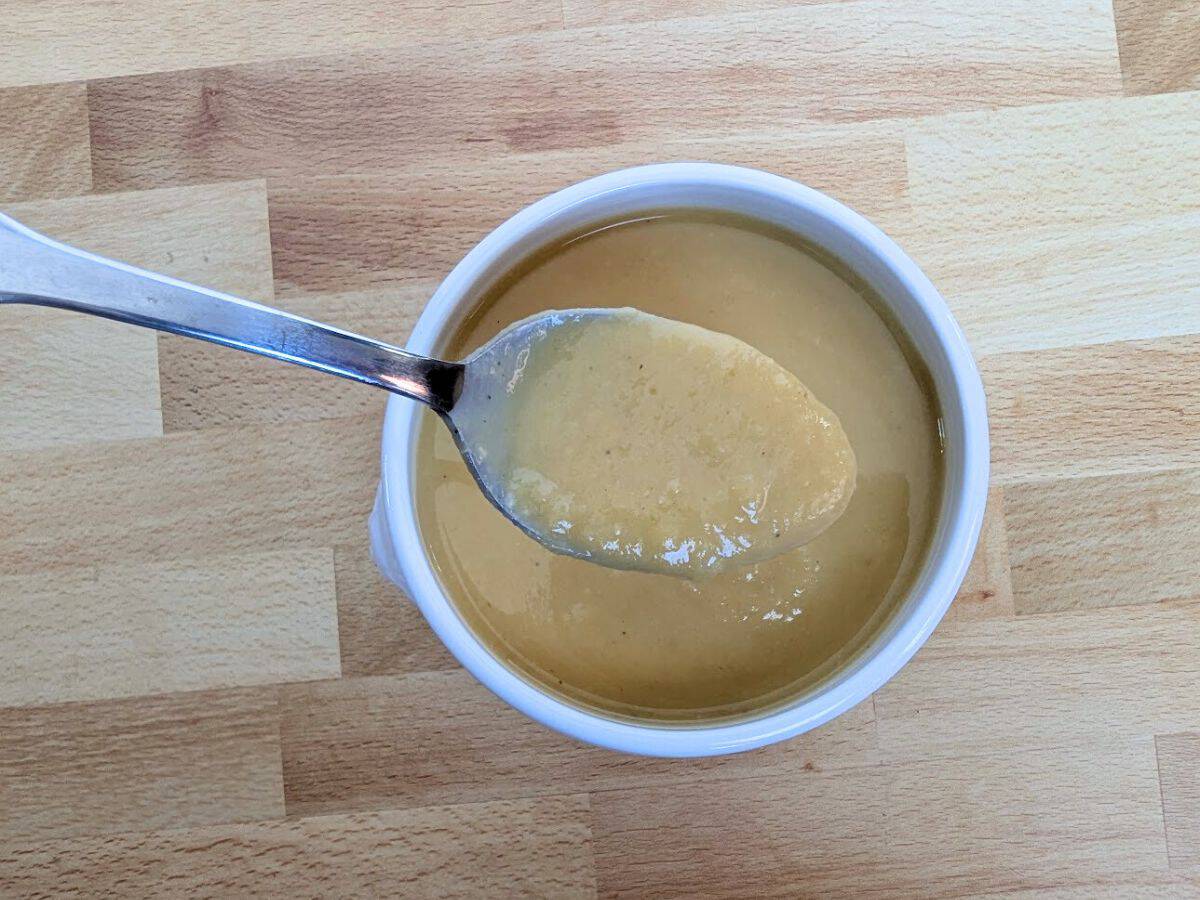
After 20 minutes of simmering, add the milk. Then add the salt, pepper, and grated nutmeg. Either use your immersion blender to puree it – if you don’t have one, buy one; this is one of the most used tools in my kitchen – or you can use your standard blender.
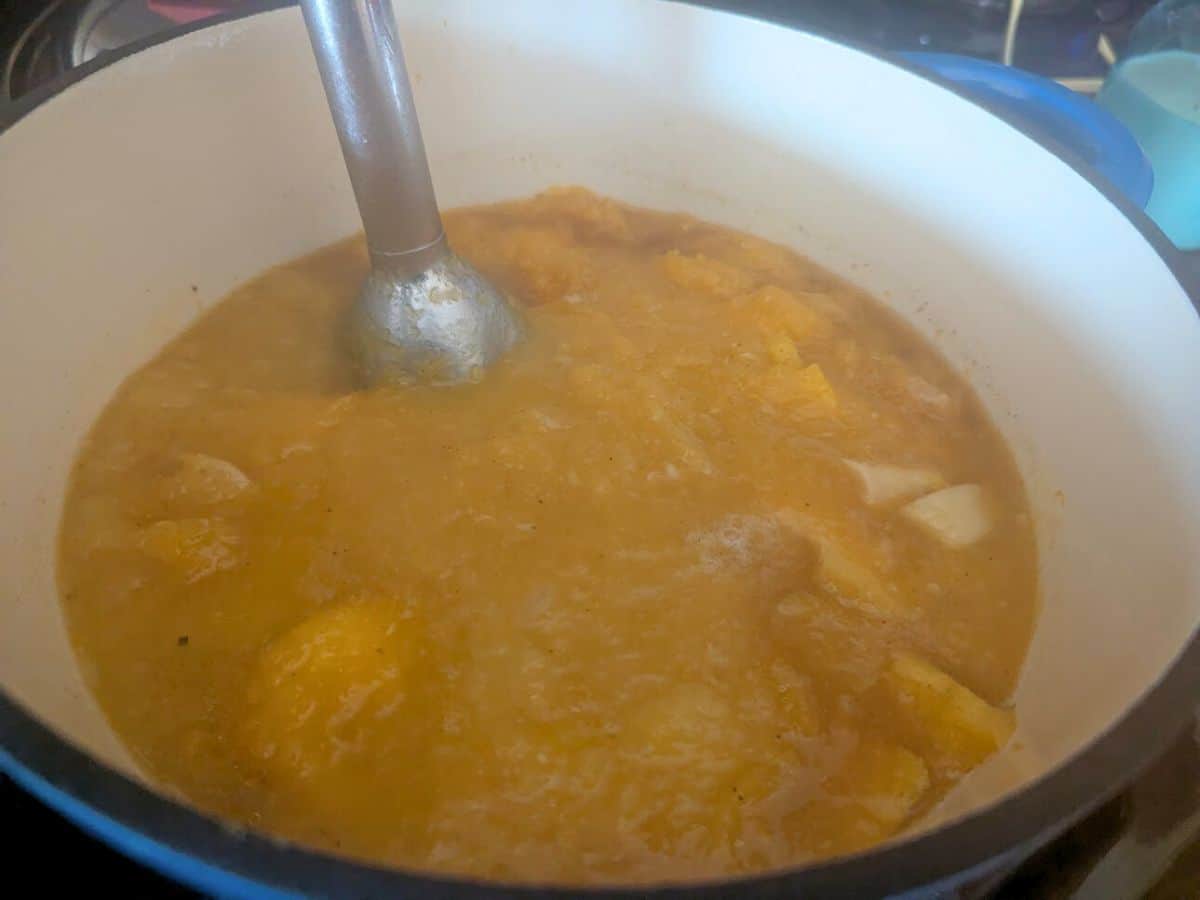
If you use your standard blender, be sure to fill it no more than one-third full and hold the top closed with a kitchen towel. The heat with cause the air in the canister to expand, and you don’t want it to blow out hot soup to burn you (see, another reason why an immersion blender is so awesome).
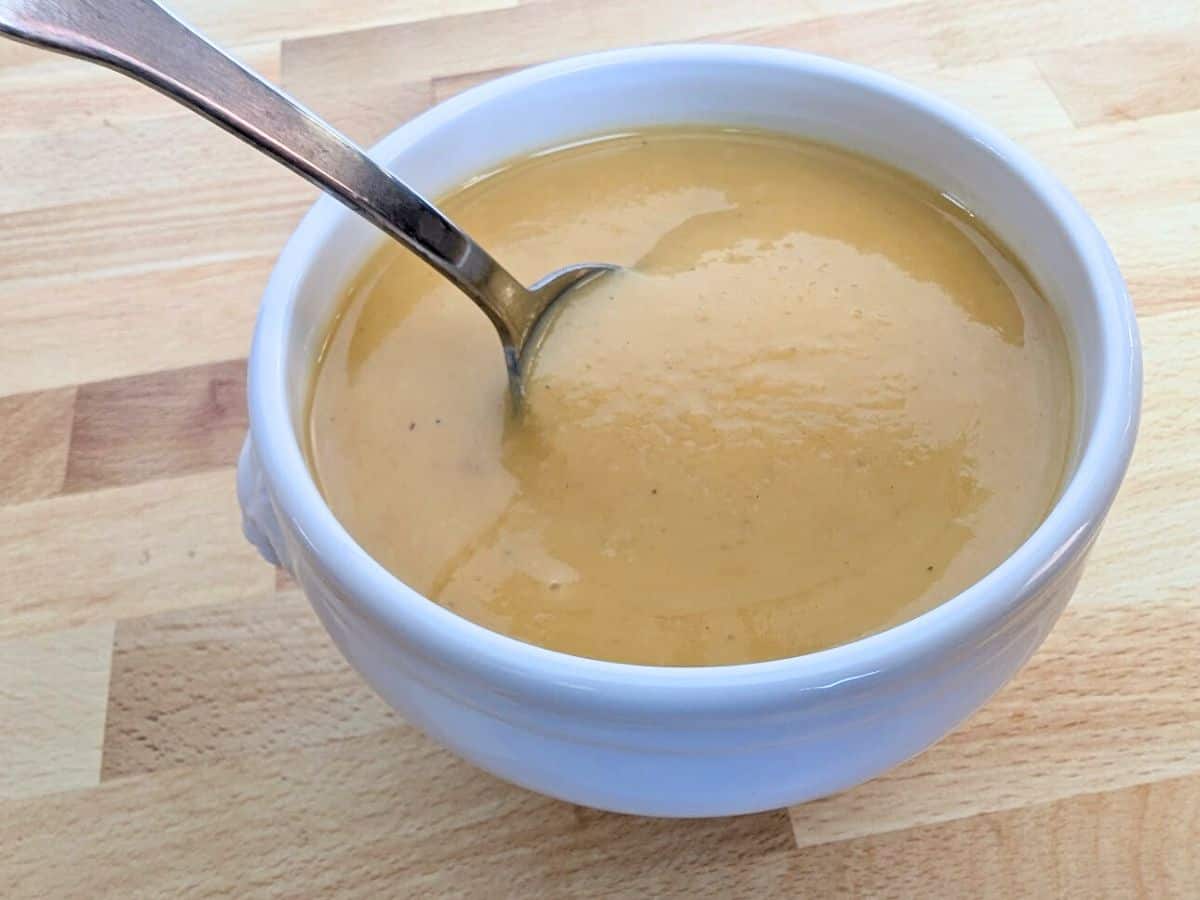
Serve immediately with hot bread. This will last in the fridge for a few days, and personally I like it both hot and cold. The roasted garlic and onion add such a great flavor to this, and so healthy and hearty for a fall day.

Roasted Butternut Squash Soup
Ingredients
- 1 decent size butternut squash
- 1 onion
- 1 bulb garlic
- 3 cups chicken stock
- 1 cup milk
- 1/2 teaspoon nutmeg grated
- salt and pepper to taste
Instructions
- Split your butternut squash in half with a sharp knife. Use a large knife, and give it a good whack to get it started. Once the squash is open, scoop out the seeds with a spoon.1 decent size butternut squash
- Lightly oil a 13×9 glass baking dish, and place the halves of the butternut squash cut side down. Peel your onion, cut it in half and place it cut side down, as well.1 onion
- Cut off the top of your bulb of garlic. Set it on a piece of tin foil, and lightly drizzle it with olive oil. Place this atop your squash.1 bulb garlic
- Roast all of these at 375 degrees for forty-five minutes. You’ll see the skin start to soften and shrivel just a bit. When it’s soft to the touch, it’s done.
- Once it’s roasted, you simply scoop the flesh into your soup pot, leaving the skin behind. The skin will practically peel off by itself. Squeeze the garlic from the bulb into the pot, as well.
- Add the onion, making sure to trim the root end of the onion before you add it. There’s no need to cut it any further, as you’ll puree everything later.
- Add the 3 cups chicken stock, and bring it to a simmer for 20 minutes. After 20 minutes of simmering, add the milk. Then add the salt, pepper, and grated nutmeg. Either use your immersion blender to puree it or you can use your standard blender.3 cups chicken stock, 1 cup milk, 1/2 teaspoon nutmeg, salt and pepper


Notes
- For a vegan option, use vegetable stock.
- I used rice milk to make this dairy-free, if you do not want to make this dairy-free, you can use other milk.
- If you use your standard blender, be sure to fill it no more than one-third full and hold the top closed with a kitchen towel. The heat will cause the air in the canister to expand, and you don’t want it to blow out hot soup to burn you.
- For more tips and tricks, be sure to read the full article above.
Nutrition
This site uses an online source to provide nutrition estimates as a courtesy. If you need exact values, please calculate yourself.
I am a participant in the Amazon Services LLC Associates Program, an affiliate advertising program designed to provide a means for sites to earn advertising fees by advertising and linking to Amazon.com.
This looks and sounds SO delicious. Another keeper for me!
I'm all for minimal effort.
Is it wrong to say I just want to take the roasted garlic and a stick of butter to the bread? Love the soup recipe though…even aside from my issues with love of roasted garlic!
Pat – It is *so* good and so gone. And really cheap to make. I think I'll be doing this one again really really soon!
Unknown Mami – Another place where good enough is the new perfect, right?
Watching the Paint Dry – Nope, not at all. It's possible I took a crust of my bread and squeezed out any last little bit of garlic that I had left from that clove and ate it, though I can somehow skip the butter. Most of the time. Yum.