I have a rule during summer: I don’t turn on my oven. Ok ok, so I occasionally break it, but I do my best to avoid using the oven. I still want dessert, so I’m all about no bake desserts.
Growing up, my mom used to make a strawberry icebox cake with graham crackers, and when I saw the Lemon NILLA Wafers at Walmart last week, I had a brainstorm.
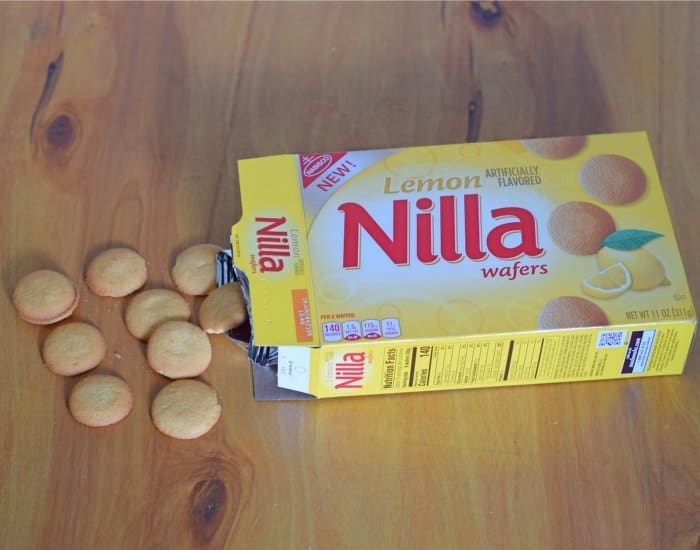
Lemon NILLA wafers in an icebox cake would be even better than graham crackers, right? And if I’m going to use lemon in the “cake” then I really should go with a strawberry lemonade flavor throughout.
My mind made up, I totally went back to my childhood with this fun and easy recipe. Who doesn’t remember snacking on NILLA Wafers?
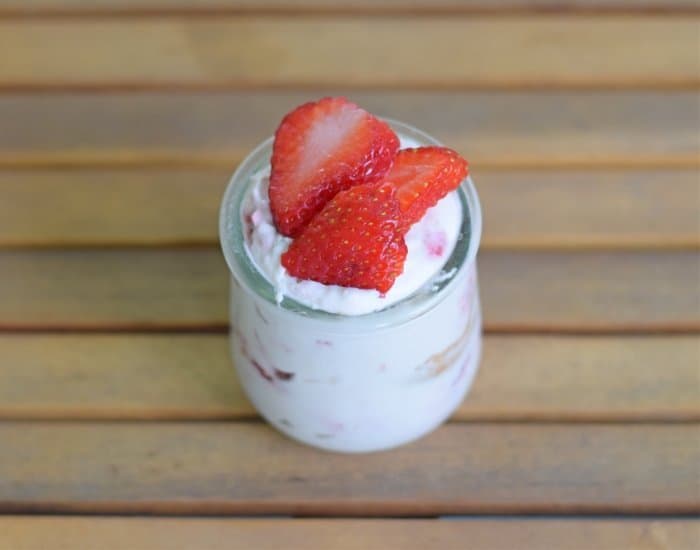
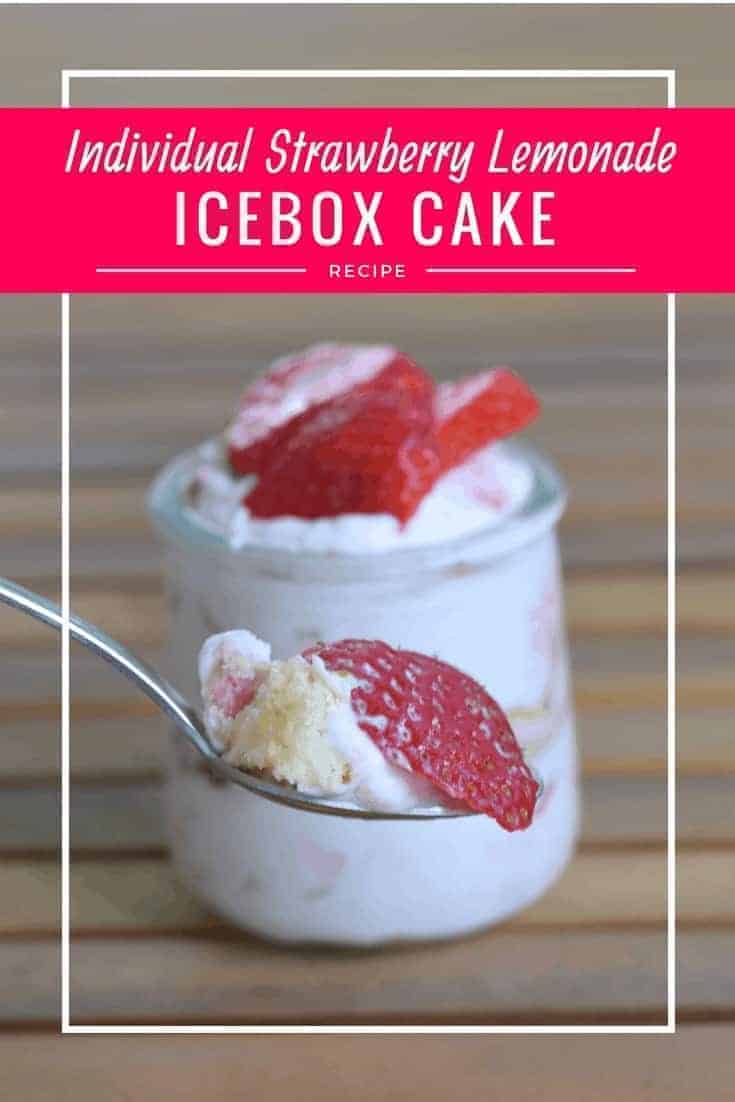
This individual strawberry lemonade icebox cake is the perfect update on an old no-bake classic.
In fact, I plan to make this individual strawberry lemonade icebox cake recipe for my Fourth of July party. Top them with a few blueberries in addition to the strawberries, and you’ve got a perfect patriotic dessert.
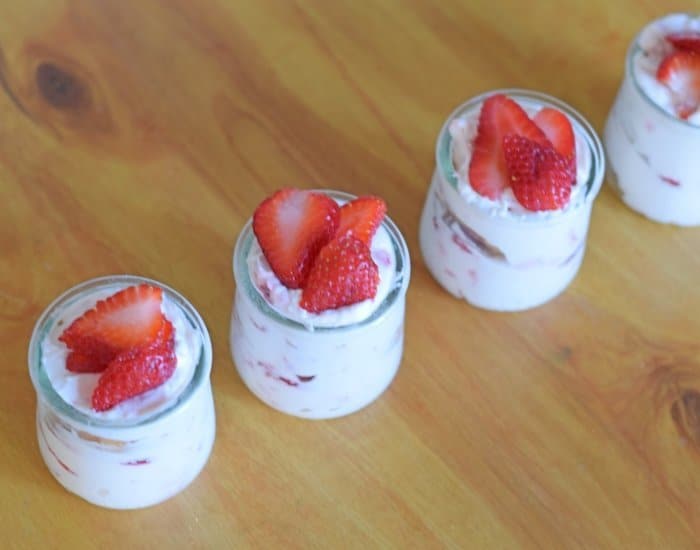
They’re perfect for a party because you make them ahead of time – winning! Give them at least four hours in the fridge or up to overnight, which means less prep when you have guests coming over.
I love the tang of the lemon and cream cheese in this that keeps it from being too sweet on a hot summer day. And since you make this in individual jars, you don’t have to worry about serving it up later. Just hand your friends a small jar and spoon!
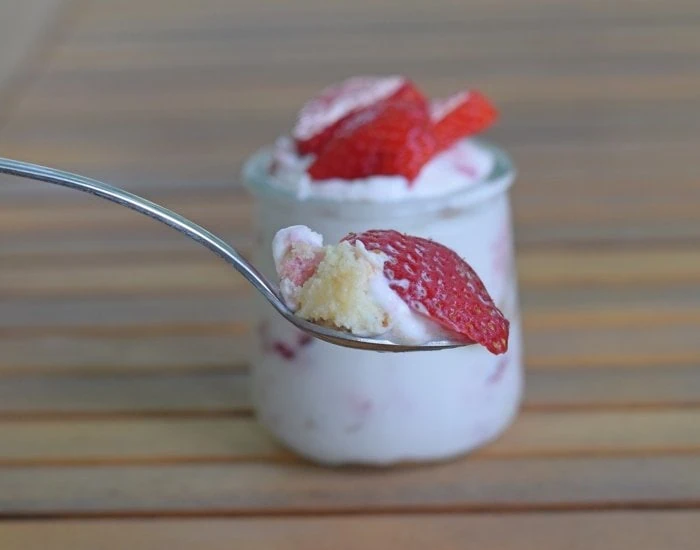
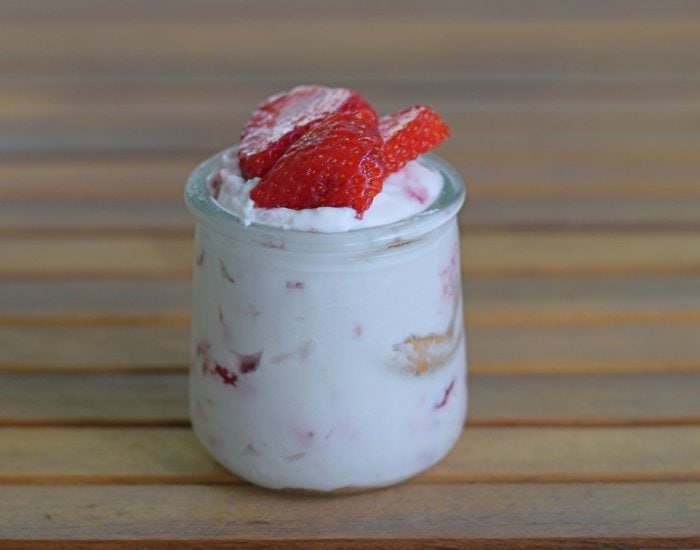
If you didn’t grow up eating icebox cake, you’re in for a treat. The Lemon NILLA Wafers soften from the whipped cream mixture and create a soft cake texture with a delicious filling around it. This is the dressed up adult version, and all my friends loved their individual strawberry lemonade icebox cake.
If you don’t have small jars, you can make this recipe in an 8×8 glass dish, too. I love the elegance and no-mess ease of individual desserts though!
How to Make an Individual Strawberry Lemonade Icebox Cake
Are you a visual person? Check out the video of this post that shows how to make this no bake strawberry icebox cake step by step:
Be sure to soften your cream cheese to room temperature before starting. If it’s cold, your whipped cream mixture gets lumpy. The cream cheese not only adds some tang to complement the lemon flavor but also helps maintain the structure of your whipped cream as it refrigerates.
Wash and hull your strawberries. Cut two large or three regular size strawberries into pieces, and sprinkle the granulated sugar over them. This helps soften the strawberries and release the juices that you’ll add to your whipped cream.
Congratulations, you just made macerated berries! Pro tip: Use macerated berries to top ice cream, cheesecake, and other desserts. You can do this with raspberries, blueberries, blackberries, and more.
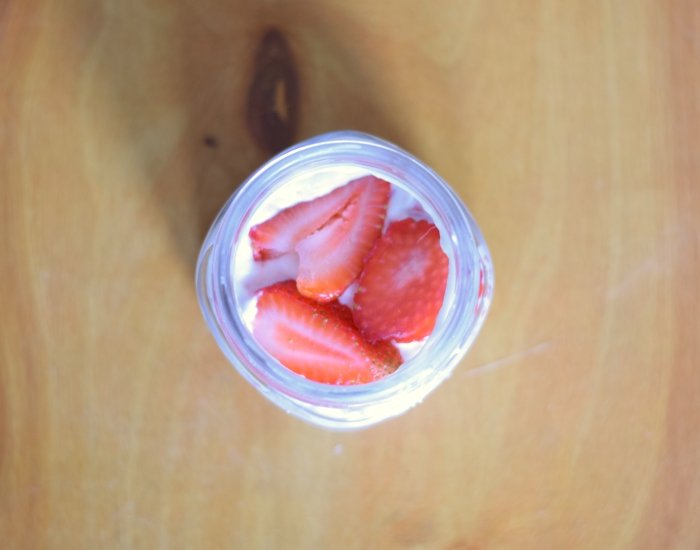
Slice your remaining strawberries into thin slices and set aside for later.
Add the cream cheese to your mixing bowl and mix for ten seconds to ensure it spreads easily. Add the whipping cream and start mixing on low. Turn up the mixer slowly and beat until you notice it start to thicken.
Add the powdered sugar and mix again, starting on low speed and gradually turning up the speed. Mix until stiff peaks start to form.
Add the lemon juice and your macerated strawberries with their juice. Beat again until the strawberries start to fall apart, then turn off the mixer.
Get out your clean jars. You want small jars with wide mouths for this. Depending on the size of your jar, this makes either four or six cakes.
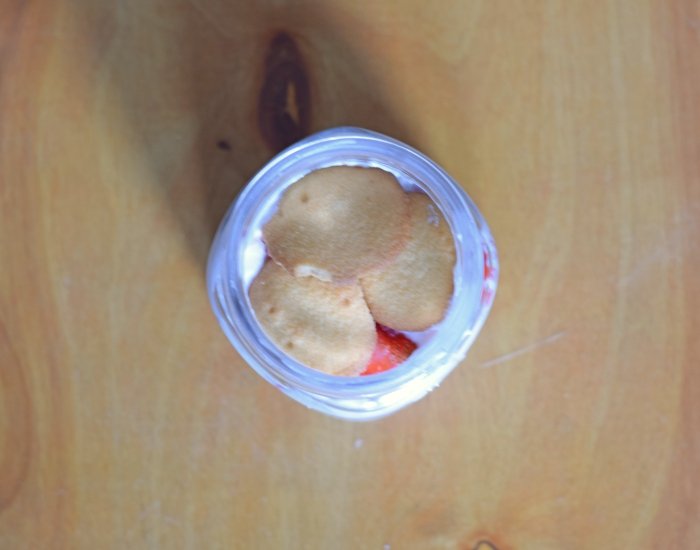
Break one third of your Lemon NILLA Wafers in half. Place a whole Lemon NILLA Wafer and a half Lemon NILLA Wafer on the bottom of the jar.
Top with one to two spoons of the whipped cream mixture, and spread to cover the Lemon NILLA Wafers.
Add a layer of sliced strawberries. Repeat twice more, ending with a layer of the whipped cream mixture.
Fill all jars the same way, then place your jars in the fridge for at least four hours and up to overnight. You won’t use all your strawberries, so place your remaining strawberries in the fridge, as well, in a separate sealed container.
Just before serving, remove the individual strawberry lemonade icebox cake jars from the fridge. Decorate with the remaining strawberry slices, and serve.
Strawberry Lemonade Icebox Cake
Ingredients
- 7 large strawberries
- 1 teaspoon granulated sugar
- 4 ounces cream cheese softened
- 1 cup heavy whipping cream
- 1/2 cup powdered sugar
- 2 teaspoons lemon juice
- 27 Lemon NILLA Wafers
Instructions
- Wash and hull strawberries. Cut two large or three regular size strawberries into pieces, and sprinkle the granulated sugar over them.7 large strawberries, 1 teaspoon granulated sugar
- Slice remaining strawberries into thin slices and set aside.
- Add cream cheese to mixing bowl and mix for ten seconds, then add whipping cream. Start on low speed and gradually increase. Beat until it starts to thicken.4 ounces cream cheese, 1 cup heavy whipping cream
- Add powdered sugar and mix again, starting on low speed and gradually turning up speed. Mix until stiff peaks start to form.1/2 cup powdered sugar
- Add lemon juice and sugared strawberries. Beat again until strawberries start to fall apart.2 teaspoons lemon juice
- Break 9 Lemon NILLA Wafers in half. Place a whole Lemon NILLA Wafer and a half Lemon NILLA Wafer on the bottom of a small wide mouth jar.27 Lemon NILLA Wafers
- Top with one to two spoons of the whipped cream mixture, and spread to cover.
- Add a layer of sliced strawberries. Repeat twice more, ending with a layer of whipped cream mixture.
- Fill all jars the same way, then refrigerate jars at least four hours and up to overnight. Place remaining strawberries in the fridge in a separate sealed container.
- Just before serving, remove jars from fridge. Decorate with remaining strawberry slices, and serve.
Video


Notes
- If you don’t have small jars and want to make a traditional cake, use an 8×8 glass baking dish instead. Repeat the same steps, although you likely won’t need to break Lemon NILLA Wafers in half.
- If you cannot fine Lemon NILLA Wafers, you can use regular NILLA Wafers for this, as well.
- For more tips and tricks, be sure to read the full article above.
Nutrition
This site uses an online source to provide nutrition estimates as a courtesy. If you need exact values, please calculate yourself.
Have you ever tried an individual strawberry lemonade icebox cake?
Oh my gosh, YES, PLEASE!!! Those look amazing!!!
They absolutely are. This was so easy to make, and they turned out fantastic – everyone loved them!
These look like the perfect BBQ party dessert. Easy and stress-free is what summer cooking is all about. I’m sure everyone from kids to adults would love this.
I love no bake dessert recipes. They are so easy to make. This is perfect for a summer barbeque.
These are perfect for summer and for 4th of July and for Canada Day in my case 🙂 And I do love icebox cakes. So easy to do but sooo delicious.
My family all thinks I”m strange because I LOVE to eat out of cups and jars and such. That is one of the reasons I love this idea so much. Plus my family loves the ice box cakes. I’m not much of a baker so this is right up my alley. Great post!
Awww thank you! I’m with you on loving to eat individually portioned desserts and foods. It’s oddly just more fun!
Oh, how I wish I were there to have a taste!! I can’t believe how easy it is and I didn’t even know they make Lemon nilla wafers. I’m getting so many ideas of where I can go with your recipe. There are so many great fruits I can use. I can’t wait to make it.
The Lemon NILLA Wafers are new, and they’re so good! I think I may end up making another batch of these for a 4th of July BBQ next week. And yes – you absolutely can swap out your favorite fruits for this. It’s so flexible.
These looks so light and refreshing for summer. My kids would love this. I like the hidden wafers inside – would be a nice crunch. Can’t wait to try.
Oh that’s the whole fun and secret! The wafers absorb the moisture from the whipped cream layers and turn into a cake like texture and flavor. It’s so fun!
I love this sort of pudding, so easy to make but impressive when individually served. Ideal for using with my collection of French glass yogurt pots
Ha! That’s exactly what these are. They’re my French glass yogurt pots 🙂 Perfect!