


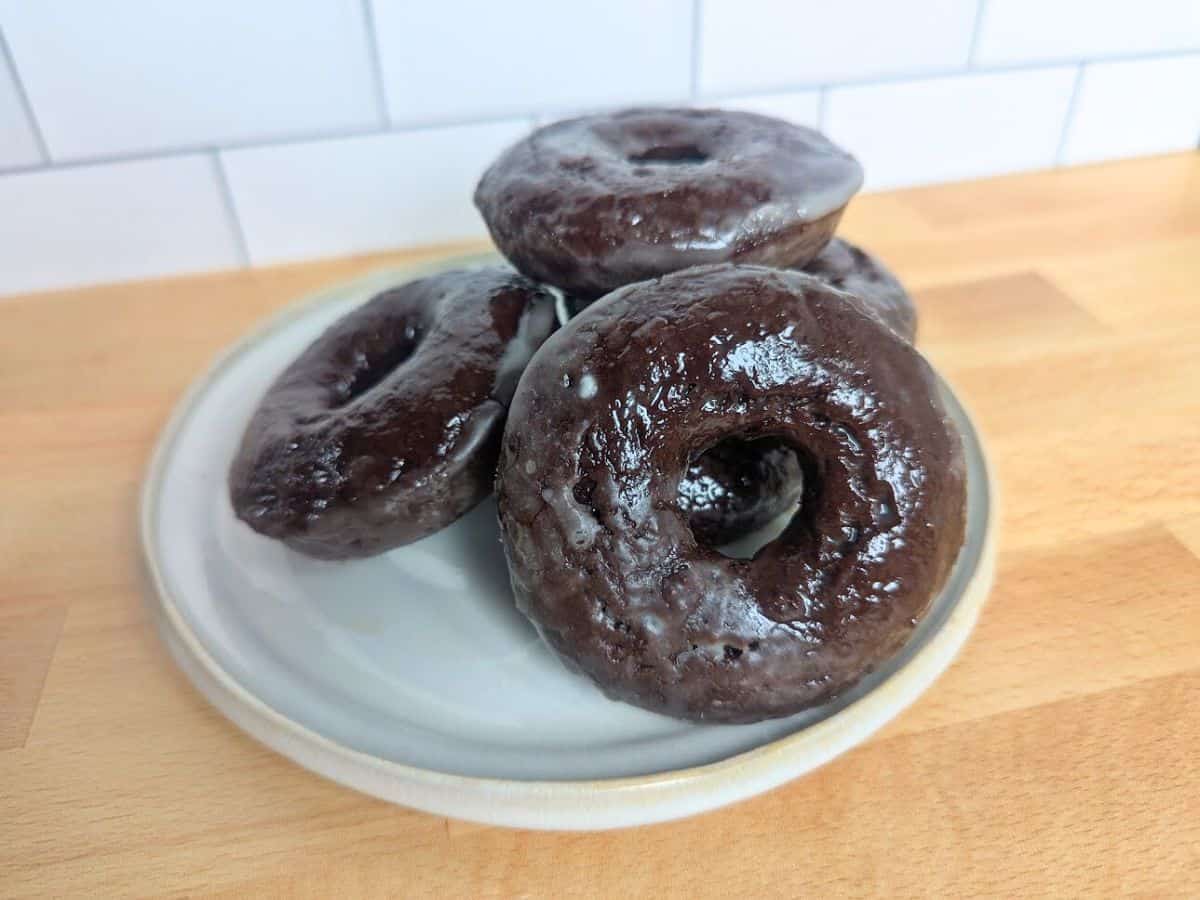
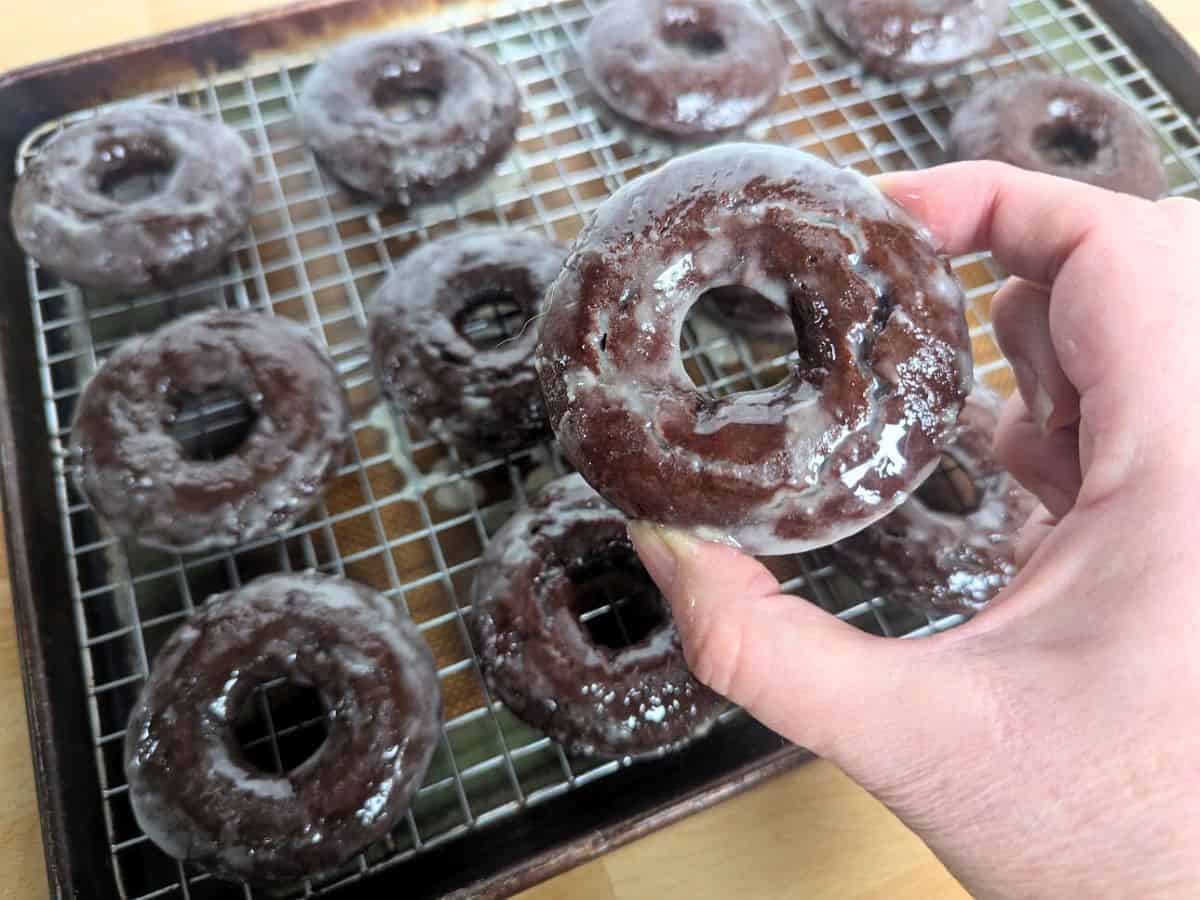
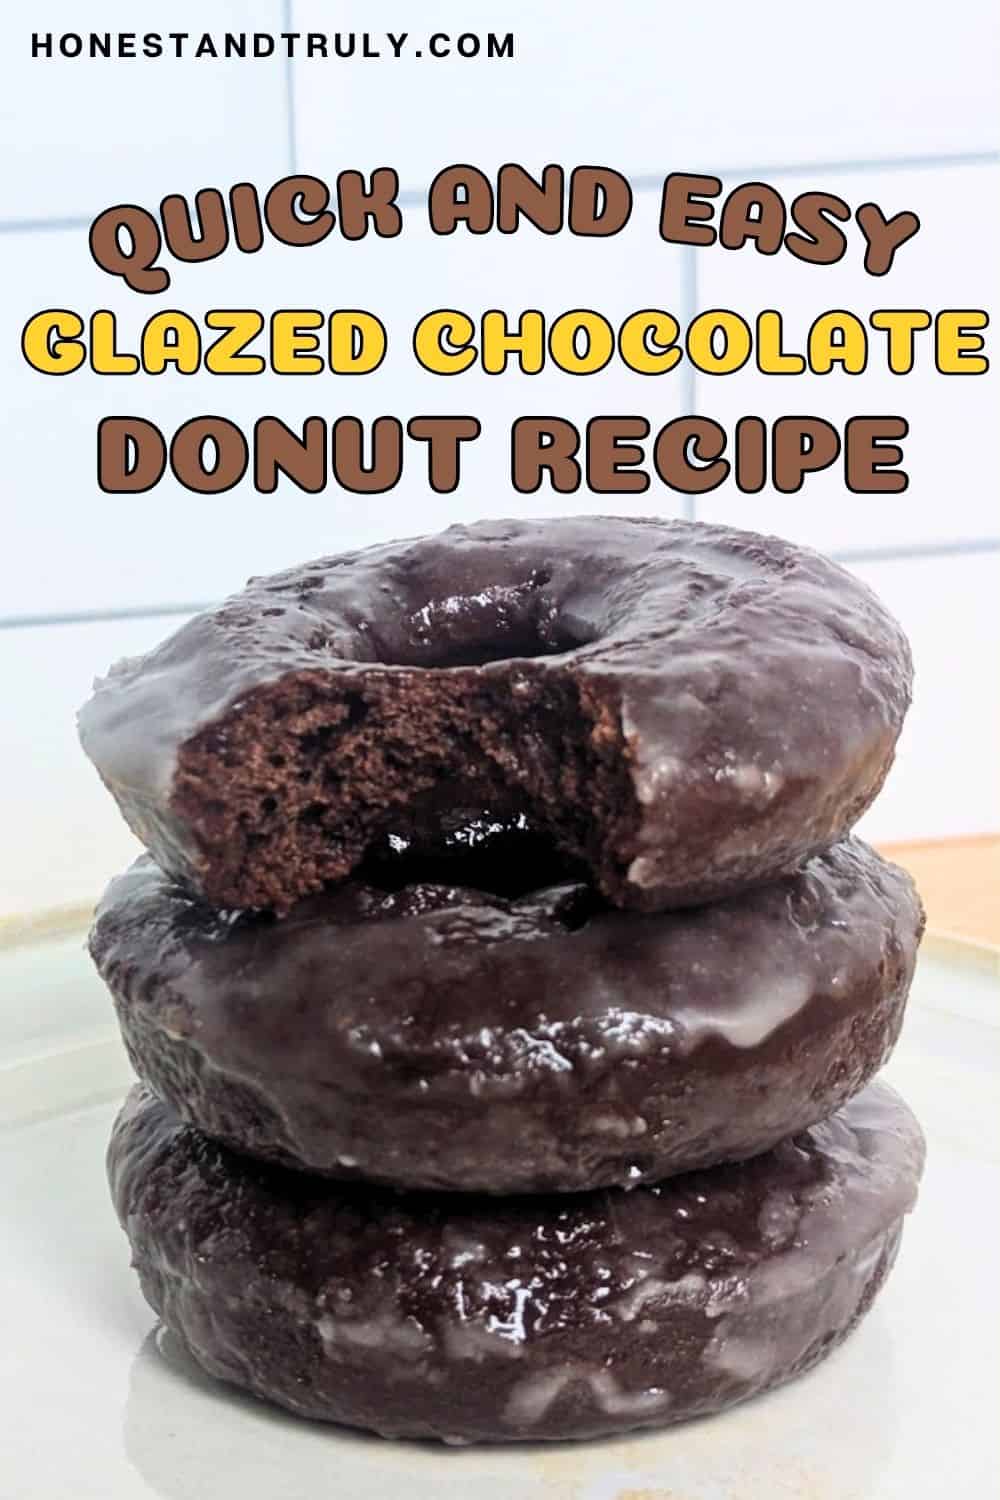
Baking for my family is my love language, and these glazed chocolate donuts told them everything they need to know. The only problem? They’re so good my family keeps begging me to make them again.
Donuts are a fun thing to make at home, but they can be intimidating. This recipe bakes the donuts, which I much prefer to frying them myself.
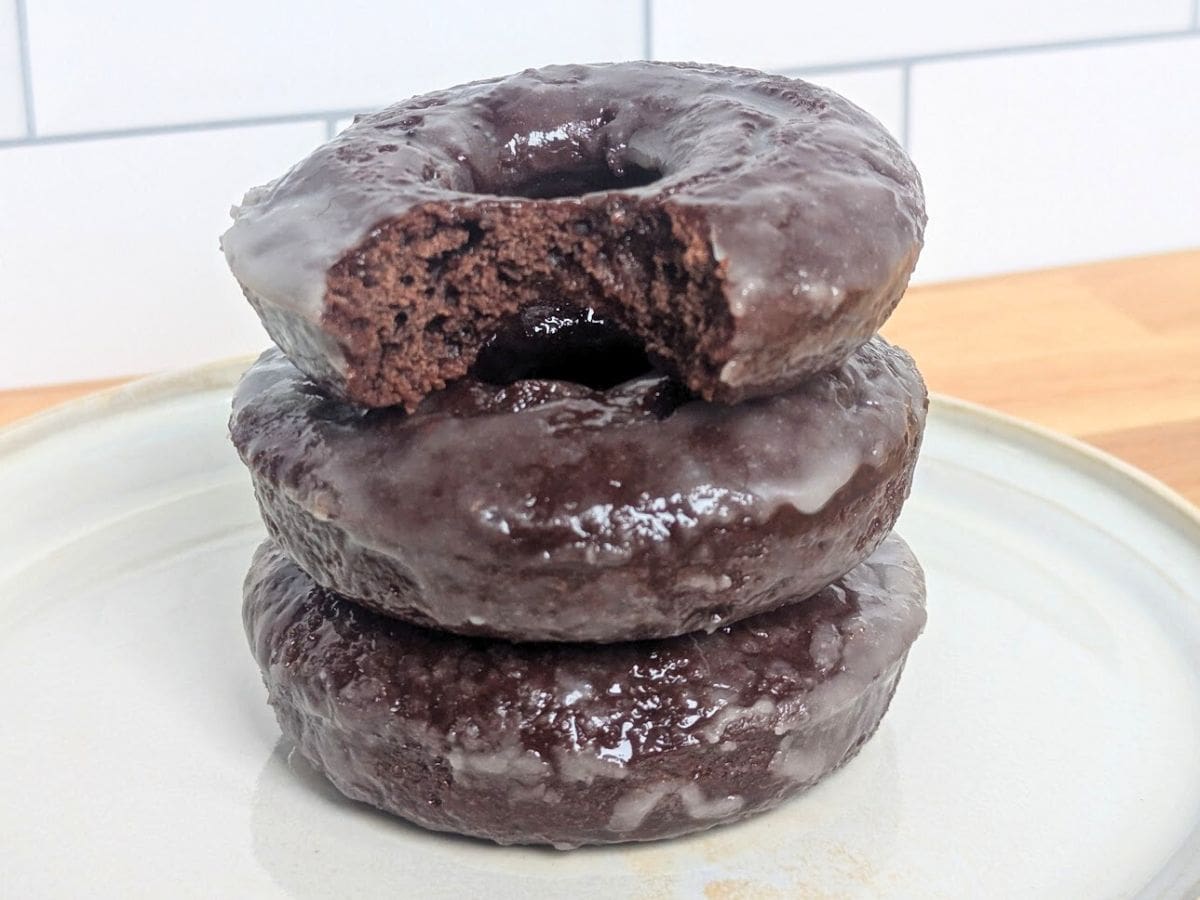
They are chocolate-y and rich and delicious and so much less expensive than heading to the bakery to pick up a dozen. These are fun to make with your kids, too, and much less difficult than you expect them to be.
If you want to try some other donuts, I have great recipes for Cinnamon Sugar Donuts, Lemon Glazed Donuts, Classic Chocolate Covered Donuts (with Sprinkles!), and so many more. Make them all!
Some links in this article are affiliate links that may earn me a commission if you purchase through them.
Should I add coffee to the donut batter?
Yes! Adding brewed coffee to the liquid ingredients brings out a deeper, richer chocolate flavor. The coffee doesn’t make the donuts taste like coffee; instead, it enhances the overall chocolate experience.
You get a more complex, well-rounded taste that chocolate lovers will appreciate. I use this in many of my chocolate recipes, like these Double Chocolate Zucchini Muffins and Ultra Moist Chocolate Cake.
What’s the easiest way to fill the donut pans?
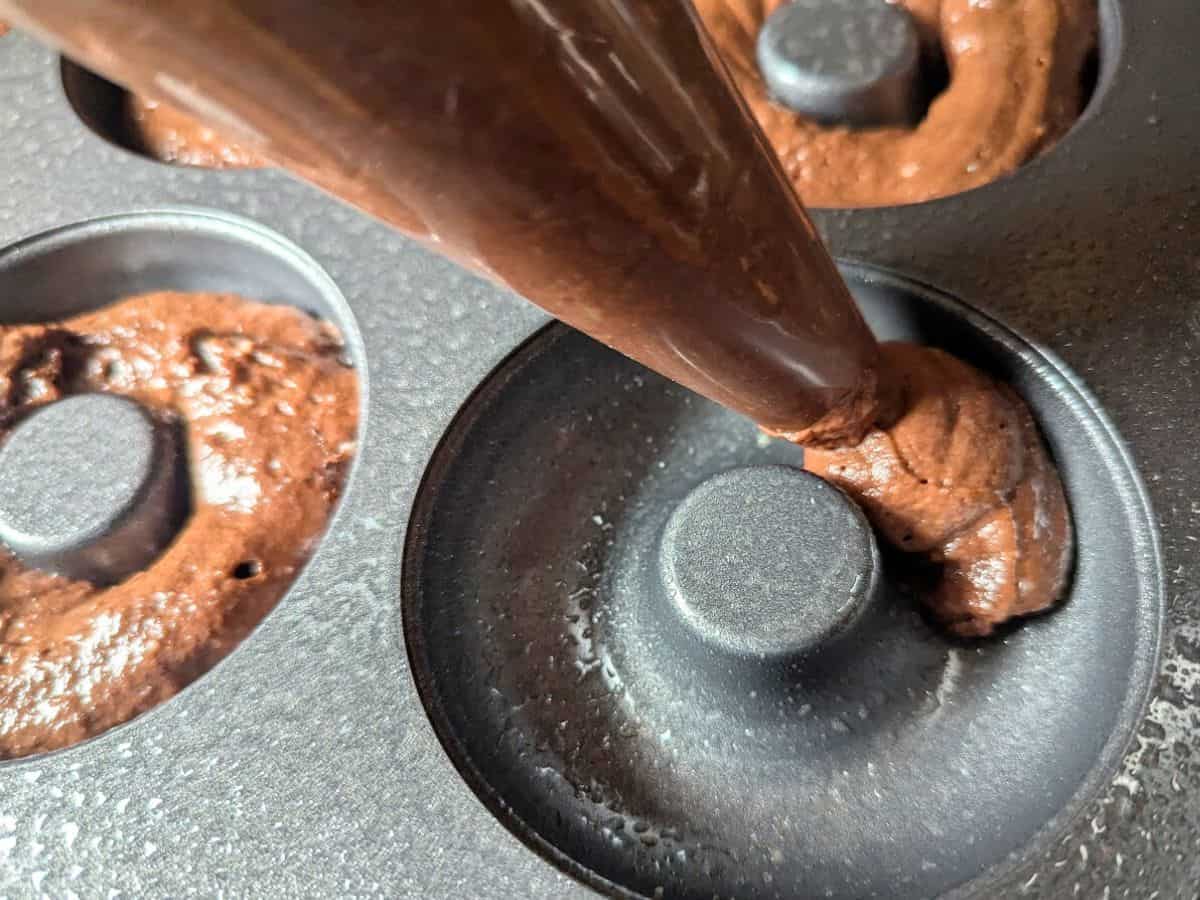
The easiest way to get the donut batter into the pans is to pipe it in there. You can use either a piping bag or a quart or gallon-size zip-top bag.
Place the bag over a tall glass, and fold the top over the edge of the glass. This allows you to use both hands to fill the bag, and it won’t spill either.
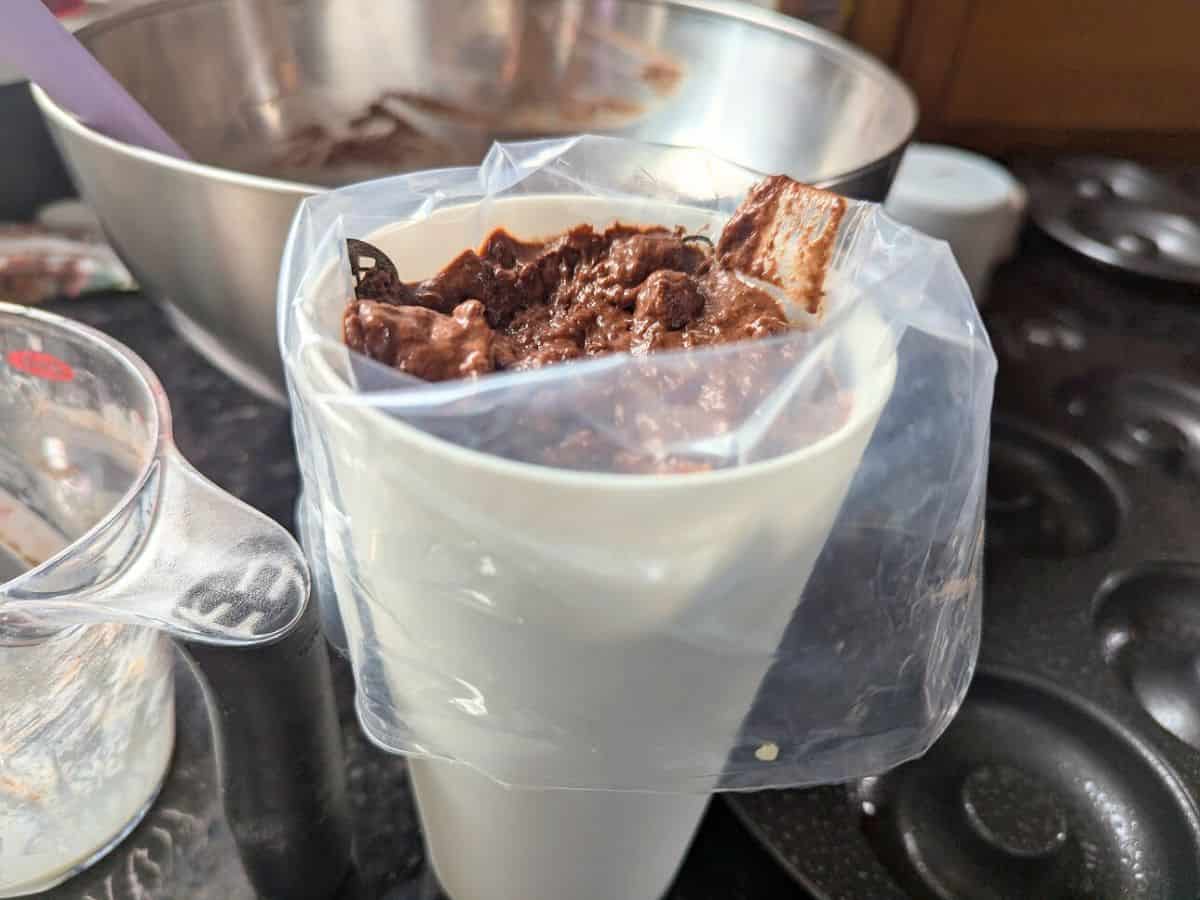
After you fill the bag, fold the top back up and twist it to create a seal. Snip the bottom about a half-inch or so from the corner, and pipe the batter into the donut pans.
Note: You do need donut pans to make this recipe. I use six-hole donut pans to make full size donuts and mini-donut pans for smaller ones (just bake them for 7-9 minutes).
When should I glaze the donuts?
Leave your unglazed donuts in the warm pans. The warmer the donuts are when you do the glazes, the better the glazes will absorb into the donuts in a thin layer, which is what you want for these donuts.
Do the first pan of six donuts with one coating, then do the second layer of glaze. Once you finish the first half dozen, move to the next set.
You need to let the donuts cool for three to five minutes before you remove them from the pans. If you remove them too soon, they won’t be sturdy enough to hold up to the dipping. If they cool too much, they won’t absorb the glaze as well as you want them to.
What’s the best way to manage glaze drips?
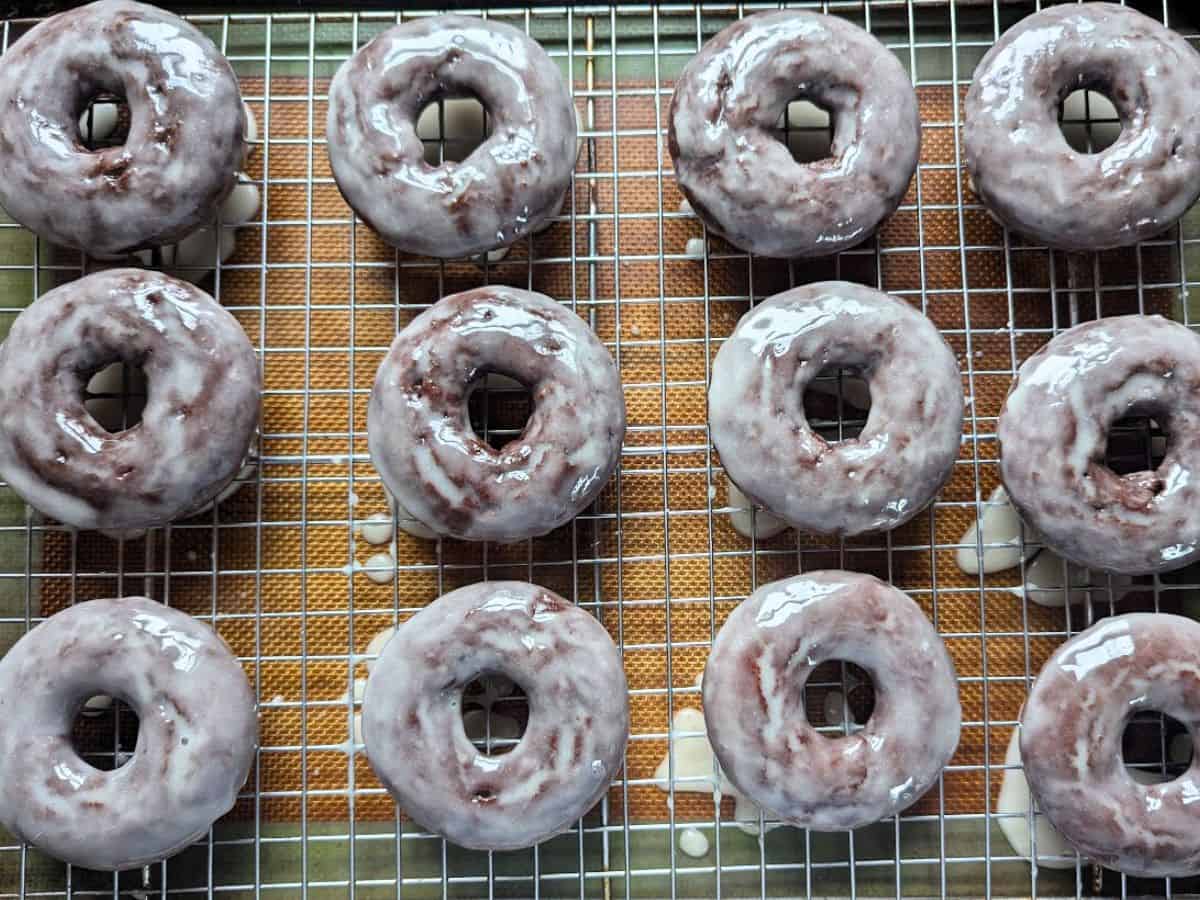
Before you start glazing, place a wire rack over a cookie sheet or parchment paper. This setup gives the glaze somewhere to go and keeps your counters clean at the same time.
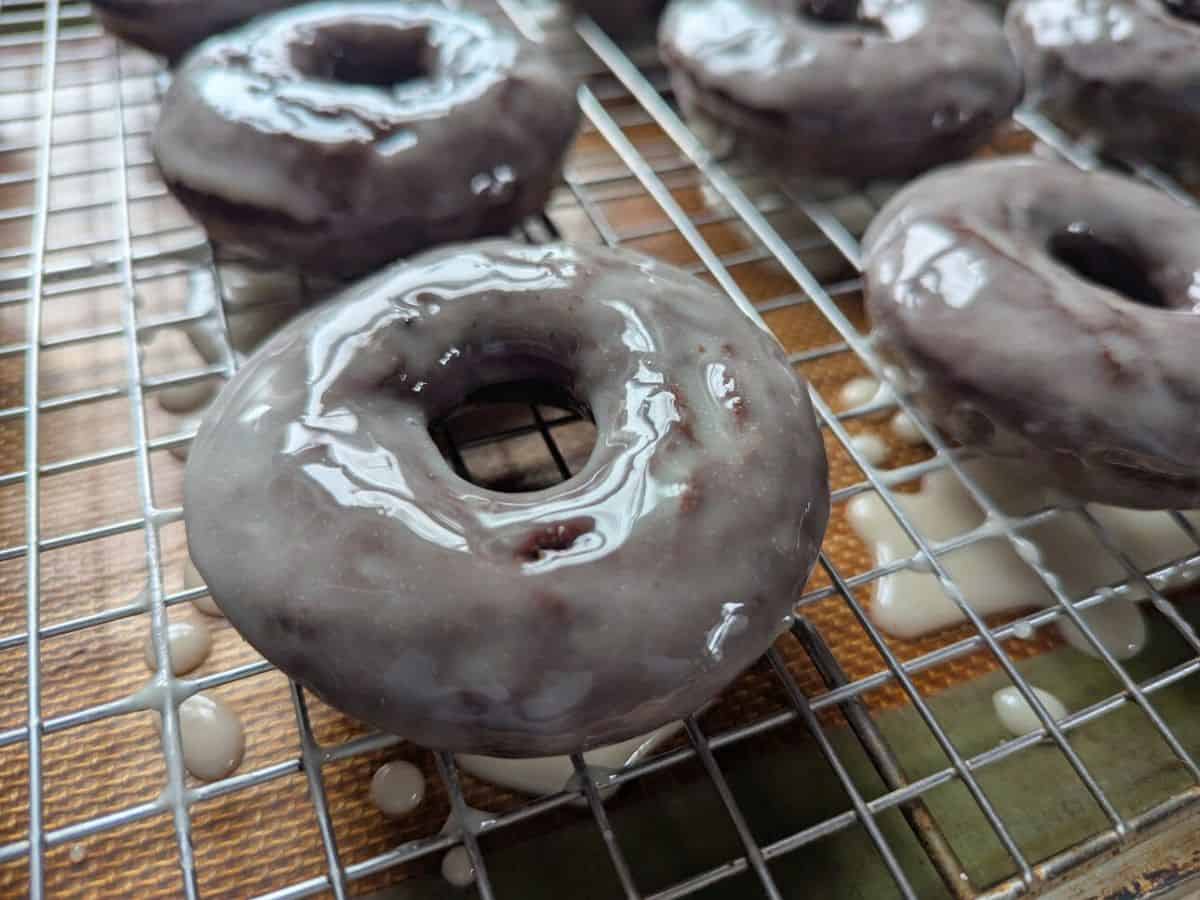
The rack holds the donuts up so the glaze can drip straight down and helps ensure the glaze sticks to all sides and dries well. Once you’re finished, just toss the parchment or clean the sheet.
Do I need to use all the glaze?
No, you won’t use all the glaze, and that’s completely normal. In fact, you want to have some left over after dipping the last few donuts.
If you use all the glaze, it can become tricky to dip the last few donuts because there won’t be enough left to coat them properly. You can always drizzle the extra glaze on your donuts after you finish or toss it.
What’s the best way to store these donuts?
When you store the donuts, place them in layers in a tightly sealed container on your counter. Separate each layer with parchment paper or wax paper to ensure they don’t stick together. You can also freeze them to enjoy later.
Freeze them in the same manner you do to store them on the counter. When you’re ready, remove just the ones you want to enjoy, then let them thaw on your counter on a plate. Do not ever store these in a fridge.
How can I keep the glaze solid after storage?
When stored, the glaze will naturally soften over time. To bring it back to its original firmness, simply take out the donuts you plan to eat and let them sit on a plate for 15-20 minutes at room temperature.
This allows the glaze to re-solidify and return to its crisp texture. It’s an easy way to enjoy your donuts with that perfect, smooth glaze, just like when they were freshly made.
Why do two layers of glaze?
The first layer of glaze on the warm donuts almost absorbs into the donut in a thin layer. The second layer of glaze provides the visible glaze that you expect on a donut, but stays in a thin layer because you do it while the donut is still warm.
Two thin layers of glaze make for a more even glaze than a single layer of glaze after the donuts have cooled.
How to Make Glazed Chocolate Donuts
Preheat your oven to 350 degrees. Grease your donut pans and set them aside.
Add the flour, cocoa powder, sugar, baking powder, and salt to a large bowl. Whisk together until fully combined.
Mix the milk, eggs, butter, coffee, and vanilla in a separate bowl – or your liquid measuring cup like I do! Ensure the eggs are well-blended, then add the wet ingredients to the dry.
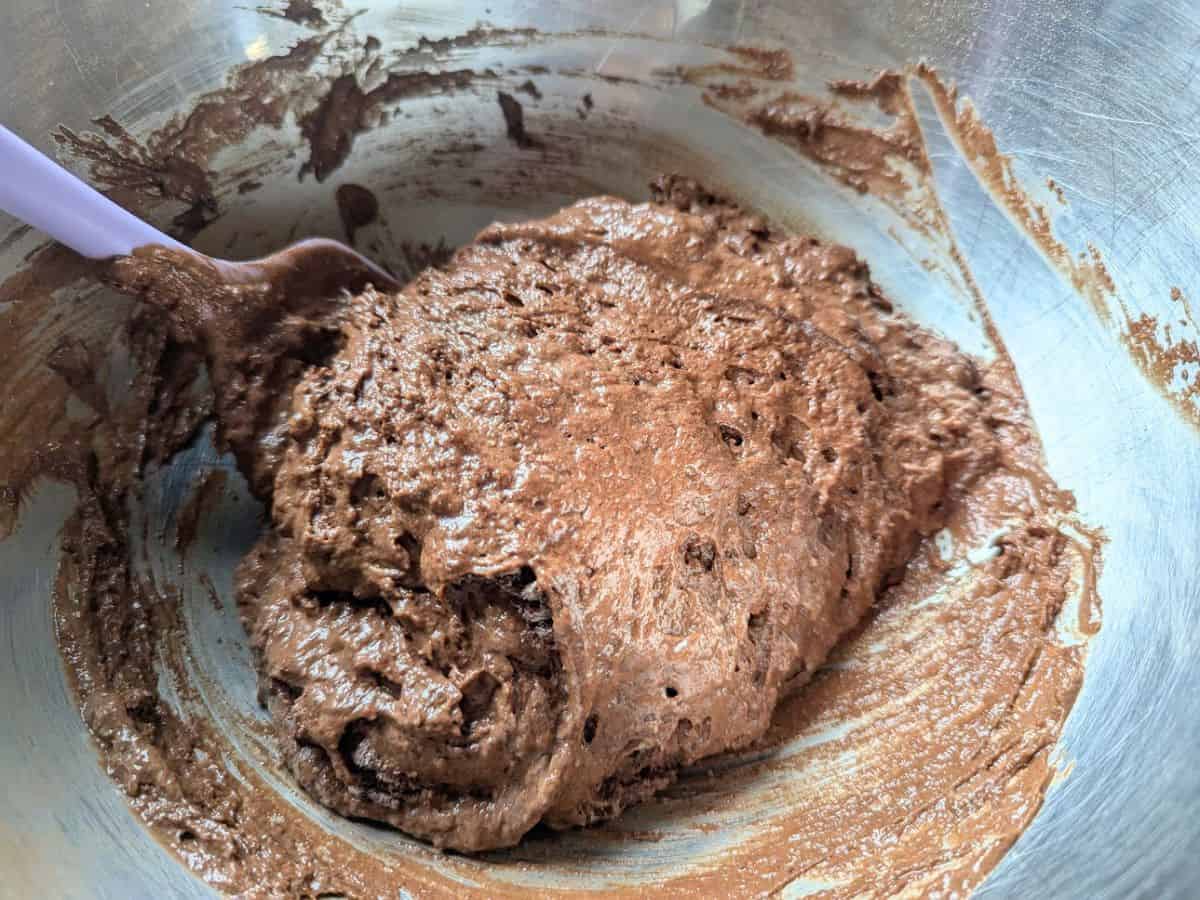
Stir gently until just combined. It should be a relatively thick batter, similar to brownie batter.
Add the mixture to a bag as described above, and pipe the batter into the cavities. You want to fill them about 3/4 of the way full.
Bake for 16 to 18 minutes at 350 degrees until a toothpick comes out with just a few crumbs on it. Let the donuts cool for three to five minutes before you remove them from the pans and start glazing them.
Make the glaze while your donuts are cooling. By the time you finish it, they’re ready to dip.
Add all the glaze ingredients to a small bowl, and gently whisk or use a fork to combine until smooth. You want an easily pourable texture for this glaze.
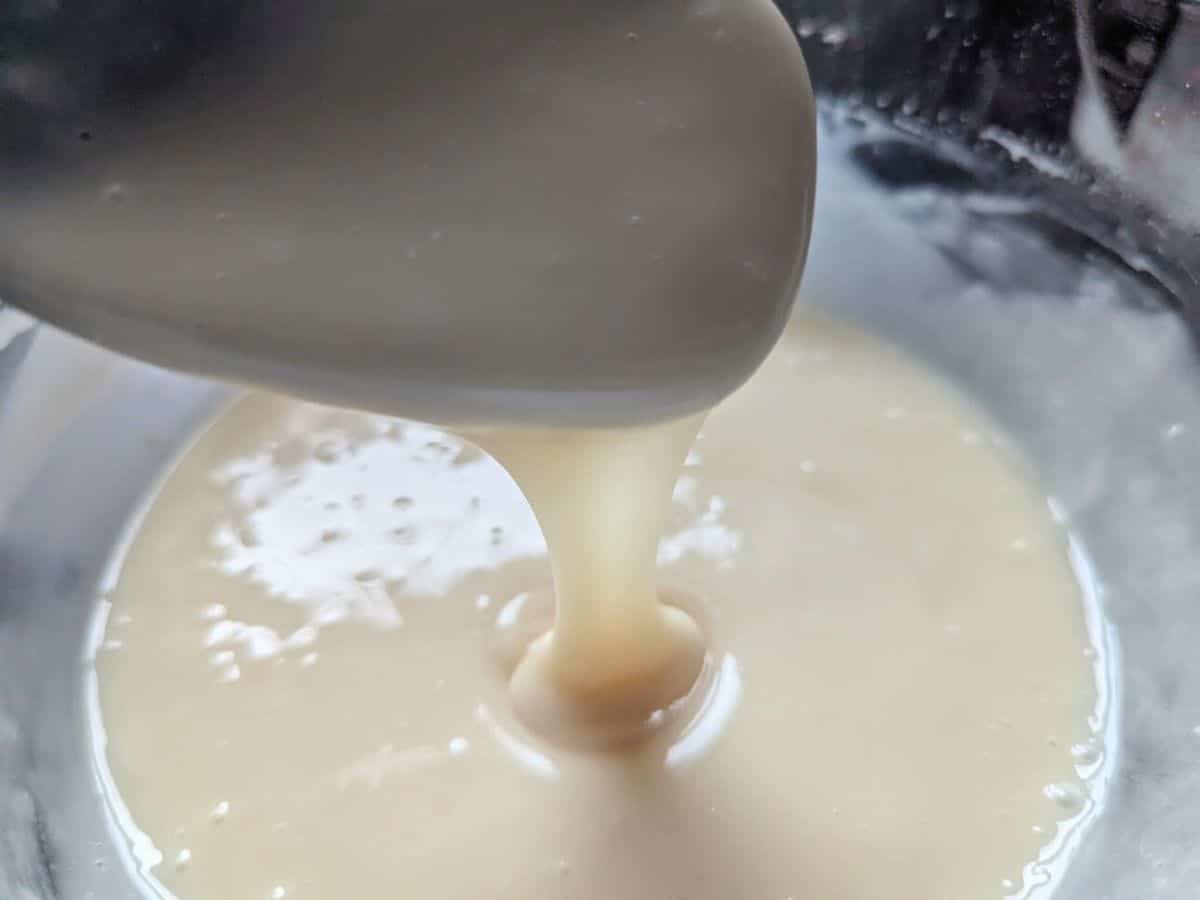
If it’s too thick, you can add just a splash more milk and mix it again, but it doesn’t take much liquid to significantly thin the glaze. If it’s too thin, add some more powdered sugar.
Turn your donut pan over and tap the bottom to release them. Put all but the one you plan to work with back into the pan to keep them warm.
Drop the donut into your glaze and flip it over quickly. Gently lift it up again with your very clean hand, and let the glaze drip off the end. I use my spatula to gently scrape the glaze from the bottom to encourage it to finish faster.
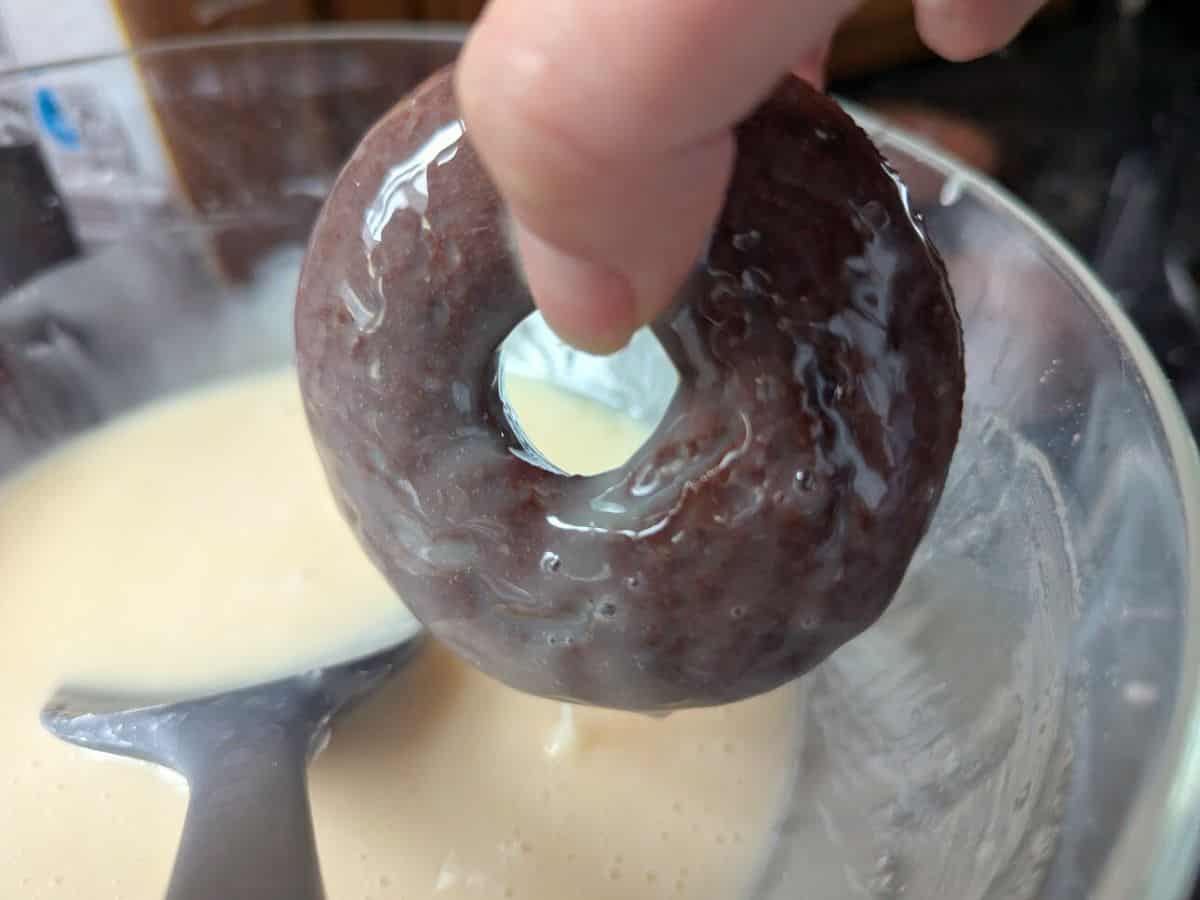
Place the donut onto a wire rack to allow the excess glaze to drip off. Finish the other five in your first pan, then repeat the process for a second layer of glaze.
Do the same for all the donuts, working six at a time to ensure they stay warm as you glaze them. Allow all the donuts to fully cool and the glaze to harden, then enjoy.
These are most delicious the first day, but you can store extras in a tightly sealed container on your counter for up to three days.

Glazed Chocolate Donuts
Ingredients
For the Donuts:
- 2 cups flour
- 1/2 cup cocoa powder
- 3/4 cup sugar
- 2 teaspoons baking powder
- 3/4 teaspoon salt
- 1 cup whole milk
- 2 large eggs
- 1/4 cup unsalted butter melted
- 1 teaspoon strong brewed coffee
- 1/2 teaspoon vanilla
For the Glaze:
- 3 cups powdered sugar
- 1/4 teaspoon salt
- 1 teaspoon vanilla
- 6 tablespoons whole milk
Instructions
- Preheat your oven to 350 degrees. Grease your donut pans, and set them aside.
- Add the flour, cocoa powder, sugar, baking powder, and salt to a large bowl. Whisk together until fully combined.2 cups flour, 1/2 cup cocoa powder, 3/4 cup sugar, 2 teaspoons baking powder, 3/4 teaspoon salt
- Mix together the milk, eggs, butter, coffee, and vanilla in a separate bowl – or your liquid measuring cup Ensure the eggs are well-blended, then add the wet ingredients to the dry.1 cup whole milk, 2 large eggs, 1/4 cup unsalted butter, 1/2 teaspoon vanilla, 1 teaspoon strong brewed coffee
- Stir gently until just combined. It should be a relatively thick batter, similar to brownie batter.
- Fill a bag as described above and pipe the batter into the cavities, filling them about 3/4 of the way full.
- Bake at 350 degrees for 16 to 18 minutes until a toothpick comes out with a few crumbs, then cool the donuts for 3-5 minutes before removing them from the pans and glazing.
- Make the glaze while your donuts are cooling. By the time you finish it, they're ready to dip.
- Combine all ingredients in a small bowl and whisk gently with a fork until smooth, aiming for an easily pourable glaze; if too thick, add a splash more milk and mix until desired consistency is reached.3 cups powdered sugar, 1/4 teaspoon salt, 6 tablespoons whole milk, 1 teaspoon vanilla
- Turn your donut pan over and tap the bottom to release them. Put all but the one you plan to work with back into the pan to keep them warm.
- Dip the donut into the glaze, flip it quickly, and lift it with a clean hand to let the glaze drip off. Use a spatula to gently scrape the glaze from the bottom to help it finish dripping faster.
- Place the donut onto a wire rack to allow the excess glaze to drip off. Finish the other five in your first pan, then repeat the process for a second layer of glaze.
- Allow all the donuts to fully cool and the glaze to harden, then enjoy. These are most delicious the first day, but you can store extras in a tightly sealed container on your counter for up to three days
Video


Notes
- Whole milk matters for the richness of the donuts. Using 2% milk or skim milk will not provide the same richness or texture as the donuts.
- You can make these into a sour cream-glazed chocolate donut, which is absolutely delicious, by using 1 1/2 cups of milk and 1/2 cup sour cream for the donuts. It is a fantastic substitute that I actually prefer to the basic version.
- For more tips and tricks, be sure to read the full article above.
Nutrition
This site uses an online source to provide nutrition estimates as a courtesy. If you need exact values, please calculate yourself.
I am a participant in the Amazon Services LLC Associates Program, an affiliate advertising program designed to provide a means for sites to earn advertising fees by advertising and linking to Amazon.com.