I could eat this homemade blueberry syrup all day long.
Let me count the ways… Blueberry syrup on pancakes or waffles in the morning. On ice cream at night and even mixed into salad dressing as a vinaigrette for lunch.
Obviously, my homemade blueberry syrup disappears quickly in my house! This post includes affiliate links which earn me a commission if you shop through them.

When I go out to eat, I usually order something that I can’t – or don’t – make at home. Eating out is special, and I want something different and unique.
The wee ones tend to be the same way, which explains why Mister Man loves ordering French Toast.
Though I make an awesome French Toast, I don’t like French Toast, so I rarely make it. And when they find French toast with homemade blueberry syrup is on the menu? They jump for joy!
But now? I discovered the secrets of blueberry syrup from scratch – yep, homemade blueberry syrup.
It’s so easy and has so few ingredients – especially compared to commercial brands. My kids no longer covet it when we go out to eat.
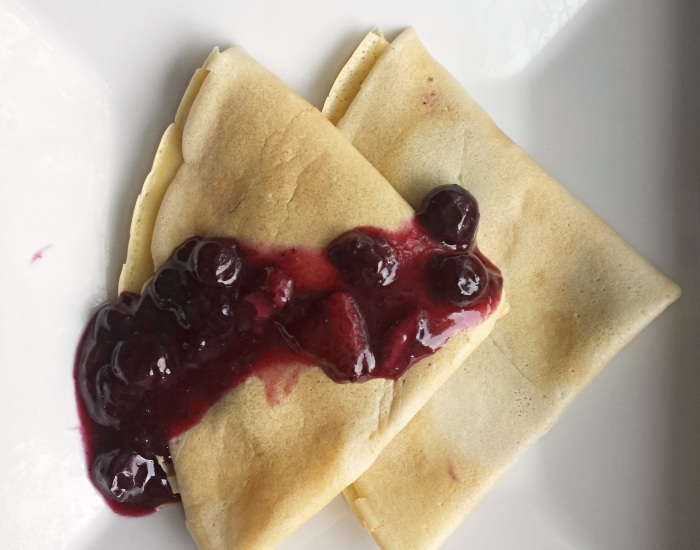
Instead, we enjoy the blueberry syrup at home on everything from yogurt to ice cream to pancakes and yes, even French Toast. It makes a fantastic topping over homemade crepes, too.
I made this because I had a huge bag of organic blueberries in my freezer from when the wee ones and I went blueberry picking this summer. It’s the happy problem when you visit a U-Pick farm.
I needed something to do with the berries, and I needed something that would not go bad quickly. Initially I debated making blueberry crumble, but I vetoed that in favor of syrup. Boy am I glad I did.
This is definitely a recipe I’ll be making again and again, and only partly because it is so incredibly easy to make and quick to come together – and I’m not exaggerating. This was done and in mason jars in under a half hour, start to finish.
Are you a visual learner? Watch the video tutorial to help.
Can I use frozen blueberries to make blueberry syrup?
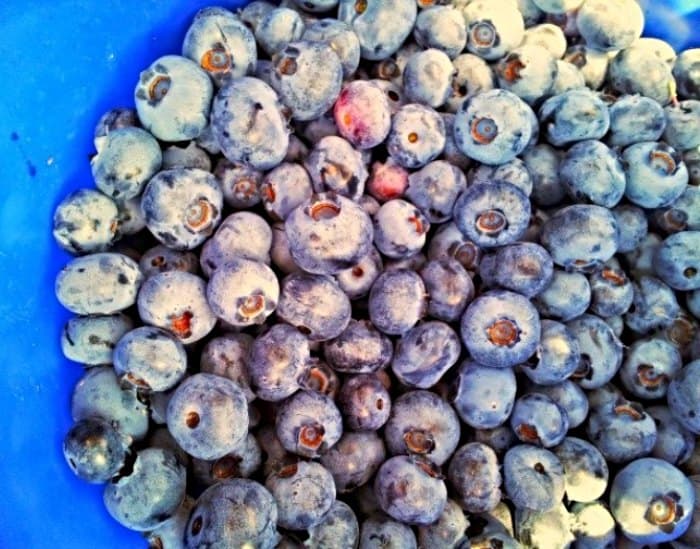
You absolutely can. I used the blueberries that I’d frozen this summer, but store bought frozen blueberries work, too. I have found that the wild blueberries – the smaller ones – taste better than the “standard” ones, but both work well.
And the fact that Costco just starting stocking a triple cherry frozen blend? Those cherries inspired my homemade cherry syrup, too!
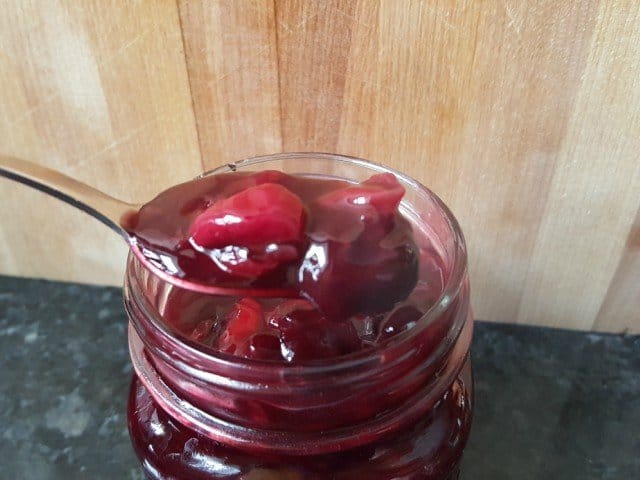
You don’t even need to thaw the blueberries before you start working on your blueberry syrup, although it may take a little longer to come to a boil. If you thaw them, however, make sure that you get all the juice into the pan.
Can I double this recipe?
This recipe is also easily scaleable. I doubled the recipe knowing I wanted to make more to give away, a this makes a fantastic teacher or holiday gift.
A single recipe makes about two and a half cups of syrup, which is perfect for family use. It stays good in the fridge for at least two weeks.
If you want to halve the recipe to make less syrup, that works, too.
Can I use this syrup in drinks?
Oh heck yes, you can use this homemade blueberry syrup in anything that calls for blueberry syrup or compote or flavoring.
However, think about what you plan to make. If it isn’t getting pureed or muddled, would you want the whole blueberries in it?
For example, some things I would strain the freshly made syrup through a fine mesh strainer first, pushing as much juice and syrup from the blueberries as I could.
What if I don’t know how to can?
Guess what? Neither do I. It’s just not something I’ve ever done, so this syrup is meant to be refrigerated and consumed.
It is not – let me repeat NOT – shelf stable.
The good news is that you can absolutely make this homemade blueberry compote and not have to worry about figuring out how to can it safely. Regardless, always always make sure your glass jars are cleaned and sterilized before you put any food into them.
If you do know how to can, you can process this recipe to make the syrup shelf stable. I haven’t tried it, but I’ve had many readers reach out to tell me they’ve successfully done so.
How to Make Homemade Blueberry Syrup
Clean and sterilize your mason jars. A single recipe makes four 4 ounce jars, but scale it up to make some for gifts!
Taste your blueberries. If they’re fairly tart, add a little more sugar to your syrup. If you chose great, sweet blueberries, stick with this.
You may want to adjust the sweetness once your syrup has boiled down some. Just make sure to let your taste cool enough to not burn your tongue!
Wash your blueberries well, and pick off all the stems – or at least as many as you can find.
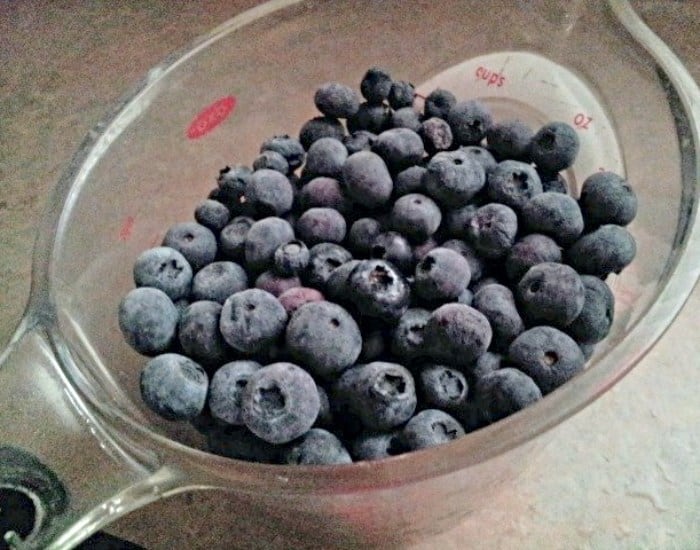
Place the berries into a heavy saucepan, and add 1/2 cup of water and the sugar.
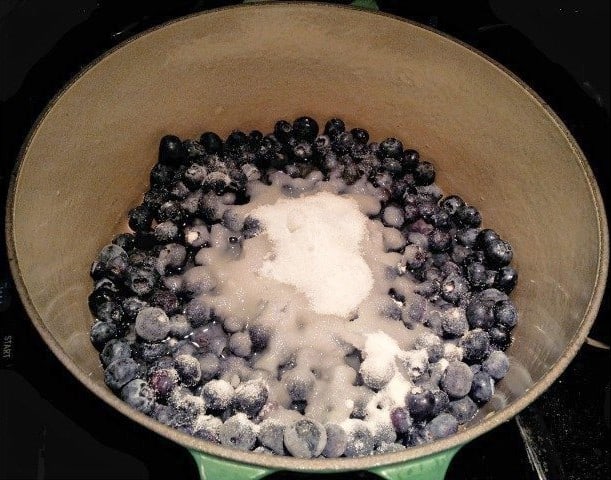
Stir to dissolve and cook on medium high heat. As you stir, keep watching for stems and other detritus to pop up and carefully pick them out with a clean hand.
As much as I swear I cleaned the blueberries, stems always still appear. I am pretty sure I got them all before the syrup got too hot to handle.
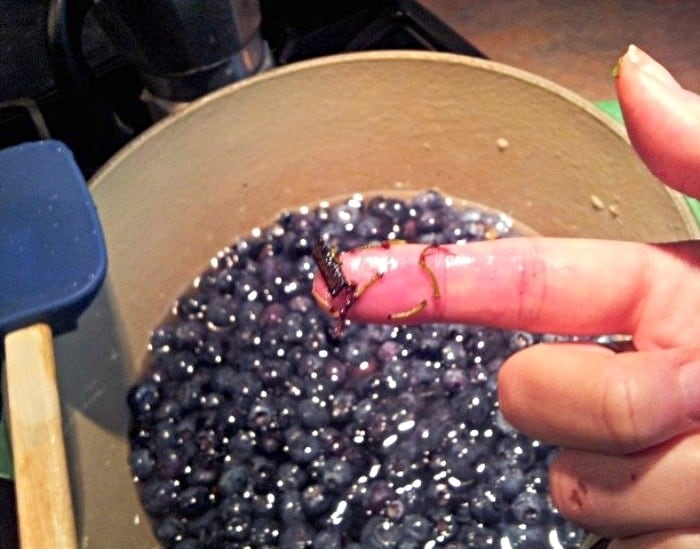
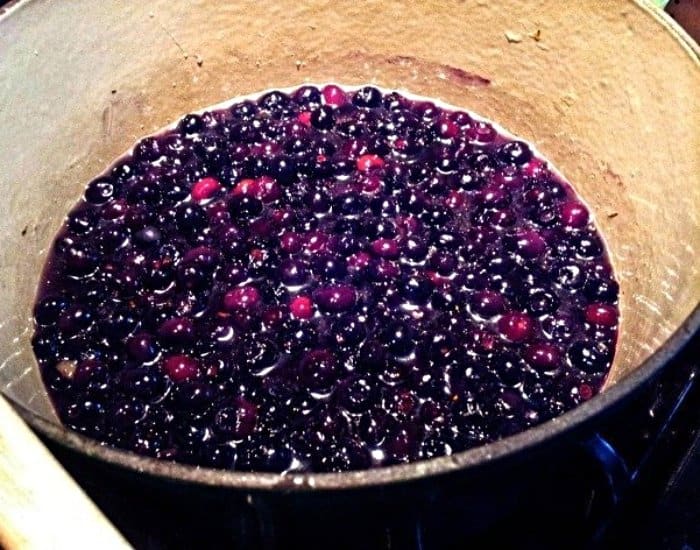
Bring to a boil, then turn down to a simmer. You’ll notice that the berries continue to change color and texture. They’ll swell, some will break, and they’ll turn a deeper, richer purple.
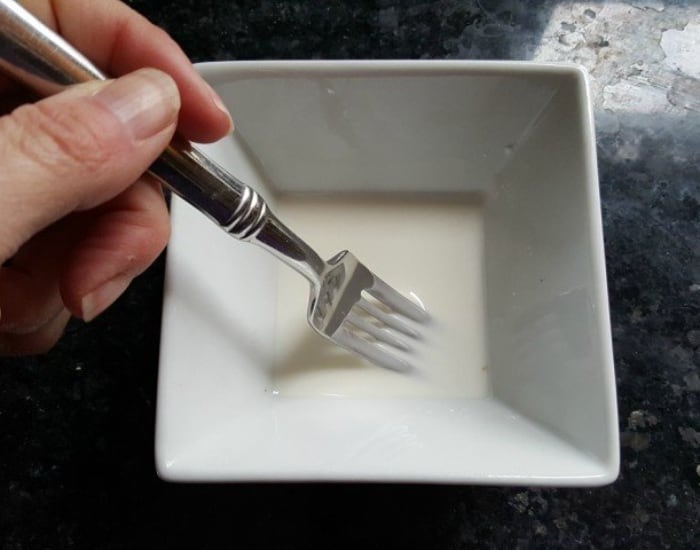
While the mixture simmers, mix together the cornstarch and the remaining 1/4 cup of cold water, using a fork to ensure it all dissolves and there are no clumps. This helps thicken your syrup.
Slowly pour the cornstarch mixture into the syrup, stirring constantly while you do so to ensure it all gets mixed in. Simmer for a total of 15 minutes or until the syrup reduces to the thickness you desire.
Add the lemon juice and stir to incorporate, then remove the syrup from the heat. Taste your blueberry syrup and determine if you need any more sugar. Add a teaspoon at a time until it taste right for you.
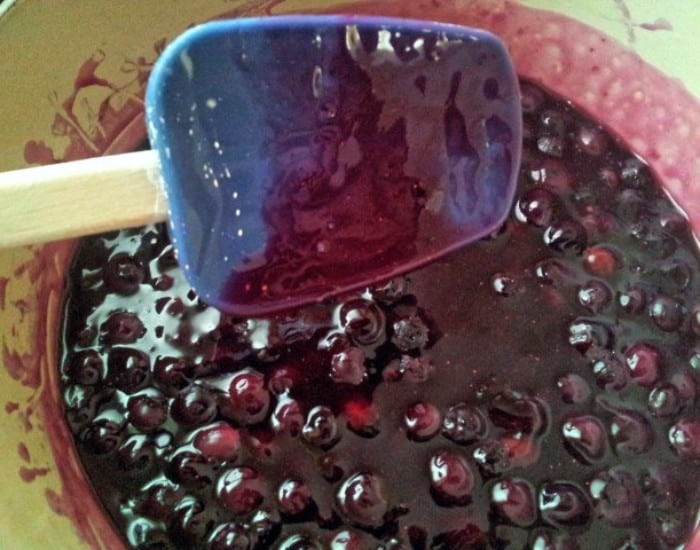
Because I like the idea of whole blueberries in my syrup to add a rustic and homemade touch, I immediately place into clean jars rather than straining out the whole blueberries, and I recommend doing the same.
If you want a smooth syrup, to use in drinks or because you prefer a smooth texture, just strain it. Use a fine mesh strainer, and push the syrup through using a spatula.
Your homemade blueberry syrup will keep in the refrigerator for up to two weeks. You can also process it in a hot water bath, but I’m just not a canner – yet.
What will you eat with your homemade blueberry syrup?
Homemade Blueberry Syrup
Ingredients
- 2 cups blueberries either fresh or frozen
- 3/4 cup water separated
- 1/2 cup sugar
- 2 tablespoons cornstarch
- 1 tablespoon lemon juice
Instructions
- Wash blueberries well, and pick off all the stems.
- Place berries into a heavy saucepan, and add 1/2 cup of water and sugar. Stir to dissolve and cook on medium high heat.2 cups blueberries, 3/4 cup water, 1/2 cup sugar
- Bring to a boil, then turn down to a simmer.
- While mixture simmers, mix together cornstarch and remaining 1/4 cup of cold water with a fork.2 tablespoons cornstarch
- Slowly pour cornstarch mixture into syrup, stirring constantly while you do so to ensure it all gets mixed in.
- Continue simmering for a total of 15 minutes or until the syrup has gotten to the thickness you desire. Add the lemon juice and stir to incorporate, then remove the syrup from the heat.1 tablespoon lemon juice
Video
Notes
- Taste your blueberries before making this. If they’re a little tart, add some extra sugar. If they’re good and sweet already, follow the recipe and taste test at the end to see if you need to add a teaspoon more at a time.
- Because I like the idea of whole blueberries in my syrup to add a rustic and homemade touch, I immediately place into clean jars rather than straining out the whole blueberries. I recommend doing the same. You can puree the syrup if you prefer or strain it to remove the blueberries.
- For more tips and tricks, be sure to read the full article above.
Nutrition
This site uses an online source to provide nutrition estimates as a courtesy. If you need exact values, please calculate yourself.
I am a participant in the Amazon Services LLC Associates Program, an affiliate advertising program designed to provide a means for sites to earn advertising fees by advertising and linking to Amazon.com.


I had a pack of frozen blueberries stashed in my freezer for a while, so I decided to make a blueberry sauce. We served it over buttermilk pancakes, and it was absolutely delicious!
I’m so glad to hear that you enjoyed it. It’s one of our favorites here year after year.
Can I make this and just put it in a plastic container after completely cooled?
Yes, you can put it in a plastic container after it cools completely. It will not last quite as long – but we’ve never had an issue with enjoying it before it’s too late!