

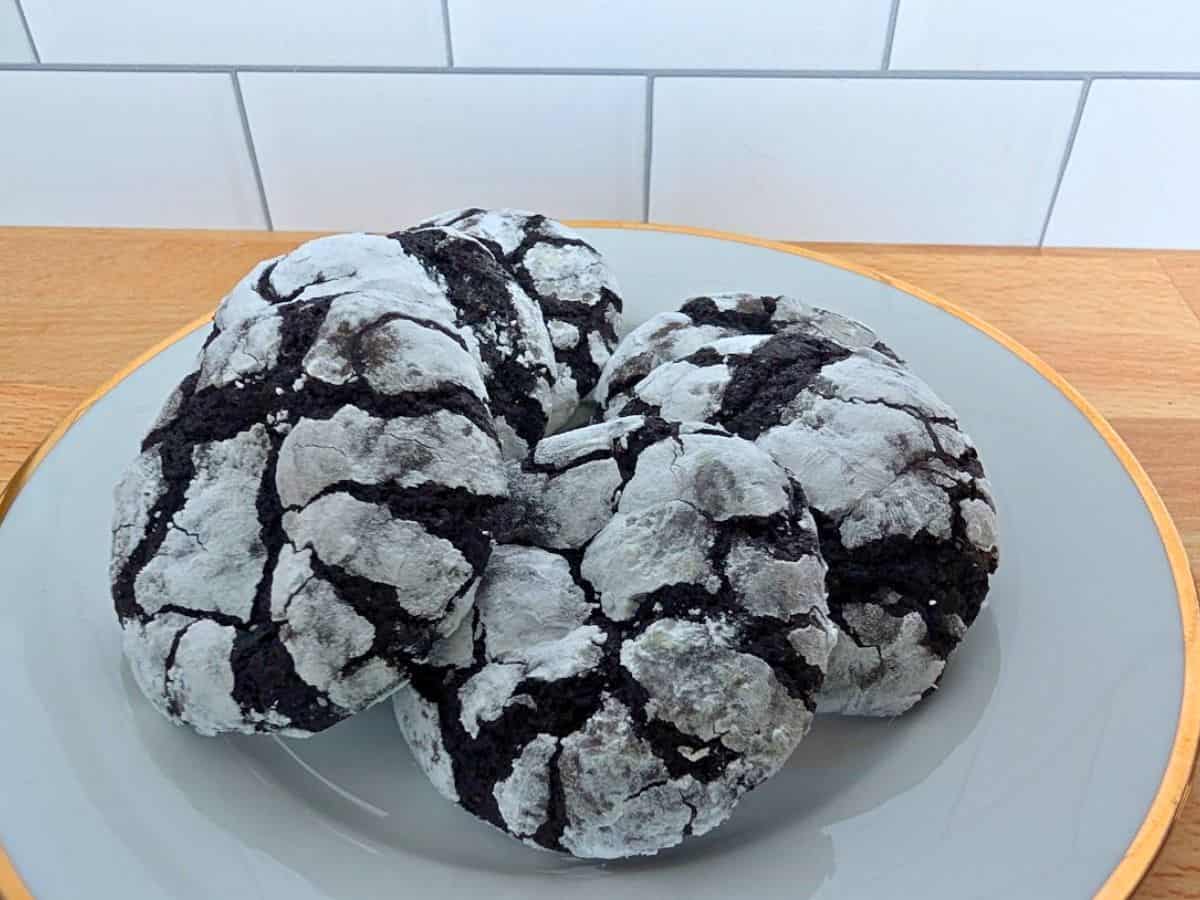
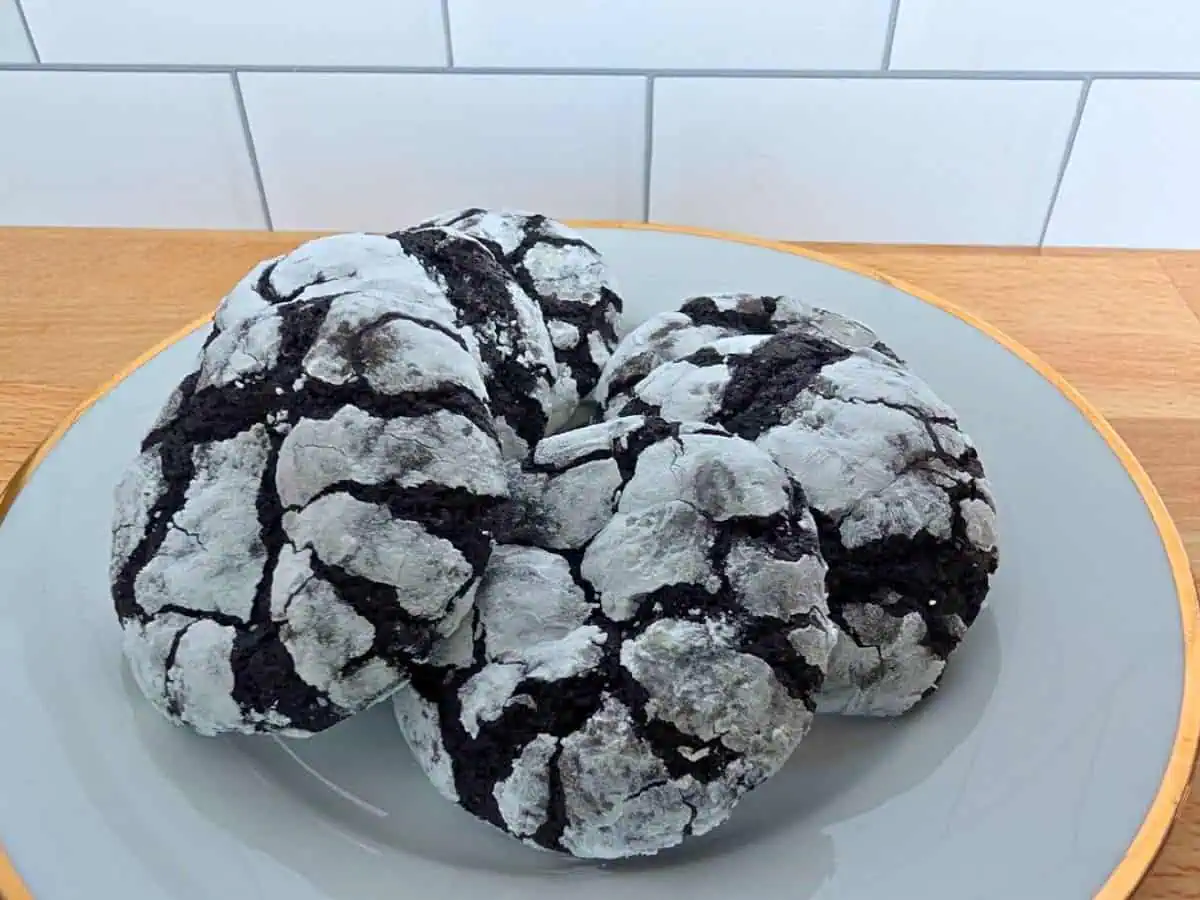
Mint Chocolate Crinkle Cookies are one of my favorite cookies to make when I want something simple that is maybe a little more special than – say -your standard chocolate chip cookie. It’s a perfect Christmas cookie, but there’s nothing wrong with enjoying these year round because you know I do.
I made these last year for my cookie swap, and they won the contest for “Best Tasting Cookie.” Of course I was the host and I was giving out prizes, so I didn’t get to really win, but in my head, I know.
Some links in this article are affiliate links that may earn me a commission if you purchase through them.
Are Mint Chocolate Crinkle Cookies Christmas Cookies?
Traditional crinkle cookies are definitely a favorite around Christmas, and I absolutely love this version with the mint flavor that feels so festive and bright. I suggest pairing them with other holiday treats like my Chewy Molasses Cookies, Peppermint Shortbread Cookies, Egg Nog Cookies, and Peppermint Chocolate Cookies for a cookie platter that really wows friends and family.
That said, they’re just as delicious any time of year. They’re thick, rich, and fudgy, almost like a brownie, and you know I love making brownies.
Can I Substitute Peppermint Extract for Mint Extract?
Technically you can, but they aren’t quite the same. While both peppermint and mint extracts come from the mint family, they have slightly different flavor profiles.
Peppermint extract is more intense and has a characteristic cooling sensation. Mint extract, on the other hand, is milder and has a more general “minty” flavor.
As a side note, be sure that whenever you use either extract, be sure that you purchase pure extracts and not imitation flavors. If you choose peppermint, the flavor is a bit stronger, so use just a bit less, but know that the dough will taste more strongly of mint than the baked cookie, whichever one you choose.
What Type of Cocoa Powder Should You Use for Mint Chocolate Crinkle Cookies?
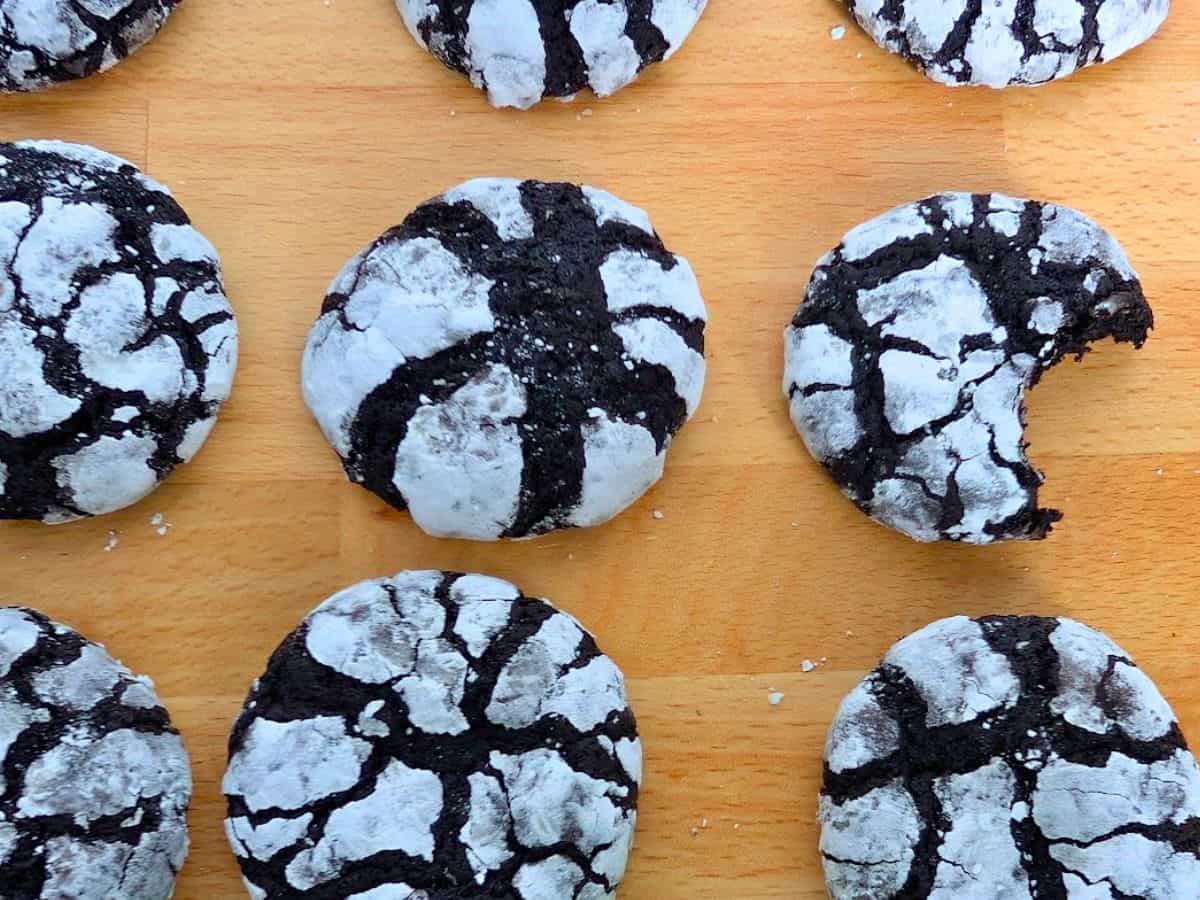
I used black cocoa powder to make these cookies because it was what I had on hand after baking a chocolate cake with chocolate frosting that I wanted the dark, almost black color and rich flavor you can only get from black cocoa.
You don’t have to use black cocoa powder, however. If you have unprocessed cocoa powder, you’re all good, though I like the rich, intense chocolate taste that comes from the black cocoa powder.
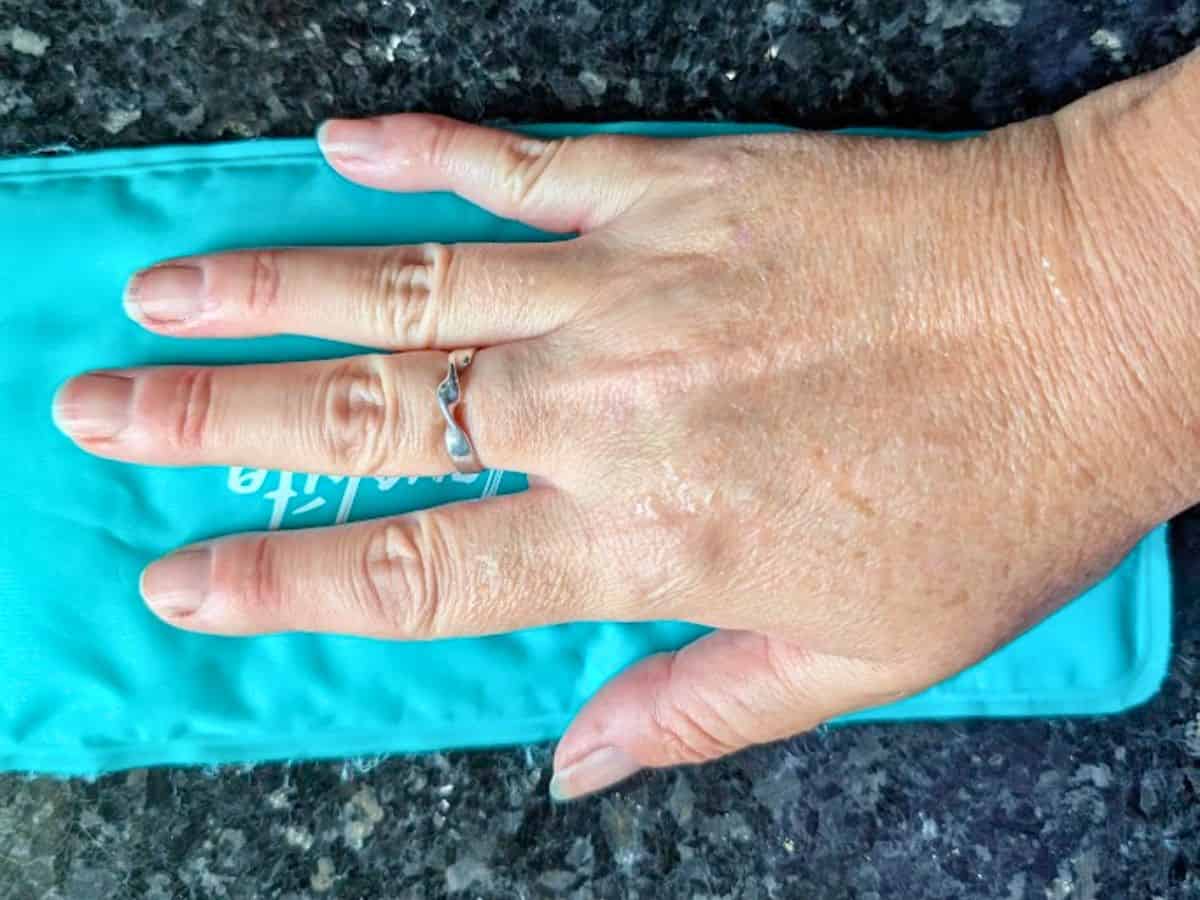
How Do You Keep Mint Chocolate Crinkle Cookie Dough From Sticking to Your Hands?
If your hands tend to run warm or the weather is on the hotter side, try grabbing a gel ice pack from the freezer and giving your hands a quick chill now and then (but be smart and don’t do it for more than a minute, right?). Cooling them down helps cut back on the sticking, even though this dough is naturally soft and will cling a bit no matter what you do.
Another simple trick is to slip on a pair of thin medical latex exam gloves. The dough for whatever reason doesn’t stick anywhere near as much and makes rolling each ball a lot easier.
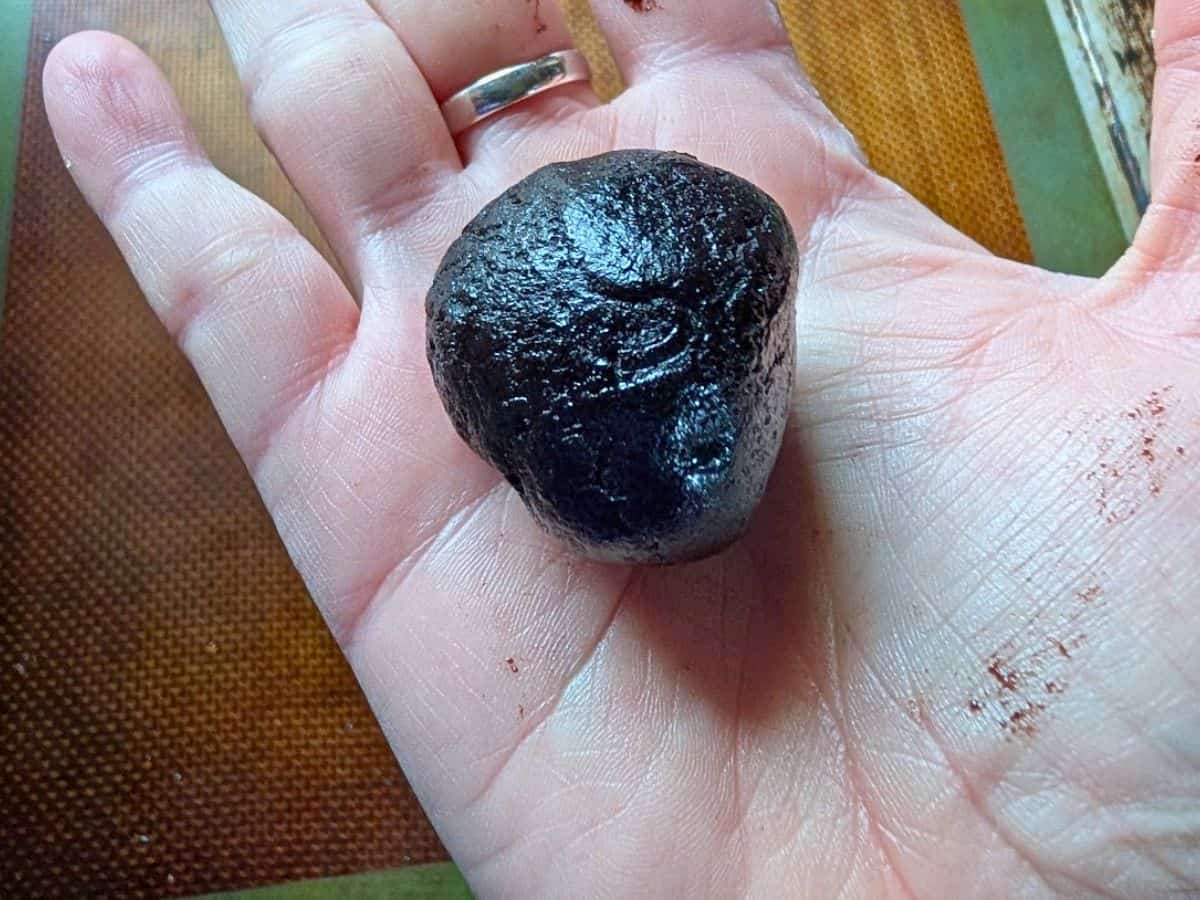
When you’re forming the dough balls, work quickly. Moving fast helps smooth out the edges without letting too much dough stick to your hands.
You don’t need to worry about making perfect spheres. A slightly irregular shape won’t affect the final cookie, as they soften into a round shape as they bake.
Can You Make Mint Chocolate Crinkle Cookies Ahead of Time or Freeze Them?
You can definitely make these cookies ahead of time. It works to freeze either the baked cookies or the cookie dough balls.
Just wait to roll the dough balls in powdered sugar until you’re ready to bake them. Let the dough balls sit on the counter for a few minutes to thaw before dipping, and keep in mind they might need an extra minute or two in the oven.
You can freeze the cookie dough for up to six months in a double layer of zip-top bags. If you freeze the baked cookies, separate the layers with wax paper and place them in a well-sealed container or bag.
The frozen mint crinkle cookies will keep for at least two months. I personally love eating them straight from the freezer, but you can also thaw them in a single layer on the counter if you prefer.
Are Mint Chocolate Crinkle Cookies Naturally Dairy-Free?
Yes, these cookies are naturally dairy-free because the recipe relies on oil for richness instead of butter. These would have been perfect back in the day when my younger kid couldn’t eat any dairy.
Since the fat comes from oil, just like my lemon squares, there’s no need to make substitutions or hunt for dairy-free alternatives. It’s an easy win if you’re baking for someone who avoids dairy or if you just prefer recipes that work for everyone without extra steps.
How to Make Mint Chocolate Crinkle Cookies
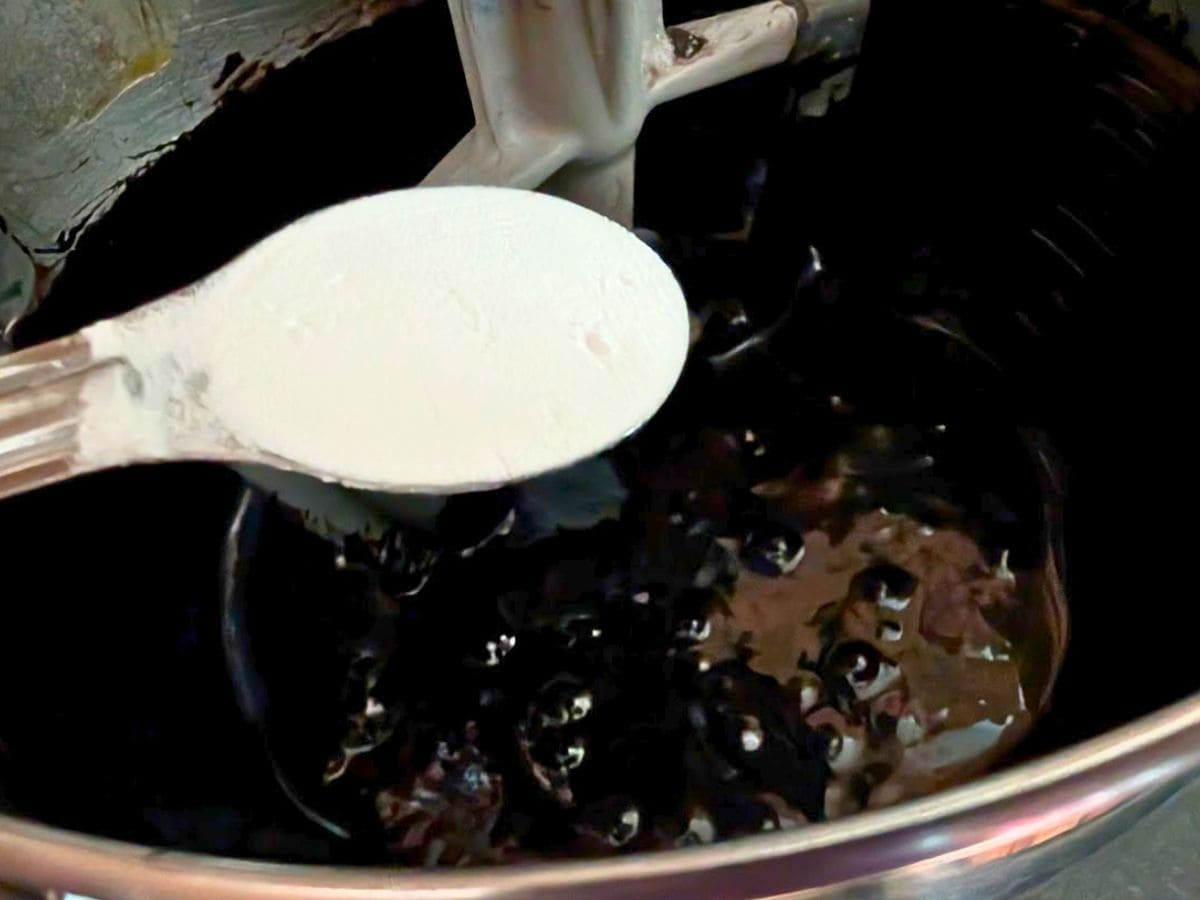
Add the cocoa powder, granulated sugar, and vegetable oil to the bowl, then mix until everything is well combined. The mixture will be thick and glossy.

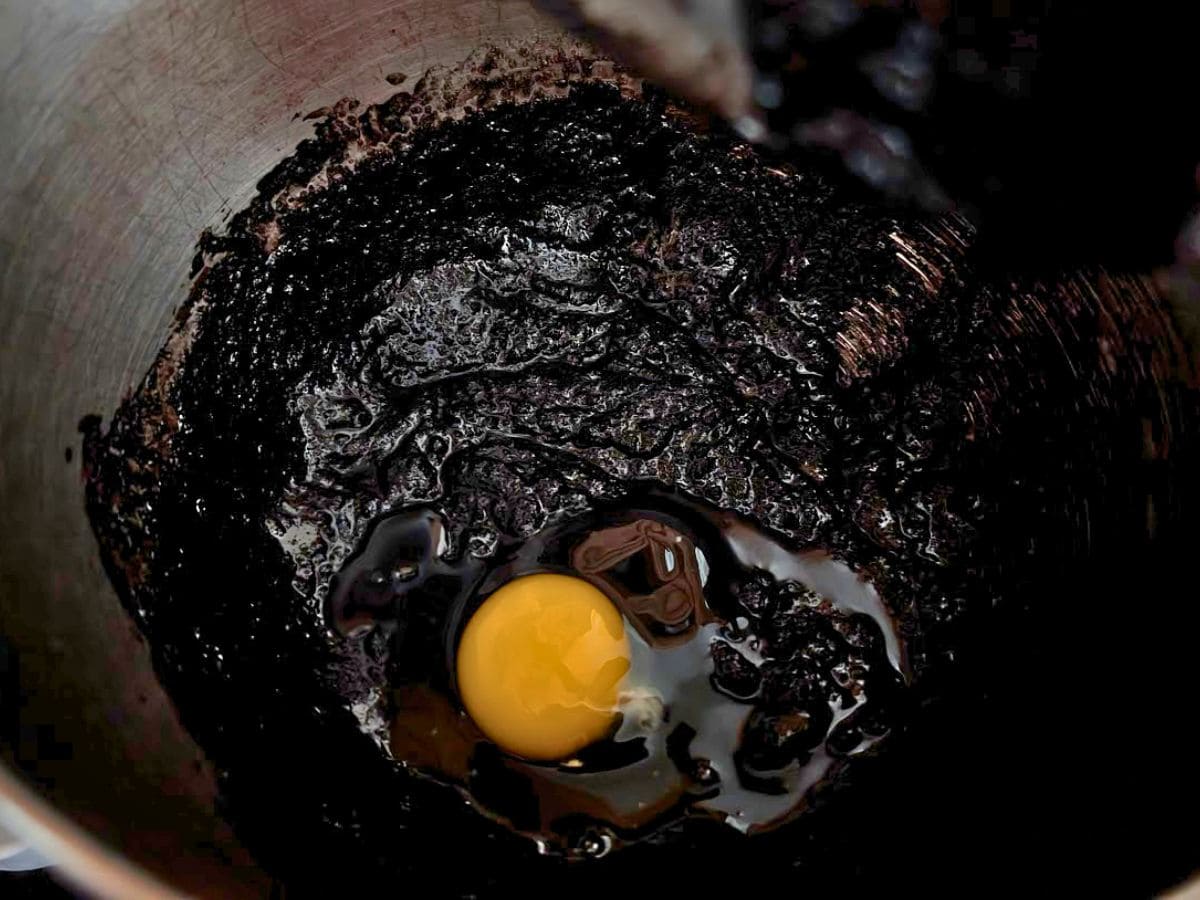
Add the eggs, one at a time. Beat the mixture well to incorporate each egg completely before you add the next one. Mix in the vanilla and mint extracts until combined.
Add the baking powder and salt, and beat well. Then add the flour and stir until just combined. You don’t want to overmix, and the dough will be a bit loose.
Cover the bowl with plastic wrap and chill the dough in the fridge for at least four hours to let the flavors meld and the dough firm up. You can leave it in the fridge overnight if that’s easier for your schedule, but try not to chill it for more than 24 hours, as it can start to change the texture.

Preheat your oven to 350 degrees. Prep your baking sheets by lining them with silpats or parchment paper, but don’t grease the cookie sheets.
Add the powdered sugar to a small bowl, then use a standard size cookie scoop to portion out a ball of dough. These cookies do spread a bit when they bake, so scrape the flat side of the scoop against the edge of your bowl to remove extra dough.
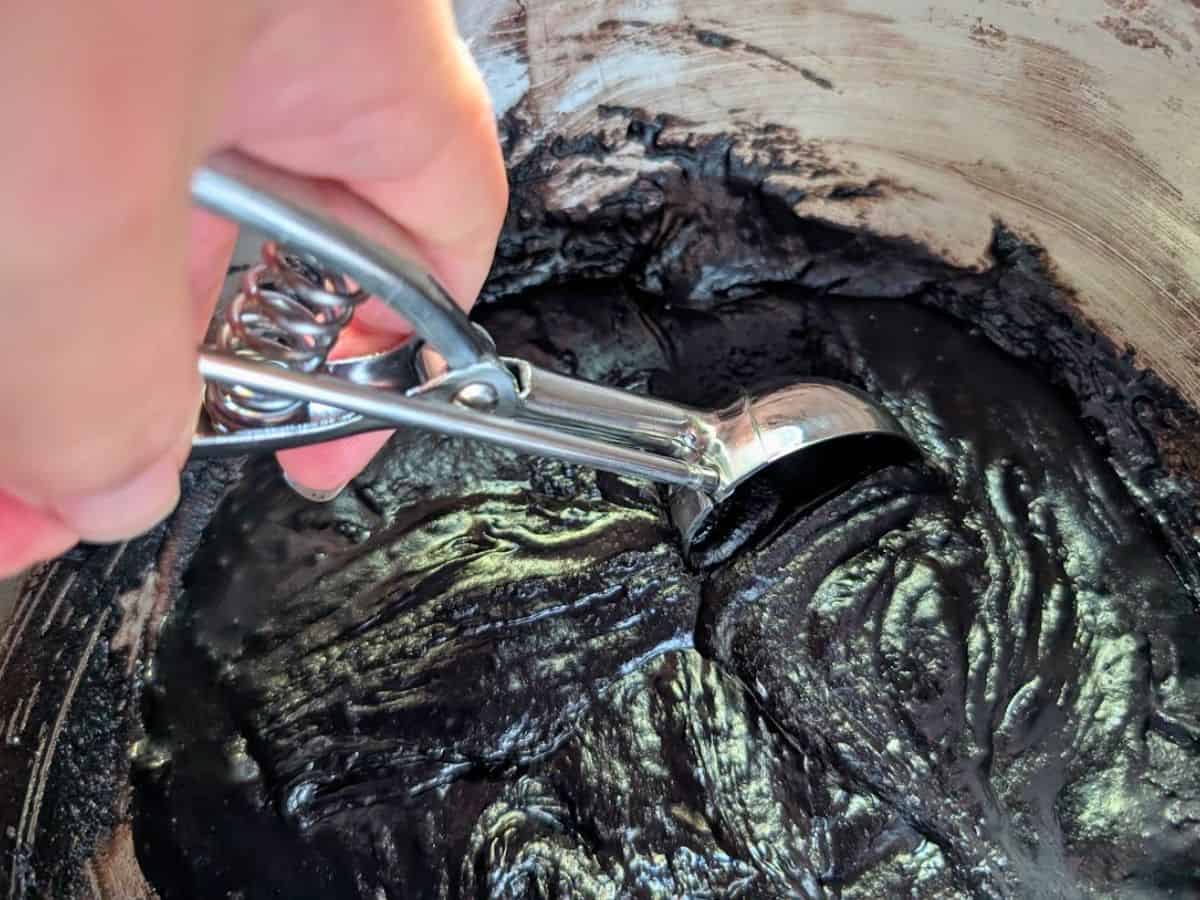
Roll the dough gently but quickly between your hands to form a smooth, round ball. Again, it doesn’t need to be perfect, just get it relatively smooth.
Dunk the ball into the powdered sugar and roll it to coat it lightly. Place the ball on your prepared baking sheet, then repeat to fill your baking sheet with 12 evenly spaced cookies.

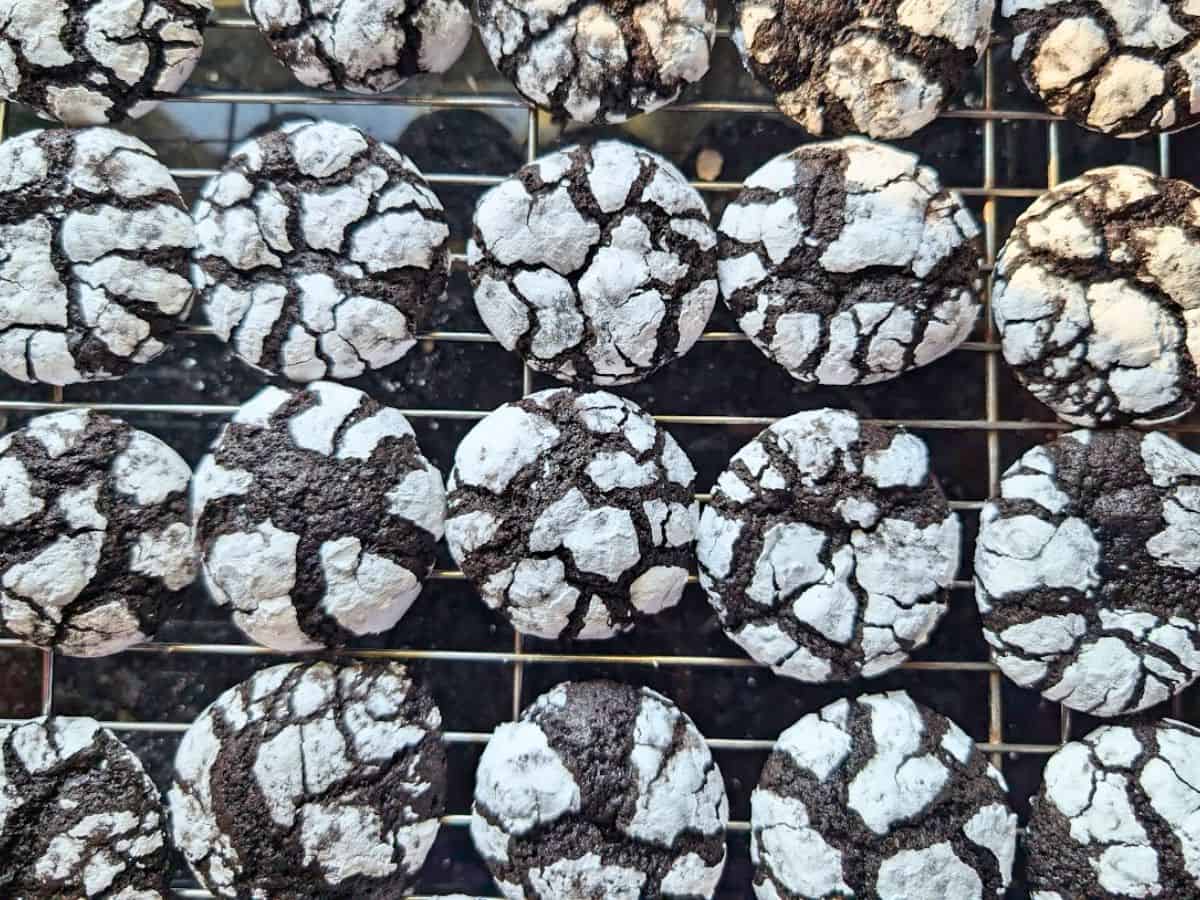
Bake the cookies at 350 degrees for 11 to 13 minutes. You want the tops to crack and look set, but be careful not to overbake them so they stay soft and fudgy inside.
Let them cool on the baking sheet for a couple of minutes, then move them to a cooling rack to finish cooling. Continue with the remaining dough in batches.
Once fully cooled, place them in a tightly sealed container, making sure to separate each layer with wax paper. Store them in a container on your counter for up to a week.

Mint Chocolate Crinkle Cookies
Ingredients
- 1 cup cocoa powder
- 1 1/2 cups granulated sugar
- 1/2 cup vegetable oil
- 4 eggs
- 1 teaspoon vanilla extract
- 1 teaspoon mint extract
- 2 teaspoons baking powder
- 1/2 teaspoon salt
- 2 cups flour
- 1 cup powdered sugar
Instructions
- Add cocoa powder, granulated sugar, and vegetable oil to the bowl and mix until well incorporated.1 cup cocoa powder, 1 1/2 cups granulated sugar, 1/2 cup vegetable oil
- Add the eggs, one at a time. Beat the mixture well to incorporate the egg completely before you add the next one. Mix in the vanilla and mint extracts until combined.4 eggs, 1 teaspoon vanilla extract, 1 teaspoon mint extract
- Add the baking powder and salt, and mix well. Add the flour, and stir until just combined.2 teaspoons baking powder, 1/2 teaspoon salt, 2 cups flour
- Cover the bowl with plastic wrap and chill it in the fridge for at least four hours or overnight.
- Preheat your oven to 350 degrees and prep cookie sheets with silpats or parchment paper.
- Add the powdered sugar into a bowl, then use a cookie scoop to measure out a ball of dough. Roll it in your hands to form a smooth sphere.1 cup powdered sugar
- Dunk the ball into the powdered sugar and roll to coat it lightly. Place the ball on your prepared baking sheet, then repeat to fill your baking sheet with 12 cookies.
- Bake the cookies at 350 degrees for 11 to 13 minutes. You want them to crack on top, but don't overbake them.
- Let them cool on the baking sheet for a couple minutes, then move them to a cooling rack to finish cooling.
- Store them in a tightly sealed container, separated by layers of wax paper, on your counter for up to a week.

Notes
- If your hands run warm or it’s a warm day, get a gel ice pack from the freezer and periodically chill your hands for 30 seconds with it to help keep the dough from sticking more than it already will.
- For more tips and tricks, be sure to read the full article above.
Nutrition
This site uses an online source to provide nutrition estimates as a courtesy. If you need exact values, please calculate yourself.

I am a participant in the Amazon Services LLC Associates Program, an affiliate advertising program designed to provide a means for sites to earn advertising fees by advertising and linking to Amazon.com.