

I love a good loaf of challah. It’s rich, buttery goodness, and the gorgeous presentation make it a perfect accompaniment for everything from a homey bowl of soup to the best French bread.
While baking with yeast can be intimidating, this is a very doable recipe. The hardest part is the braiding, but you can do a simple three-strand braid just like fixing your hair or go more elaborate with a six or eight-strand braid because it tastes the same either way.
Challah is one of my favorite breads to bake. It’s perfect for dinner, but I love turning leftovers into French toast or hearty sandwiches. It’s also a perfect sidekick for chicken noodle soup or any cozy noodle dish.
And honestly, there’s nothing like the smell of fresh challah filling the house. The golden crust has just the right amount of shine, and the soft, fluffy inside is worth every step it takes to make.
Some links in this article are affiliate links that may earn me a commission if you purchase through them.
Why Do I Need to Proof My Yeast?
Proofing yeast is an easy way to check if it’s still active and capable of making your dough rise. Yeast stays dormant until it’s mixed with warm water and sugar, but it also has a limited shelf life.
When you proof yeast, it feeds on the sugar and releases carbon dioxide, which is what helps the dough rise. If you don’t see bubbles or foam during this step, the yeast won’t work properly.
You’re better off discarding inactive yeast and starting over with fresh yeast. You definitely don’t want to waste your time and ingredients on dough that won’t rise.
What Kind of Yeast Should I Use?
You want to use active dry yeast for this recipe. It comes in small granules and is sold in packets or jars, making it convenient for home baking.
Instant yeast behaves differently and can change the bread’s final texture. It also doesn’t require the same rising period that active dry yeast does, which can be a problem for breads that have a double rise.
How Warm Should My Water Be?
The water should feel warm but not hot, ideally between 100 and 110 degrees. This temperature helps activate the yeast without risking killing it.
Water that’s too hot — over 120 degrees — can kill the yeast and stop the dough from rising properly. Thankfully, most hot water heaters are set so that the water from your tap won’t be that warm.
If the water is too cold, it can slow down the rise, so you want to keep an eye on when it doubles. Cold water will still work with yeast.
The water should feel comfortably warm to the touch but not hot. You don’t need a thermometer, just avoid anything that feels scalding.
How Do I Know When I’ve Added Enough Flour to My Challah Dough?
You’ll know you’ve added enough flour when the dough feels soft, slightly tacky, and elastic. It should stick slightly to your hands but pull away cleanly without clinging.
If the dough is too sticky, add more flour, a tablespoon at a time, kneading well after each addition. Be careful not to add too much, as this can make the bread dense and dry.
The dough will firm up slightly as it rises, so it doesn’t need to be perfect at this stage. It’s better to add less flour than you think and adjust later if needed.
What Is the Best Way for Bread to Rise?
To help bread rise properly, place it in a warm, draft-free spot. If the environment is too cold, the dough will take longer to rise, while too much heat can cause overproofing.
A good option is inside an oven (turned off) with a bowl of hot water nearby to create gentle warmth and humidity. The ideal temperature for rising is between 75 and 85 degrees, which is warmer than most kitchens.
What is Overproofing?
Overproofing happens when dough rises for too long, causing the yeast to use up all its food. When this happens, the dough can lose structure and collapse during baking.
An overproofed loaf often ends up dense with an off texture and taste. To avoid this, keep an eye on the dough and stick to the recommended rising times.
If you think the dough has overproofed, punch it down and let it rise again for a shorter period. The bread might still bake well, but the texture and flavor may be slightly off.
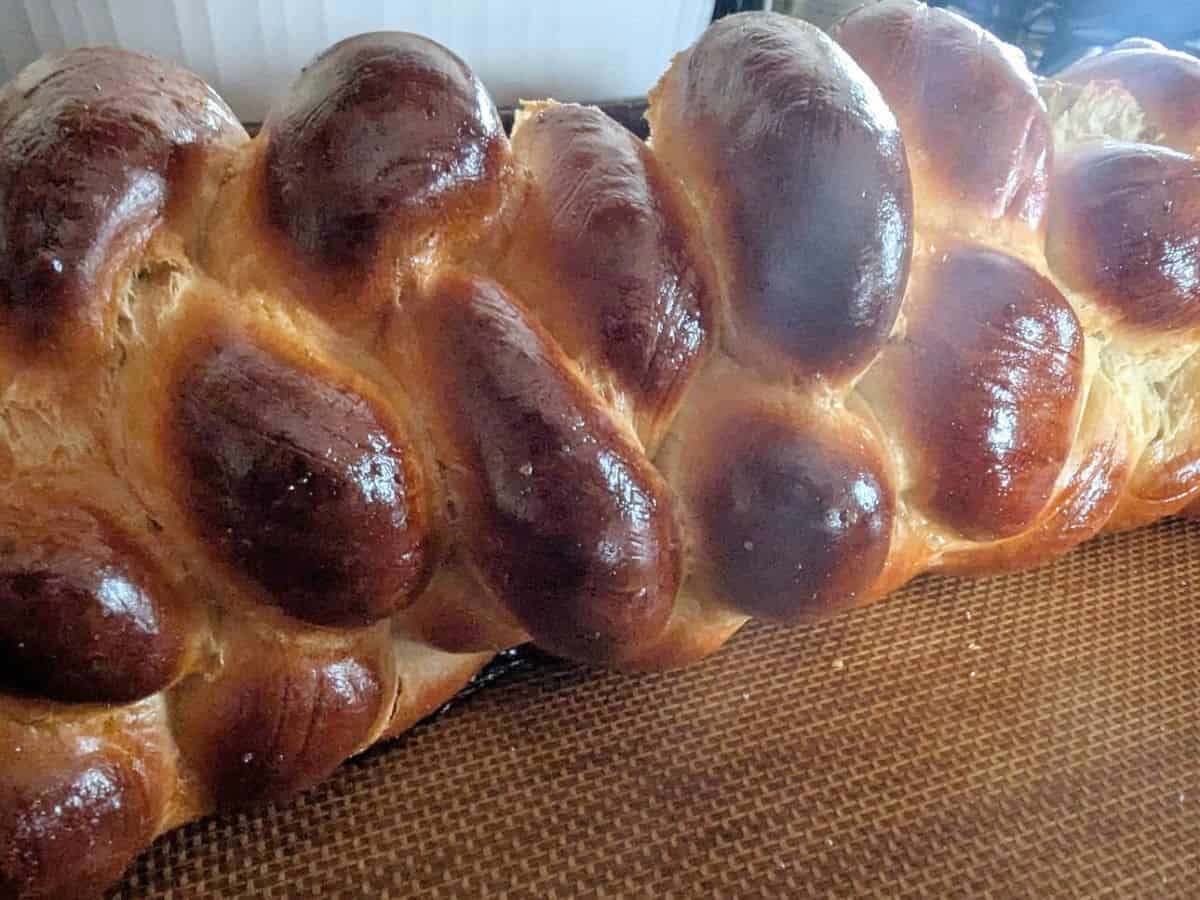
Does It Matter How Many Strands I Use to Braid My Challah?
Challah is often braided with three strands, but using six strands creates a more intricate look. It can take some practice, but the technique isn’t difficult to learn.
The number of strands affects the final shape and size of the loaf but not the taste or texture. You can also shape it into a circular braid for a different look.
If you’re new to braiding, start with three or four strands until you feel comfortable. The choice is mostly about appearance, so go with the style you prefer.
How Should I Store Challah?
Once your challah is fully cooled, store it in a bread box or wrap it in plastic to keep it fresh. This helps prevent it from drying out too quickly.
For longer storage, slice the loaf and freeze it in a sealed zip top bag. When you want to eat it, warm it in the oven or microwave straight from the freezer to bring back its softness.
Do not store challah (or any bread) in the fridge, as this can cause it to dry out faster. Room temperature is best for keeping it soft and fresh for several days.
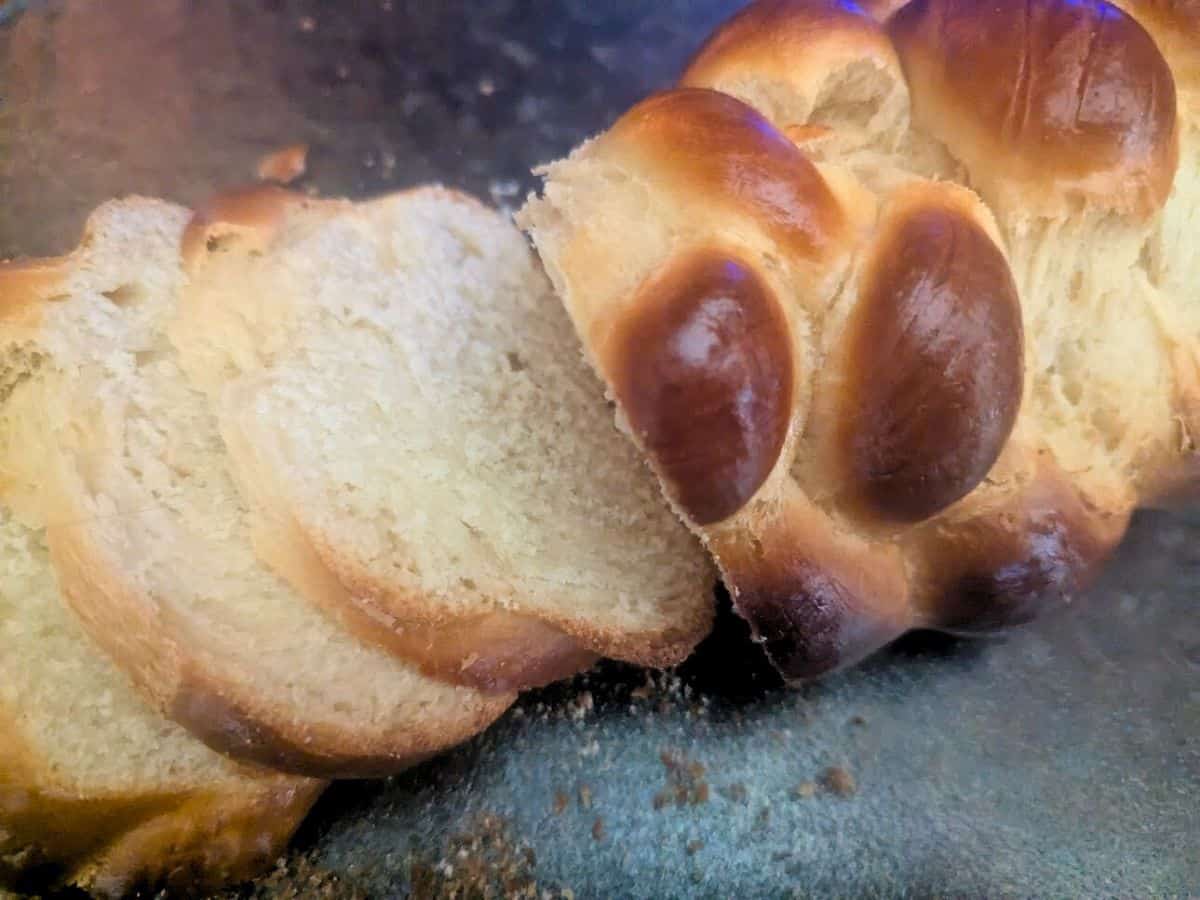
Why Don’t You Cut Bread Until It’s Cooled?
Cutting into bread – or any bread – while it’s still hot can lead to a dense, gummy texture. The steam inside needs time to escape slowly, allowing the bread to set properly.
While it’s tempting to slice into warm bread, it’s worth being patient. Unless you plan to eat the entire loaf immediately, waiting will give you better results.
How to Make Challah Bread
Proof the yeast by adding warm water to a large bowl, then sprinkling the active dry yeast and about a tablespoon of sugar on top. Measure a quarter cup of sugar first and set the rest that you don’t use aside for later.
Stir to combine and let it sit for 5-10 minutes until foamy and bubbly. If it doesn’t foam, discard it and start over with fresh yeast.
Lightly whisk the eggs, then add them to the bowl along with the vegetable oil, remaining sugar, and salt. Gradually add the flour and mix until the dough begins to come together. The dough should be sticky but hold its shape.
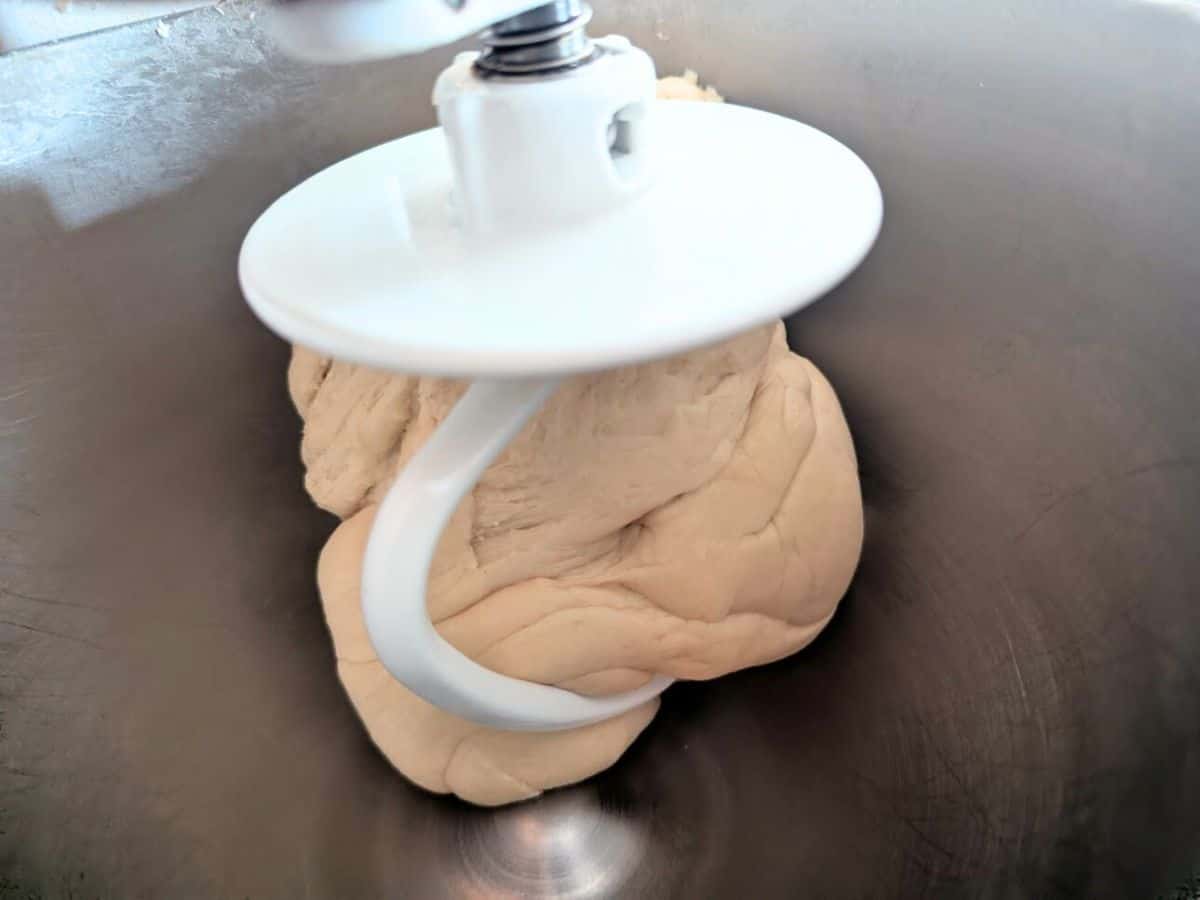
Knead the dough in a stand mixer for 5-7 minutes until it’s smooth and elastic, or knead by hand on a lightly floured surface for 8-10 minutes. If the dough is too sticky, add a little flour at a time, but avoid adding too much—it should feel slightly tacky but still workable.
Lightly oil a clean bowl and place the kneaded dough inside, turning it to coat all sides with oil. Cover the bowl with a clean cloth or plastic wrap and let it rise in a warm, draft-free spot for about one and a half hours, or until it doubles in size.
Once the dough has risen, punch it down to release the air bubbles. Divide the dough into six equal pieces and roll each piece into a rope about 16 inches long. Line up the ropes side by side to prepare for braiding.
Alternatively, you can create three strands and do a three-strand braid. Or do four strands or eight strands if you want to get really fancy.
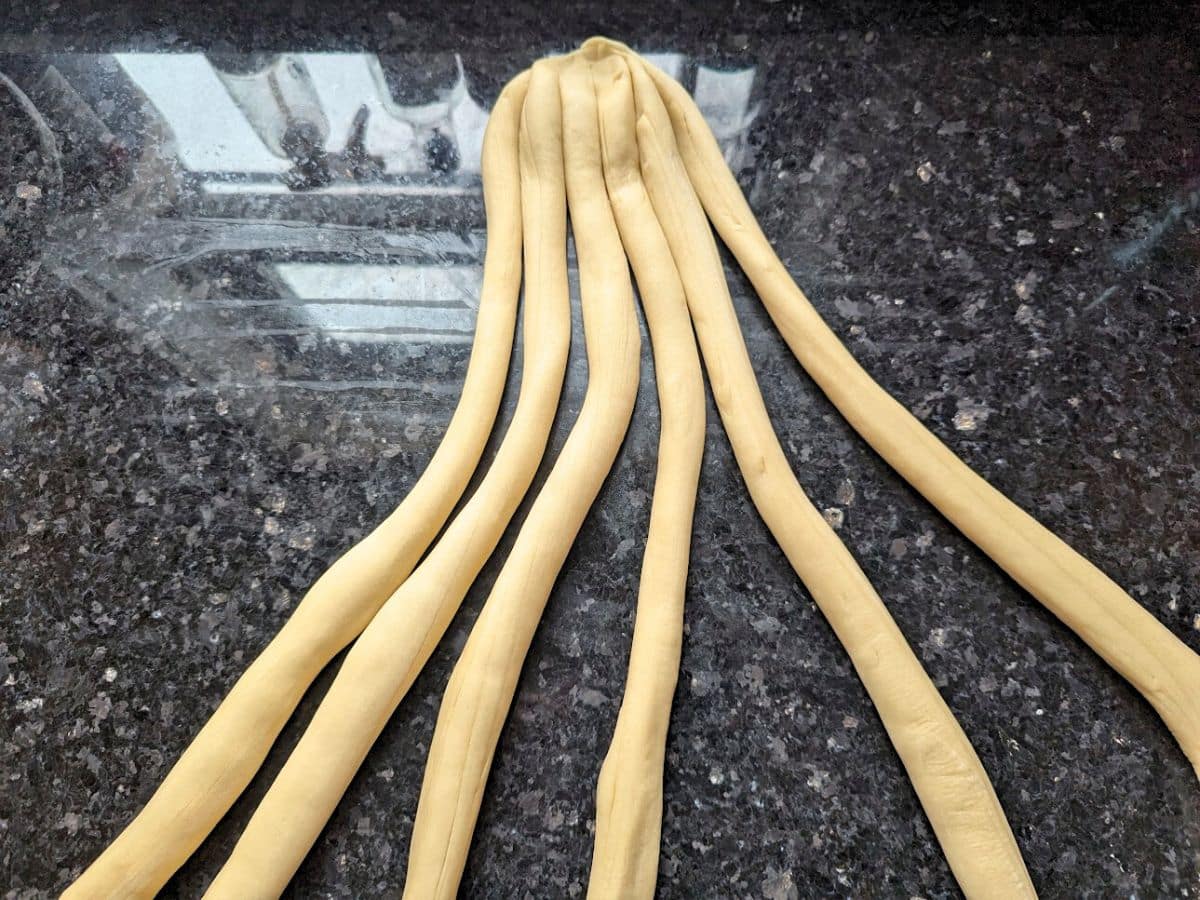
How to Braid a Six-Strand Challah:
- Lay the six ropes parallel to each other and number them in your head from 1 to 6, left to right.
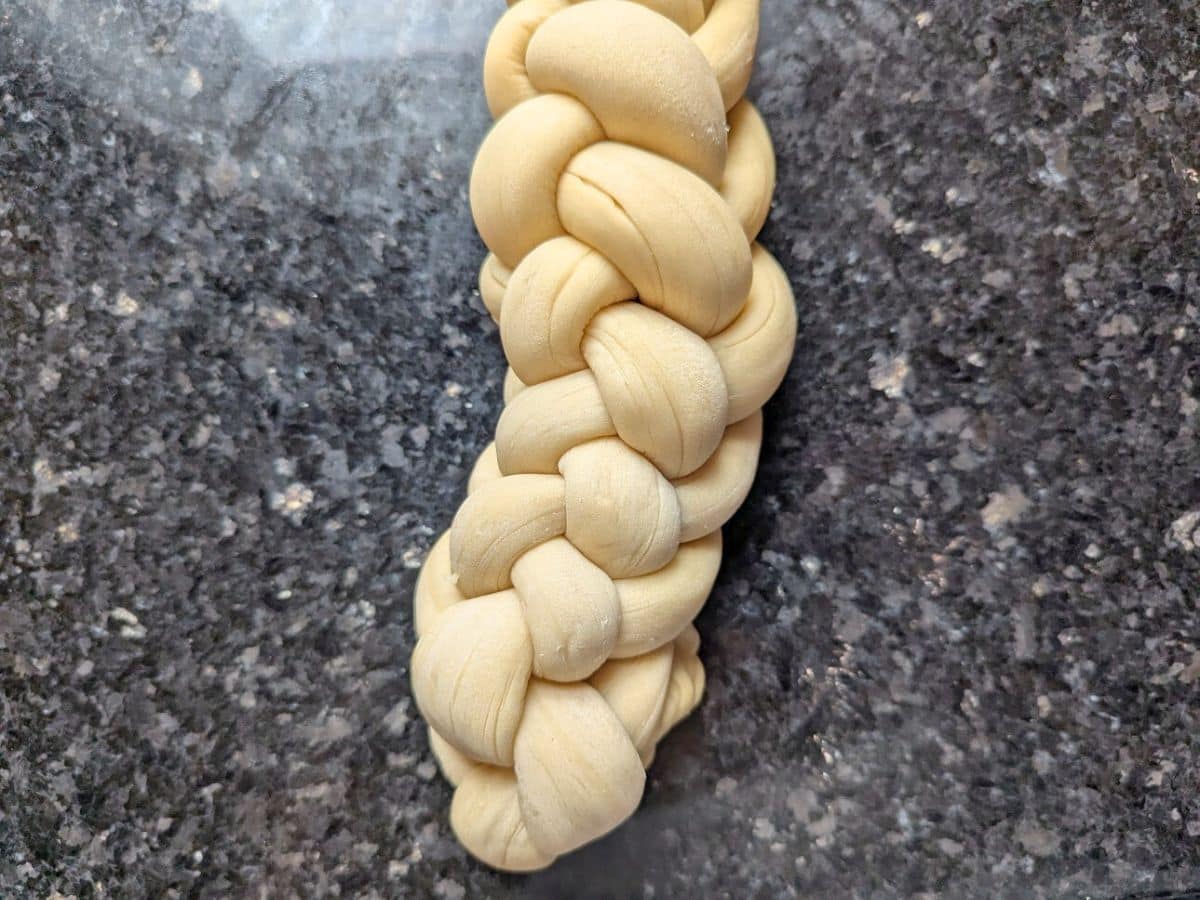
- Cross strand 1 over strand 2, then strand 3 over strand 4.
- Take strand 1 and cross it over strand 3, then cross strand 5 over strand 6.
- Continue this pattern, keeping the braid snug but not too tight to avoid breaking the dough.
- When you reach the end, pinch the strands together and tuck them underneath for a neat finish.
Place the braided loaf onto a baking sheet lined with parchment paper or a silicone mat. Whisk together the egg wash and brush it over the top of the challah.
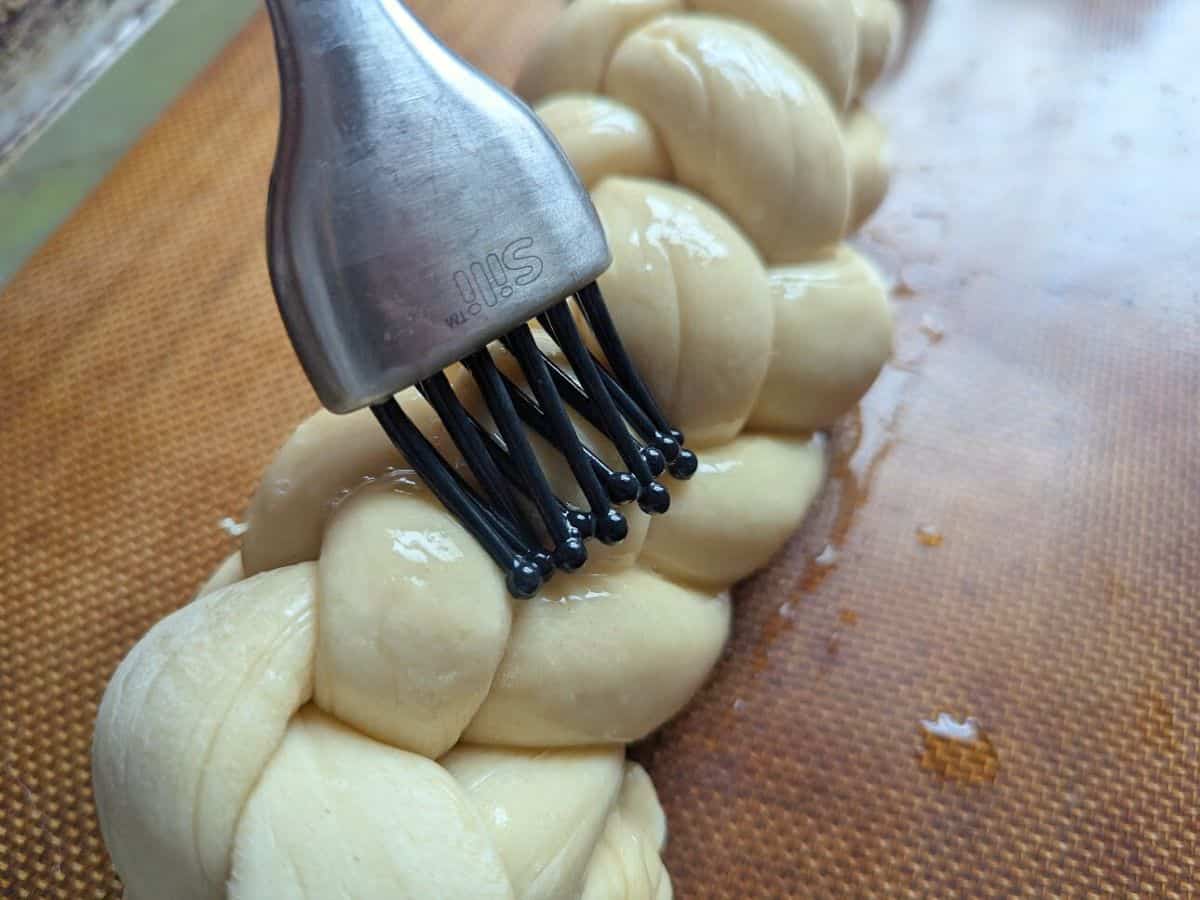
Cover the loaf loosely with plastic wrap or a clean towel and let it rise for 30 minutes to 1 hour, until it looks puffed and slightly risen.
Preheat the oven to 350 degrees. Remove the covering and brush the loaf with a second coat of egg wash.
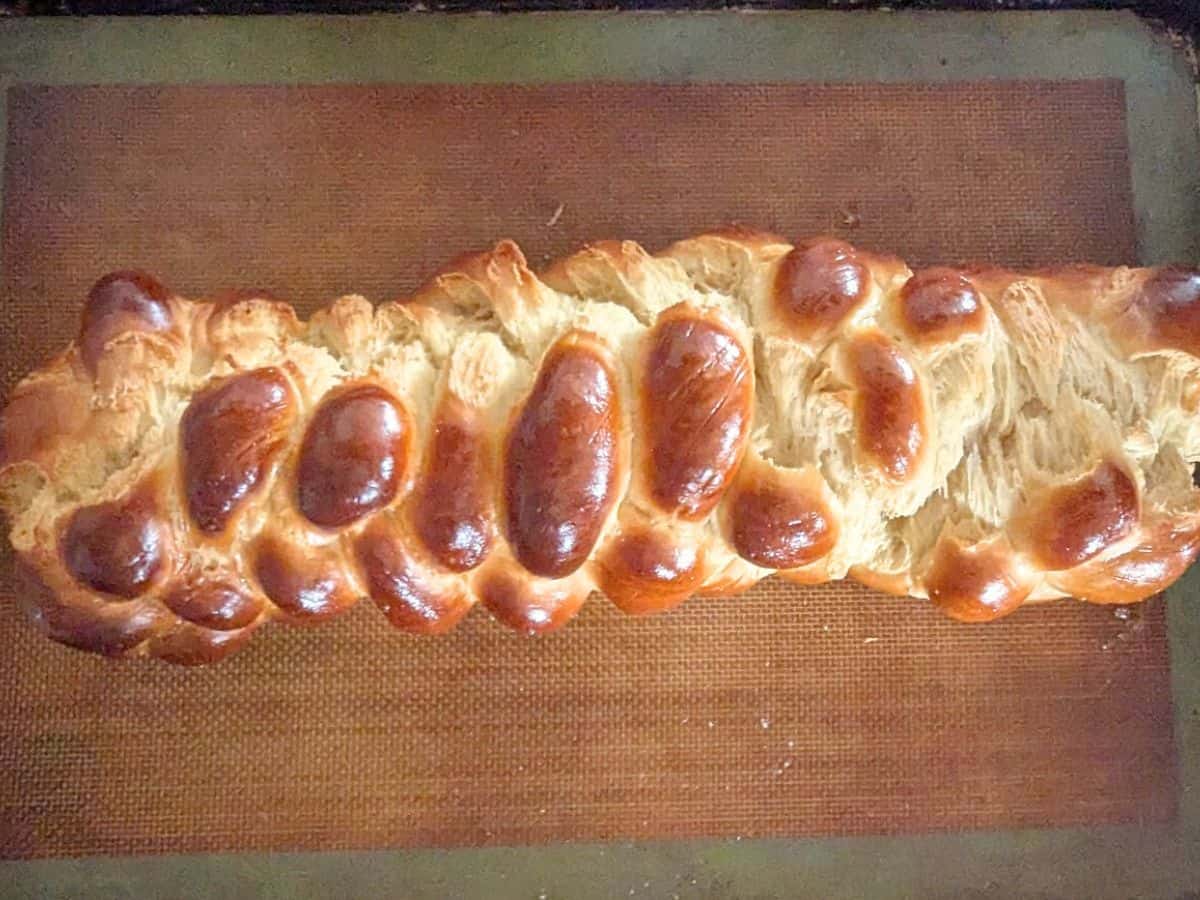
Bake for 25-30 minutes, or until the challah is golden brown and sounds hollow when tapped on the bottom.
Transfer the baked challah to a wire rack and let it cool completely before slicing. This helps set the texture and ensures a soft, fluffy interior.

Challah Bread
Ingredients
For the Dough:
- 1 cup warm water
- 2 1/4 teaspoons active dry yeast
- 1/4 cup sugar
- 2 large eggs
- 1/4 cup vegetable oil
- 1/4 teaspoon salt
- 4 cups flour
For the Egg Wash:
- 1 egg
- 1 tablespoon water
Instructions
For the Dough:
- Proof the yeast and ensure it is foamy after five minutes.1 cup warm water, 2 1/4 teaspoons active dry yeast, 1/4 cup sugar
- Lightly whisk the eggs, then add them to the bowl with vegetable oil, the remaining sugar, and salt, gradually mixing in the flour until the dough comes together and feels sticky but holds its shape.2 large eggs, 1/4 cup vegetable oil, 1/4 teaspoon salt, 4 cups flour
- Knead the dough for 5-7 minutes in a stand mixer or 8-10 minutes by hand on a lightly floured surface.
- Lightly oil a clean bowl, place the dough inside, turn to coat, then cover with a cloth or plastic wrap and let rise for about 1 1/2 hours or until doubled in size.
- Punch down the dough, divide it into six equal pieces, and roll each into a 16-inch rope, then line them up side by side for braiding. Follow the tutoria in the full article for six-strand braiding.
- Place the braided loaf on a parchment-lined baking sheet, then whisk the egg wash and brush it over the top. Cover loosely with plastic wrap or a towel and let it rise for 30 minutes to one hour until puffed and slightly risen.1 egg, 1 tablespoon water
- Preheat the oven to 350 degrees, remove the covering, brush with a second coat of egg wash, and bake for 25-30 minutes until the loaf is golden brown and sounds hollow when tapped on the bottom.
- Transfer the challah to a wire rack and let it cool completely before slicing.
Video


Notes
- If the six-strand braid is confusing, feel free to use a four-strand braid or even three. It will still taste delicious and look gorgeous.
- 2 1/4 teaspoons of yeast is equivalent to one individual package of yeast.
- For more tips and tricks, be sure to read the full article above.
Nutrition
This site uses an online source to provide nutrition estimates as a courtesy. If you need exact values, please calculate yourself.

I am a participant in the Amazon Services LLC Associates Program, an affiliate advertising program designed to provide a means for sites to earn advertising fees by advertising and linking to Amazon.com.
Thank you for sharing this recipe.
It doesn’t really say when to add the yeast in?
It is listed as the very first step. You proof the yeast in warm water and then add ingredients to that as you go. Let me know if you have any other questions!