Homemade yeast dinner rolls are so delicious, especially fresh from the oven. Some links in this article are affiliate links that may earn me a commission if you purchase through them.
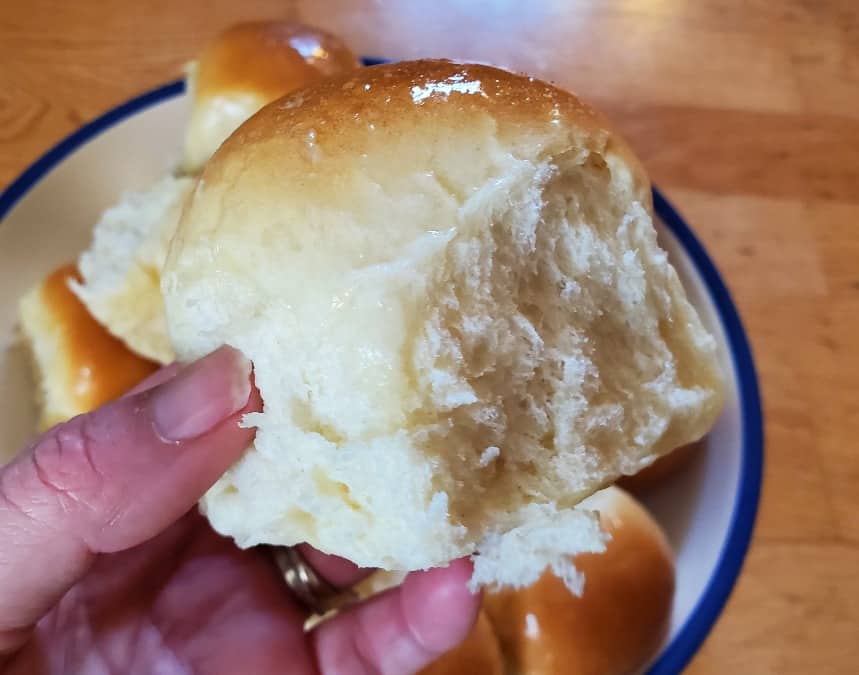
Whether you want a special dinner roll for a holiday dinner or just to accompany your next meal, this is the recipe you want to make.
Homemade dinner rolls should be soft and fluffy, and these certainly are. They’re quick to make and are ready in just about an hour.
If you let them proof in an extra warm space (think about 90 degrees), they can be ready even sooner. Hello, carb heaven.
These are my quick homemade yeast dinner rolls, and they disappear while still warm when I make them. If you want something even a little more special, try my dinner roll knots – they look super fancy, but they aren’t difficult to make.
Do I need to use a digital scale?
You don’t need to use a digital kitchen scale, but I like to. It helps ensure that the rolls are the same size and bake evenly.
This makes the process go much faster. And once you own one, you’ll be surprised how often you use your scale.
If you don’t have a scale, divide your dough as equally as you can into 15 pieces. I find it easiest to divide the dough into three pieces first, then divide those three pieces into five equal pieces.
Can I make these homemade yeast dinner rolls ahead of time?
If you plan to eat them the same day, you can definitely make and bake them ahead of time. If you don’t plan to eat them “soon,” however, you want to get a little more creative in your make-ahead prep.
To make them the night before and then bake later, follow the steps until the second rise. Place them in the pan, and cover them loosely with plastic wrap so that there isn’t a seal.
Put the pan in the fridge overnight, which slows down the rise. You can then bake them the next day.
If you want to bake them days later, roll them into balls, but place them onto a sheet pan in the freezer. Once they freeze solid, put them into a zip-top bag with all the air sucked out.
You can keep them in the freezer for up to two months. When you want to make them, place the dough in the fridge overnight to thaw.
Once they thaw, place them in the greased 9×13 pan and let them rise. Because they are so cold, it will take longer to rise, so give them a couple of hours on your counter, then bake them off as normal.
Alternatively, you can also bake them and freeze any leftovers for a month in a tightly sealed container. When you want to enjoy them later, place however many rolls you want in a loose tin foil tent and bake them at 275 degrees for 20-25 minutes.
One note: You must serve them immediately, or they don’t dry out. Make sure you only reheat however many homemade dinner rolls you plan to eat right then.
What kind of yeast should I use?
This recipe calls for active dry yeast. It’s designed for bread baking with multiple rises.
While instant yeast is convenient, it doesn’t work well for multiple rise recipes like these dinner rolls.
Fresh yeast is less common, but cake yeast dies quickly. Unless you bake a lot, this is not a yeast you want to keep in your kitchen.
Want to learn more about yeast? This article shares everything you want to know about yeast!
How to Make the Softest Homemade Yeast Dinner Rolls
I make mine in a stand mixer, but you can make these homemade yeast dinner rolls by hand. It just takes a little more time and arm muscles to knead the dough.
Add your warm water to the bowl of your mixer and the yeast over it. Sprinkle in the sugar.
In a separate bowl (I always use a large liquid measuring cup to minimize dirty dishes), mix the warm milk, egg, oil, and salt with a fork until they’re emulsified. Pour this into the water and yeast and stir.
Add the flour, one cup at a time, and mix until you see a dough form. It will look ragged, but keep kneading on low speed for 8-10 minutes, and it will come together nicely.
You want enough flour that it doesn’t completely stick to the sides of the bowl as it kneads, but just barely that much. It should still feel tacky when you touch it.
When you can feel it spring back, you’ve kneaded it enough. It will still be slightly sticky, so be ready for that.
Cover your bowl with a kitchen towel, and set it in a warm place to rise for 45 minutes. Once it doubles in size, start to form the rolls.
This recipe forms 15 rolls, which fit perfectly into a 9×13 pan. Grease your pan with nonstick spray lightly while your dough does its first rise.
Weigh out your rolls – each one should be right about two ounces. If you don’t use a scale, divide your dough into 15 equal pieces.
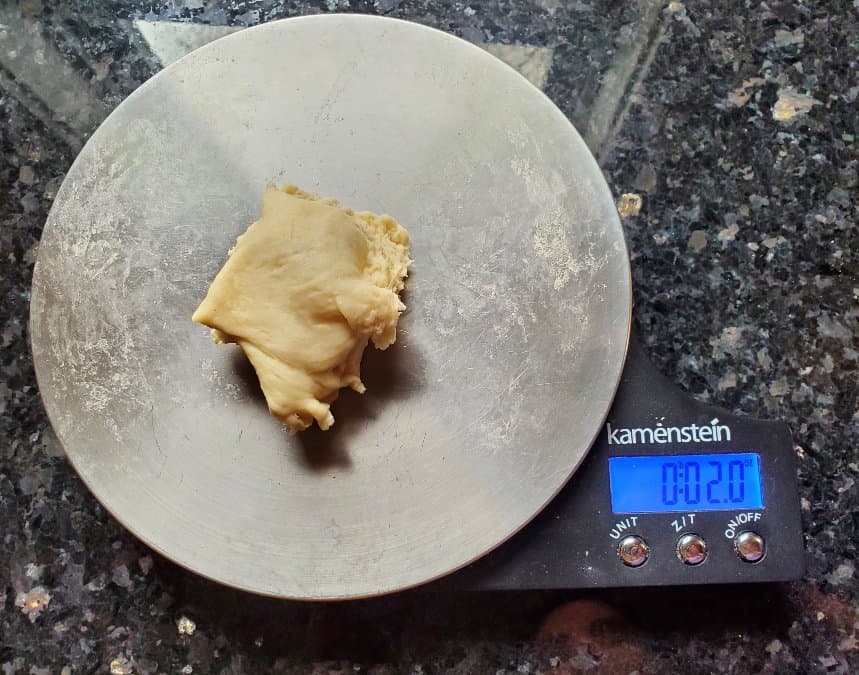
Form rounds by stretching the dough towards the “bottom” on all sides and pinching it to seal. For a better visual, watch the tutorial video.
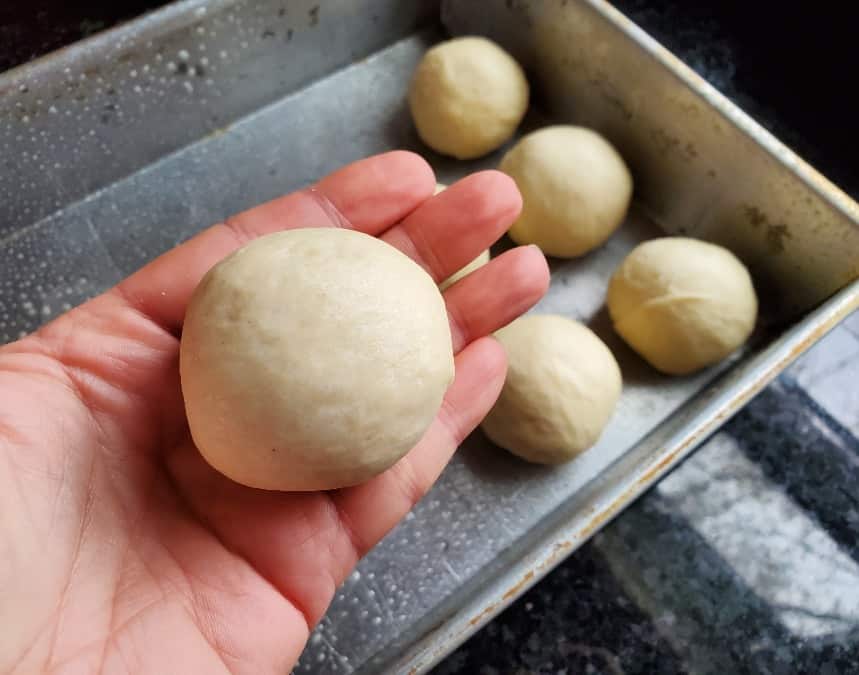
Cover the rolls with the towel again and let them rise for 25 minutes in a warm spot. While the dough is rising, preheat your oven to 375 degrees.
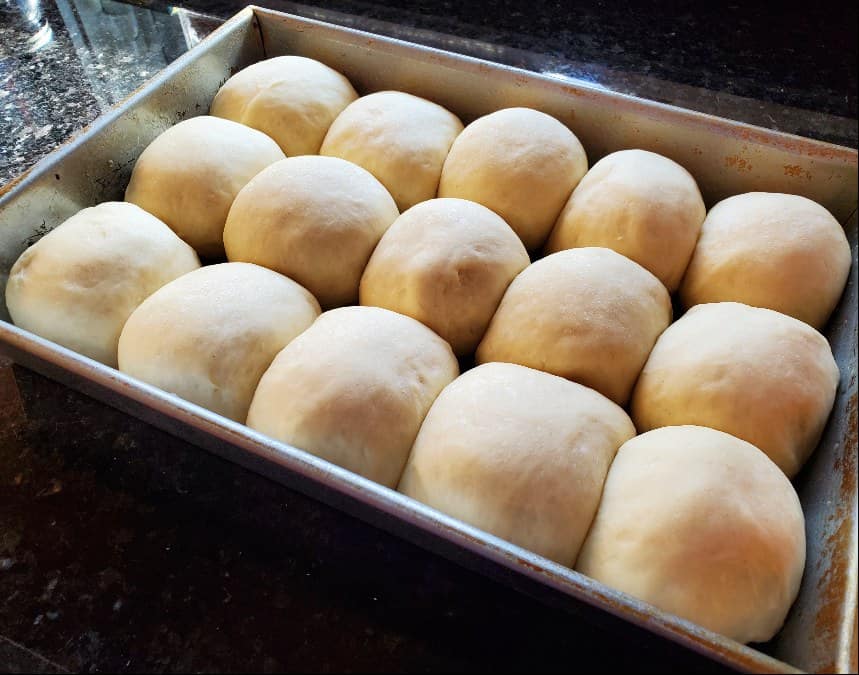
Bake the rolls for 17-19 minutes, until they’re golden brown on top.
Melt your butter just before they come out of the oven, and use a pastry brush to brush the tops of your homemade yeast dinner rolls with it.
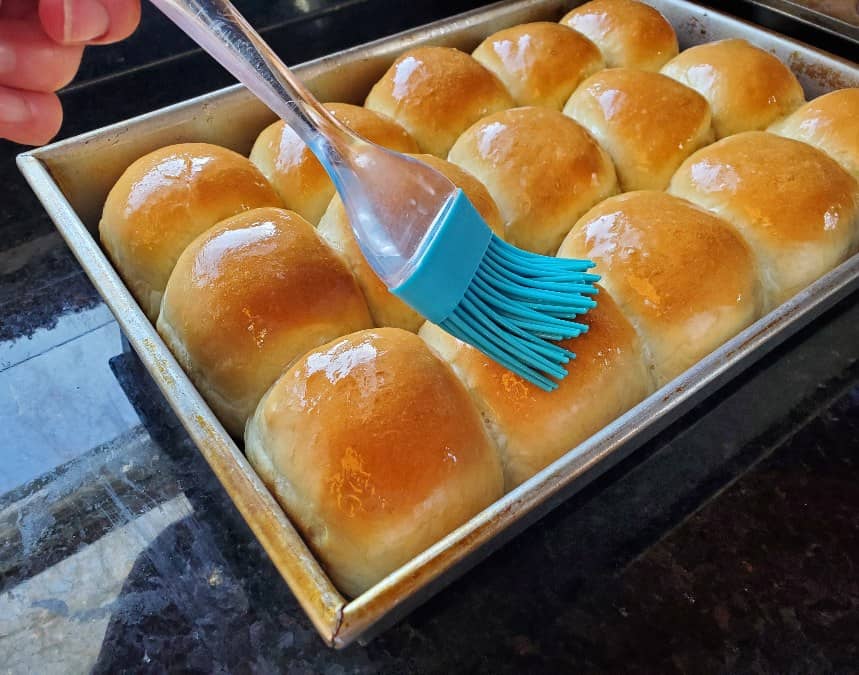
Let the rolls sit for a few minutes to absorb the butter, then flip the pan over to remove the rolls and carefully separate them.
Serve them immediately. Store any leftovers in a tightly sealed container on your counter for one to two days or freeze and follow the instructions above to reheat them.
Save this homemade yeast dinner rolls recipe to Pinterest and share it with your friends!
Easy Yeast Dinner Rolls
Ingredients
- 1/2 cup warm water
- 1 tablespoon active dry yeast
- 2 tablespoons sugar
- 1/2 cup warm milk
- 1 egg
- 2 tablespoons vegetable oil
- 1 teaspoon salt
- 3 cups flour
- 1 tablespoon unsalted butter
Instructions
- Add warm water, yeast, and sugar to bowl. Separately, mix warm milk, egg, oil, and salt. Pour into water and yeast and stir.1/2 cup warm water, 1 tablespoon active dry yeast, 2 tablespoons sugar, 1/2 cup warm milk, 1 egg, 2 tablespoons vegetable oil, 1 teaspoon salt
- Add flour, a cup at a time, and mix until it’s formed a dough. Knead on low speed for 8-10 minutes. When it springs back, it’s ready. It will still be slightly sticky.3 cups flour
- Cover bowl with a towel, and let rise for 45 minutes until it doubles in size.
- Divide dough into 15 equal pieces. Shape into rounds and place into a greased 13×9 pan.
- Cover again with the towel and let rise for a 25 minutes. While the dough rises, preheat oven to 375 degrees.
- Bake rolls at 375 degrees for 17-19 minutes, until golden brown on top.
- Melt butter and gently brush the top of each roll as soon as they come out of the oven.1 tablespoon unsalted butter
- Let sit a few minutes to absorb the butter, then flip the pan over to remove rolls and carefully separate them.
- Serve immediately, or store in a tightly sealed container on your counter for 1-2 days.
Video
Notes
- Want to make these even faster? Place them in an oven that’s barely 90 degrees (heat it to the lowest temperature if yours won’t go that low, then turn the oven off and place it in the oven once you make sure it isn’t too hot. Your oven will only take a minute or so to get to 90 degrees! Let it rise in the warm (not hot!) oven for 20 minutes the first rise and 10 the second to have your rolls ready in under an hour!
- For more tips and tricks, be sure to read the full article above.
Nutrition
This site uses an online source to provide nutrition estimates as a courtesy. If you need exact values, please calculate yourself.
I am a participant in the Amazon Services LLC Associates Program, an affiliate advertising program designed to provide a means for sites to earn advertising fees by advertising and linking to Amazon.com.
Did you use bread flour?
That’s a really good question! I did not. I used all purpose flour, and it works just perfect for these!
Loves homemade Rolls and I am going to make them for Christmas. Thanks
Fantastic! I hope you enjoy them as much as we do here 🙂
I weighed each roll and with 2 oz of dough for each roll, I only got 12 rolls.
That’s … weird. I’ve done it so many times, and mine has always been 2 ounces for 15 rolls. It may have to do with the humidity where you are or the type of flour you have that impacts the end weight? Hopefully they were at least 12 good rolls for you! Worst case, weight the whole pile of dough before you start, and you can divide it into 15 if you find that your dough doesn’t give you 15 rolls.
This recipe is wonderful! I can see my waist expanding as I type. Follow the directions and make sure you knead the dough long enough. I used my stand mixer and used the dough hook for eight minutes. After they rose, I made a bit of a log roll then used dental floss to get a clean cut. I weighed each roll so they were the same size. I got 15-1.4 ounce rolls. They won’t last long around her. Mine came out a golden brown on top and the perfect color on the bottom. And the insides were lighter than air with all their little air pockets. Try them…you won’t regret it!! Oh, I also found the tip to add your dry ingredients to the wet ingredients. That made a tremendous difference.
I’m so glad that you like this recipe! And yes to everything you said on the tips etc. I’ve never tried using dental floss to cut these rolls, but that’s a really neat idea – I know many do that for cinnamon rolls, etc. I’m starting to wonder if my flour is heavier for some reason, and I weigh mine regularly and get 15 2.0 ounce rolls, but I know others have a lower weight per roll to get to 15 rolls. These are by far my favorite “standard” dinner roll to make. They’re on the menu this week!
The ingredient list says yeast, but with different types of yeast (rapid rise, etc.), does it matter which type of yeast?
It does – you want to use active dry yeast. Instant yeast isn’t designed for two rise recipes, and it isn’t written for fresh yeast. I’ll make that clarification in the recipe!
Thought I’d give these rolls a go, on a rainy super humid south Louisiana day. They came together in the mixer perfectly. So I just wrapped my bowl in greased cling wrap opened my truck door and set the months center console for a nice warm store with no breeze. Worked like a charm! 45 minutes later, I was dividing the roughly and setting them back in fora second rise while hearing oven. They turned outsoft, golden brown on top. They are light and fluffy, yeasty. I’ve already started a batch for the freezer.
That’s so great to hear! I’m so glad you enjoyed them and that they turned out so well for you. It’s one of my favorite breads to make.
I followed the instructions but failed to achieve the results pictured in the still shots as well as in the video. My effort yielded a sticky mess that was too thin, never formed a “dough ball”. It appeared to need more flour but I was hesitate to add additional flour. I used digital scale, digital timer and a stand mixer
I’m not sure why you didn’t add more flour, as you need to add enough flour to make a tacky dough ball as stated in the instructions. Flour and humidity are fun, and their interaction means that there are times you need to add more (and sometimes less) flour than stated to get to the right consistency. The consistency is the most important part here. I’ve made these many times successfully, and I’m sorry they didn’t turn out for you – but have faith in yourself and add more flour. When it’s humid (helllooooo summer – my favorite time of year), flour absorbs the humidity from the air, so you need to increase the amount you use to counteract that additional moisture.